Discover the easiest way to grill indoors with an electric grill. From pre‑heating to perfect sears, this guide walks you through every step, safety tip, and cleaning hack so you can enjoy grill‑flavored meals any day of the week.
Key Takeaways
- Proper pre‑heat is essential: Give the grill 5‑10 minutes to reach the right temperature for juicy results.
- Use the right accessories: Grill mats, silicone brushes, and thermometer probes keep food from sticking and ensure even cooking.
- Master temperature zones: Low, medium, and high zones let you sear, bake, or slow‑cook on the same appliance.
- Safety first: Keep the grill on a stable surface, unplug after use, and never leave it unattended.
- Cleaning made simple: Cool the grill, wipe with a damp cloth, and deep‑clean the plates weekly to prolong life.
- Versatile cooking options: From steaks and burgers to vegetables and desserts, an electric grill can do it all.
- Energy‑efficient cooking: Electric grills use less power than gas or charcoal, saving money and reducing fumes.
📑 Table of Contents
- Introduction: Why an Electric Grill Is Your Kitchen’s Best Friend
- 1. Getting Started: Unboxing, Assembly, and First‑Time Setup
- 2. Mastering Temperature Control
- 3. Preparing Food for the Grill
- 4. Cooking Techniques: From Classic Burgers to Sweet Treats
- 5. Cleaning and Maintenance for Longevity
- Conclusion: Your New Favorite Kitchen Tool
Introduction: Why an Electric Grill Is Your Kitchen’s Best Friend
Imagine the smoky aroma of a backyard barbecue, but without the fire, charcoal, or open flame. That’s the promise of an electric grill. Whether you live in an apartment, have a small balcony, or simply want a cleaner cooking option, an electric grill gives you the flavor of a grill with the convenience of a stovetop. In this guide we’ll walk you through everything you need to know to become a confident electric‑grilling pro.
From the moment you unpack the grill to the final clean‑up, each step matters. You’ll learn how to set up safely, control temperature zones, choose the right accessories, and even experiment with dishes you never thought a grill could handle. By the end, you’ll be able to answer the question “How to use an electric grill?” with confidence and a grin.
1. Getting Started: Unboxing, Assembly, and First‑Time Setup
Unboxing and inspecting the grill
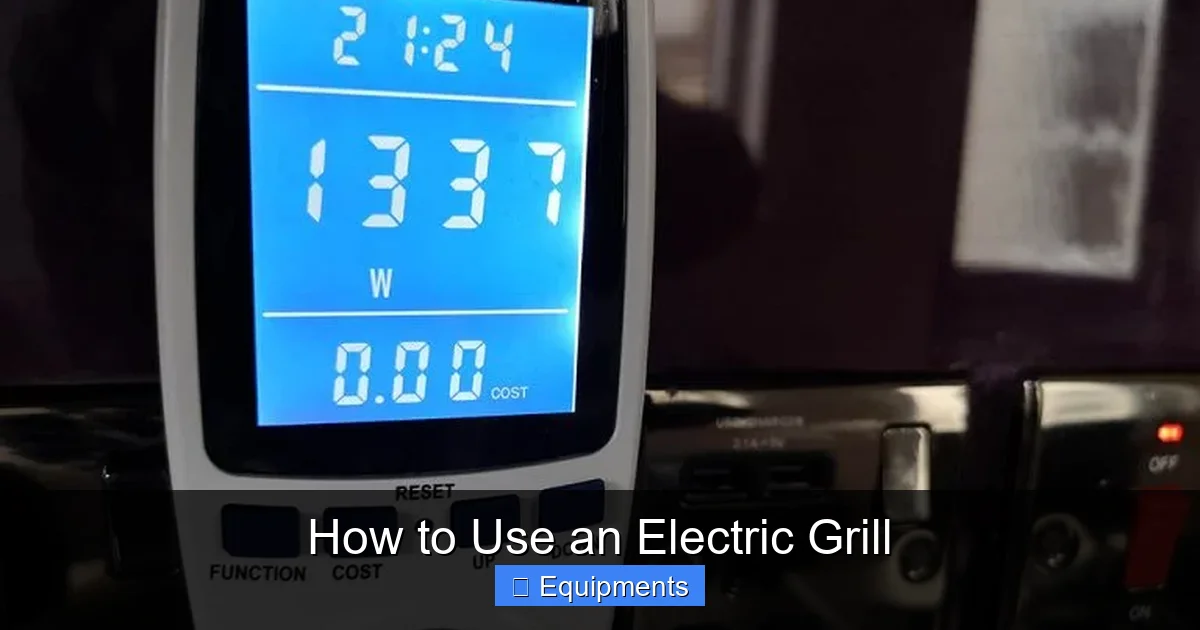
When the box arrives, lay out all the parts on a flat surface. Most electric grills include:
Visual guide about How to Use an Electric Grill
Image source: cornwallsolarcompany.com
- Grill base with heating element
- Lid (if it’s a clamshell model)
- Drip tray
- Cooking plates (grill‑grates or flat plates)
- Power cord
- User manual
Check each piece for dents or missing screws. A quick visual inspection saves headaches later.
Assembly basics
Most models require only a few steps:
- Slide the cooking plates into the base. They usually click into place.
- Attach the lid, aligning the hinges as shown in the manual.
- Place the drip tray under the plates to catch excess fat.
- Plug the grill into a grounded 120‑V outlet (or 240‑V for larger units).
If the grill has a removable plate, make sure it locks securely before you turn it on.
First‑time pre‑heat and test run
Before you cook anything, give the grill a short test run:
- Turn the temperature dial to “Medium” (around 350°F/180°C).
- Let it heat for 5‑7 minutes. You should hear a faint hum and see a glow on the heating element.
- Check the built‑in indicator light; most grills have a “ready” LED that turns green when the set temperature is reached.
This short run helps you verify that the unit powers up correctly and that the thermostat works.
2. Mastering Temperature Control
Understanding the temperature zones
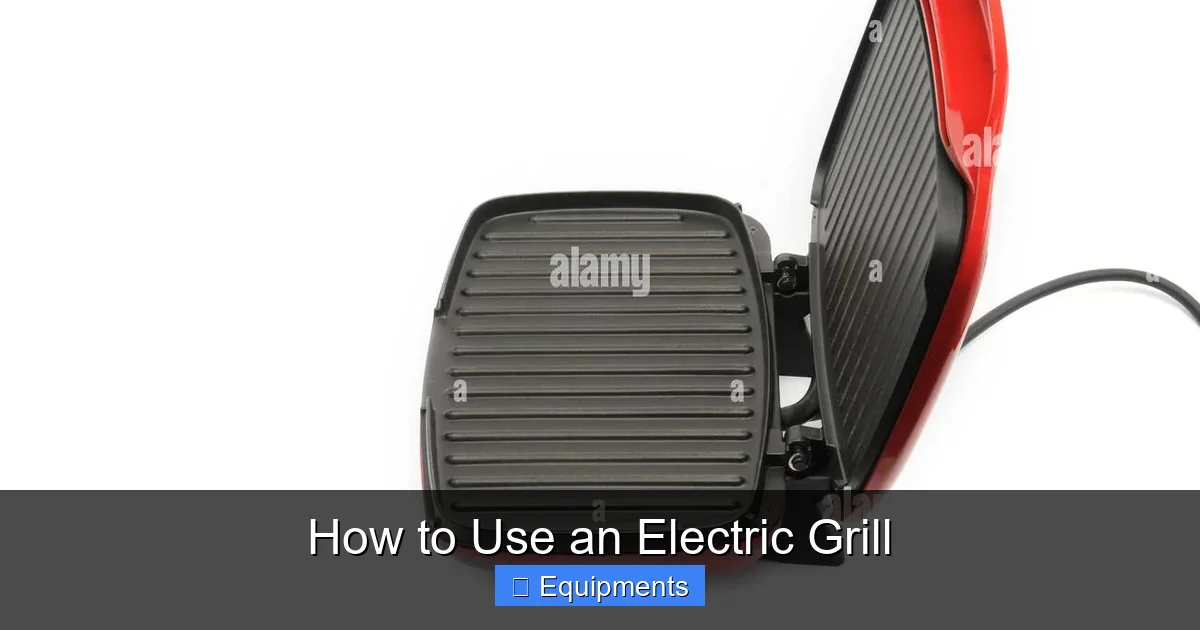
Electric grills often have three main zones:
Visual guide about How to Use an Electric Grill
Image source: c8.alamy.com
- Low (200‑300°F / 93‑150°C): Ideal for gentle cooking, fish, and delicate vegetables.
- Medium (350‑400°F / 180‑205°C): Perfect for burgers, chicken breasts, and most vegetables.
- High (450‑500°F / 230‑260°C): Use for searing steaks, pork chops, and quick‑cook kebabs.
Knowing which zone to use eliminates guesswork and prevents over‑cooking.
Using a thermometer for precision
Even though the grill’s dial is accurate, a handheld probe thermometer offers extra confidence. Insert the probe into the thickest part of the meat, and watch the readout. Aim for:
- 125°F (52°C) for rare steak
- 135°F (57°C) for medium‑rare
- 160°F (71°C) for well‑done chicken
When the target temperature is reached, switch the grill to “Keep Warm” or remove the food immediately.
Creating a two‑zone setup
Many electric grills let you set one side to high heat and the other to low. This is handy for “sear‑and‑rest” techniques:
- Pre‑heat the high‑heat side.
- Sear the steak for 2‑3 minutes per side.
- Move it to the low‑heat side to finish cooking without burning.
The result is a perfect crust with a juicy interior.
3. Preparing Food for the Grill
Seasoning and marinades
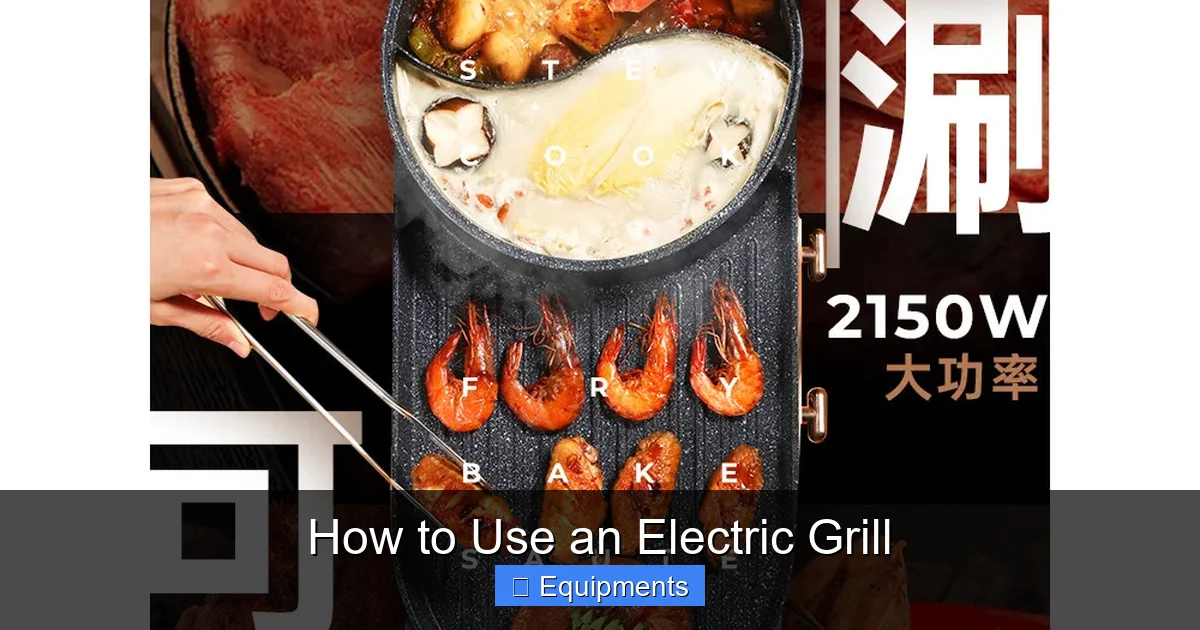
Because electric grills don’t produce real smoke, you’ll want to boost flavor with good seasoning:
Visual guide about How to Use an Electric Grill
Image source: down-ph.img.susercontent.com
- Dry rubs (salt, pepper, paprika, garlic powder) create a crust.
- Marinades with a bit of oil help prevent sticking and add moisture.
- For vegetables, toss them in olive oil, salt, and a splash of balsamic vinegar.
Let meat rest in the seasoning for at least 15 minutes before cooking.
Using grill mats and parchment paper
Non‑stick grill mats are a lifesaver for delicate foods like fish or sliced fruit. They fit right on the cooking plate, allowing you to flip items without tearing.
If you don’t have a mat, a sheet of heavy‑duty parchment paper works well for small bites and desserts.
Pre‑cooking tips for even results
For thick cuts, consider a quick “reverse sear”:
- Cook the steak on the low‑heat side until it reaches 10‑15°F below the target.
- Finish on the high‑heat side for a 1‑minute crust.
This method ensures the interior cooks evenly while still delivering a tasty crust.
4. Cooking Techniques: From Classic Burgers to Sweet Treats
Grilling burgers and steaks
1. Pre‑heat to high (450‑500°F).
2. Place the patties or steaks on the grill.
3. Close the lid for 2‑3 minutes per side.
4. Use a probe to check doneness.
5. Let the meat rest 5 minutes before serving.
Resting lets the juices redistribute, giving you a juicier bite.
Vegetables and tofu
Set the grill to medium. Lightly oil the veggies, then arrange them in a single layer. Flip once halfway through. Expect a caramelized exterior and tender interior in 8‑12 minutes.
Seafood success
Fish fillets benefit from low to medium heat. Use a grill mat to avoid sticking. Cook 4‑6 minutes per side, depending on thickness. Shrimp only need 2‑3 minutes per side—watch for a pink color.
Breakfast on the grill
Yes, you can flip pancakes! Pre‑heat to low, lightly grease the surface, and pour batter. Flip when bubbles form. You can also grill bacon and eggs using a small cast‑iron skillet placed on the grill.
Desserts and sweet bites
Try grilled pineapple slices or banana halves. Brush with honey, sprinkle cinnamon, and grill for 2‑3 minutes per side. For a fun twist, place a piece of chocolate on top of a warm fruit slice and let it melt.
5. Cleaning and Maintenance for Longevity
After‑cooking clean‑up routine
1. Turn off and unplug the grill.
2. Let the plates cool for 5‑10 minutes (still warm enough to release grease).
3. Remove the drip tray and discard collected fat.
4. Wipe the plates with a damp, non‑abrasive cloth or a silicone brush.
A quick wipe after each use prevents buildup and keeps flavors pure.
Deep cleaning (weekly)
When the grill is completely cool, remove the cooking plates (if they’re removable). Soak them in warm, soapy water for 10 minutes, then scrub with a soft brush. Rinse and dry thoroughly before re‑installing.
For the interior, spray a mixture of equal parts water and white vinegar, let sit for a minute, then wipe clean. This removes any lingering odor.
Maintaining the heating element
Never spray aerosol cleaners directly onto the element. If you notice uneven heating, check the manual for a “reset” button or contact the manufacturer.
Storage tips
If you need to store the grill for an extended period:
- Wrap the cord around the base, but avoid tight coils.
- Place the grill in a dry place, preferably inside a cabinet.
- Cover with a breathable cloth to keep dust off.
Conclusion: Your New Favorite Kitchen Tool
Knowing how to use an electric grill transforms ordinary meals into grill‑house favorites without the hassle of charcoal or propane. From proper pre‑heat to mastering temperature zones, the steps are simple and repeatable. With the safety tips, cleaning routine, and creative cooking ideas shared above, you’ll feel confident serving everything from sizzling steaks to caramelized fruit.
So plug in, pre‑heat, and start experimenting. The next time friends ask, “How to use an electric grill?” you’ll have a friendly, thorough answer—and a plate of delicious food to prove it.
Frequently Asked Questions
What temperature should I set my electric grill for burgers?
For classic burgers, pre‑heat the grill to high (450‑500°F). Cook 2‑3 minutes per side, then check for an internal temperature of 160°F for well‑done.
Can I use an electric grill outdoors?
Yes, as long as the unit is placed on a flat, stable surface and kept away from rain. Use a proper outdoor‑rated extension cord if needed.
Do I need to oil the grill plates?
Lightly oil the cooking surface or use a non‑stick grill mat. This prevents sticking and makes clean‑up easier.
How do I avoid smoke when grilling indoors?
Keep the temperature moderate, use a vent fan, and clean the drip tray regularly to prevent excess grease buildup that can cause smoke.
Is it safe to leave the electric grill unattended?
No. Always stay in the kitchen while the grill is on. Turn it off and unplug if you need to leave the area.
What is the best way to clean stubborn grease?
After the grill cools, soak the removable plates in warm soapy water, then scrub with a soft brush. For the interior, a vinegar‑water spray followed by a wipe works well.
Pingback: Electric Skillet - kitchenandhouseware.com