Removing your dishwasher’s top rack is a simple maintenance task that can solve cleaning issues and facilitate repairs. The process generally involves pulling the rack out fully, lifting it over the support stops, and sometimes disconnecting a few parts. Always disconnect power first and consult your manual, as designs vary by brand and model. With the right precautions, you can complete this task in minutes without tools, improving your dishwasher’s performance and longevity.
So, you’ve noticed your dishwasher isn’t cleaning as well as it used to. The top rack glasses come out with spots, or maybe you hear a strange grinding noise coming from inside. Before you call a repairman or consider a costly replacement, there’s a simple, often overlooked step you can take: remove the top rack. Taking the top rack out of your dishwasher isn’t just for major repairs; it’s a fundamental maintenance skill that allows you to access and clean the areas that matter most—the spray arms, filters, and drainage sump—where most cleaning problems originate. Think of it as giving your dishwasher a deep breath. This comprehensive guide will walk you through the entire process, from understanding why you’d do this to the final step of putting everything back together. We’ll cover common brand variations, troubleshooting tips, and essential safety checks, empowering you to perform this task with confidence.
Key Takeaways
- Safety First: Always unplug the dishwasher or turn off the circuit breaker before starting to avoid electrical hazards and accidental startup.
- Consult the Manual: Your specific model’s design dictates the exact removal method; the user manual is the most reliable resource.
- Clear the Path: Remove all dishes, utensils, and any adjustable components (like cup holders or the silverware basket) that may block the rack’s full extension.
- Identify the Stop Mechanism: Look for plastic stoppers, hooks, or rails at the ends of the rack tracks that prevent the rack from rolling out completely; these must be navigated or released.
- Lift, Don’t Drag: Once fully extended, you must lift the rack upward slightly to disengage the wheels from the tracks and clear the stops; dragging will cause damage.
- Inspect and Clean: With the rack out, thoroughly clean the spray arms, filters, and drainage areas that were previously hard to reach.
- Reinstallation is Reverse: Ensure all parts are reattached and the rack is properly seated on the tracks before running a test cycle.
📑 Table of Contents
Why Would You Remove the Top Rack?
Understanding the “why” makes the “how” much clearer. The top rack of a dishwasher is more than just a shelf for cups and small bowls. It’s an integral part of the machine’s inner ecosystem, housing crucial components that directly impact cleaning performance. Removing it opens up a world of maintenance opportunities.
For Deep Cleaning and Debris Removal
Over time, food particles, soap scum, and hard water minerals build up in the nooks and crannies of your dishwasher. The most critical area is the spray arm assembly. The top spray arm, which spins to direct water onto the upper dishes, is mounted on the underside of the top rack or the tub wall just above it. When you remove the top rack, you gain unfettered access to this arm. You can easily unscrew it (usually by turning it counter-clockwise), inspect the tiny jet holes for clogs, and clean it thoroughly. The same goes for the filter system, typically located at the bottom of the tub. While you don’t need to remove the top rack to reach the filter itself, clearing the rack allows water and debris to flow more freely to the filter during cleaning, and makes it easier to clean the tub walls and the area around the lower spray arm’s mounting point.
To Diagnose and Fix Common Problems
Is your dishwasher making a loud rattling or grinding noise? Often, the culprit is a piece of broken glass, a seed pit, or a hard utensil that has fallen through the rack and is now lodged in the pump intake or spinning with the lower spray arm. With the top rack out, you can see directly into the sump area and safely retrieve foreign objects. Similarly, if water isn’t reaching the top rack effectively, you can inspect the connection point where the water supply tube (which runs up the back of the tub) connects to the top spray arm. This tube can become kinked, disconnected, or clogged. Removing the rack gives you the visibility needed to check this.
For Repairs and Part Replacement
Some repairs necessitate rack removal. If a rack wheel (the little caster on the end of the rack support) breaks or falls off, you’ll need to remove the rack to access the track and replace the wheel or the entire support rail. If the rack itself is rusting or a plastic coating is peeling, you might want to remove it to assess whether a replacement rack is needed. In some models, the wiring for a rack-mounted heating element or a sensor is housed within the rack’s framework, requiring its removal for service.
Essential Preparation Before You Begin
Rushing into this task is a recipe for frustration or damage. Proper preparation is the key to a smooth, 5-minute job instead of a 30-minute struggle. Here’s what you need to do before you even touch the rack.
Visual guide about How to Take Top Rack Out of Dishwasher
Image source: thekitchenix.com
1. Power Down: The Non-Negotiable Step
This is the most critical safety rule. Dishwashers are hardwired electrical appliances. You must eliminate all risk of the machine starting accidentally while your hands are inside. There are two safe methods:
- Unplug the Appliance: If your dishwasher is on a plug-in cord (common in some installations), simply pull the plug from the wall outlet. Make sure it’s a dedicated outlet you can easily access.
- Turn Off the Circuit Breaker: Go to your home’s electrical panel. Locate the breaker labeled “Dishwasher” and flip it to the OFF position. If it’s not labeled, you may need to identify it by process of elimination (turn off one breaker at a time and have someone check if the dishwasher lights go off). This is the most reliable method for hardwired units.
Pro Tip: After shutting off power, try pressing the “Start” button on your dishwasher. Nothing should happen. This confirms the power is off. Never rely on the “off” button on the control panel alone, as it does not cut the main power supply.
2. Empty the Rack Completely
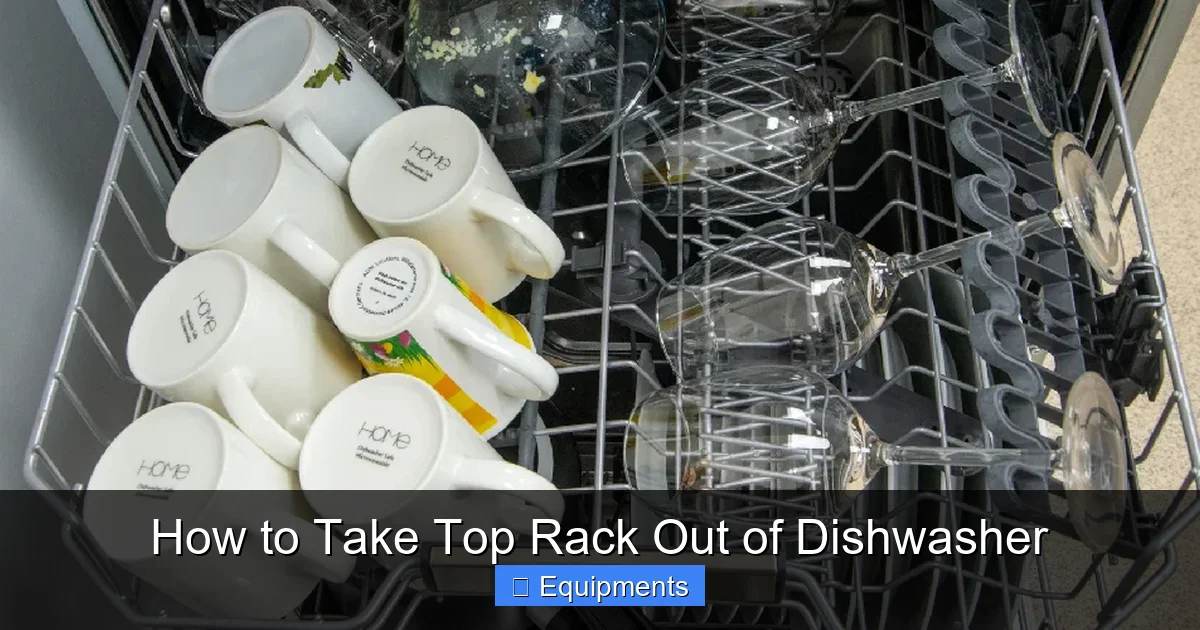
This seems obvious, but it’s easy to forget a spoon tucked in the corner. Remove every single item from both the top and bottom racks. Don’t forget the silverware basket—it’s often a removable basket that sits in the bottom rack, but in some models, a smaller cutlery holder is attached to the top rack door. Take it out. Any item left inside can become a projectile when you move the rack or, worse, fall into the machinery below.
3. Identify and Remove Obstructing Accessories
Modern dishwashers have clever, adjustable features. These can block your path. Check for:
- Adjustable Tines: Many racks have rows of plastic tines (prongs) that can be folded down to accommodate large items. Ensure all tines in the top rack are folded up into their vertical position. If any are folded down, they may catch on the tub walls or other parts during removal.
- Cup Holders and Shelf Extenders: These are often plastic grids or clips that slide or flip up. They are notorious for catching on the inner door seal or the tub lip. Fold them up or, if they are removable clips, take them off entirely and set them aside in a safe spot.
- Bottle Clips: Long plastic clips on the sides of the rack that hold bottles upright. Swing them out of the way.
4. Gather Your Tools (Usually None Needed)
For the vast majority of dishwasher models, you will not need any tools to remove the top rack. It’s designed for user-friendly removal. However, have a flashlight handy to see into the dark corners of the tub. A soft towel or mat is a good idea to place on the floor in front of the dishwasher to rest the rack on when you pull it out, preventing scratches on your floor. If you suspect you might need to disconnect a water supply tube or wiring (rare for simple removal), have a screwdriver ready, but this is advanced and not part of standard rack removal.
The Step-by-Step Removal Process
With the power off and the rack cleared, you’re ready for the physical removal. The core principle is the same for almost every dishwasher: Pull, Lift, Clear. Let’s break it down.
Visual guide about How to Take Top Rack Out of Dishwasher
Image source: i.ytimg.com
Step 1: Fully Extend the Rack
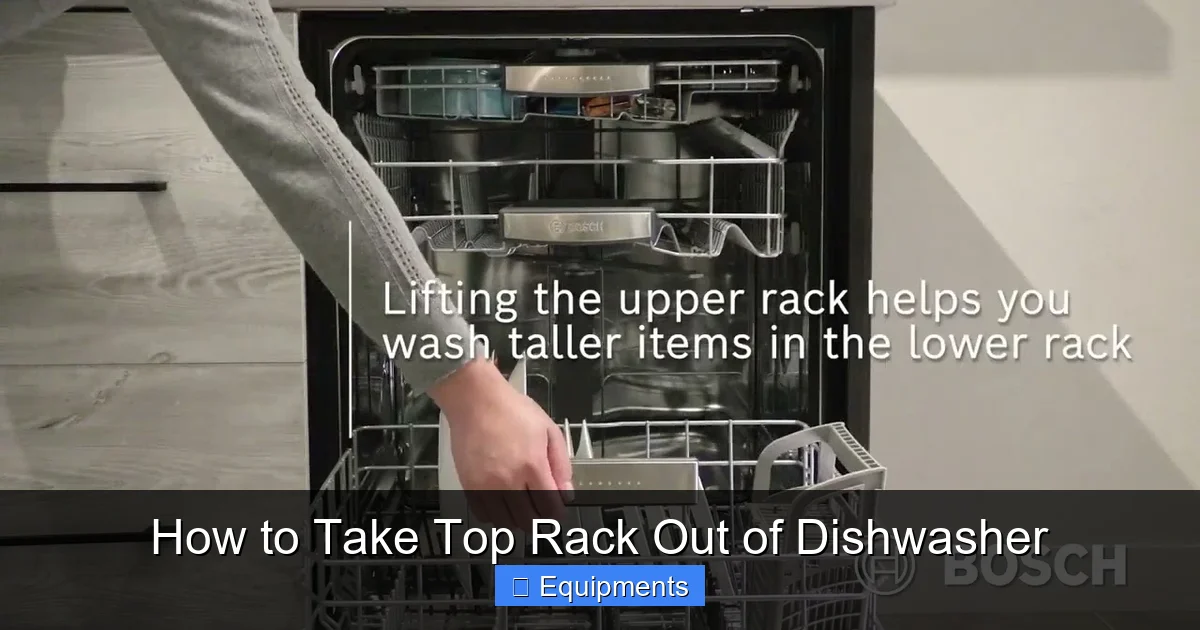
Grab the rack firmly on both sides. Gently and smoothly pull it straight out toward you. You’ll feel resistance about two-thirds of the way out. This is the rack stop mechanism. Its job is to prevent you from accidentally pulling the rack completely off its tracks, which would cause it to crash to the floor. Don’t force it past this point.
Step 2: Locate and Navigate the Stop
Look at the point where the rack stopped. You’ll see the plastic wheels of the rack are still on the metal track, but the rack itself won’t move further. The stop is usually one of two designs:
- Hook-and-Latch Stop: The most common design. At the very front end of the track (closest to you), there is a small plastic hook or lip. The rack’s support rail has a corresponding notch or tab that catches on this hook. To release, you need to lift the rack upward by about 1/2 to 1 inch. This raises the tab out of the hook’s grasp.
- Plastic Stopper Block: Some models, particularly older or certain European brands, have a solid plastic block that slides onto the end of the track. The rack’s wheel hits this block. To remove, you must lift the entire rack upward high enough that the wheel clears the top of the block, then pull.
Visual Cue: If you’re unsure, pull the rack out until it stops, then look at the very front of the track where the rack meets the dishwasher’s inner door frame. You should see the engaging parts.
Step 3: The Lift and Clear
This is the key maneuver. While holding the rack with both hands, lift the front of the rack upward (the part closest to you). You don’t need to lift it high—just enough to disengage the tab from the hook or the wheel from the stopper block. You’ll feel a slight “pop” or release of tension. Once disengaged, continue pulling the rack straight out. The wheels will come off the tracks. As you pull the last few inches, you may need to angle the rack slightly upward to clear the lip of the tub.
Step 4: Setting the Rack Down Safely
Once the rack is completely free of the dishwasher, carefully lower it. Place it on the soft towel you prepared, or on a flat surface. The rack wheels are delicate and can be damaged if dropped or dragged across a hard floor.
Brand-Specific Considerations and Variations
While the Pull-Lift-Clear method is universal, the exact details can vary. Here’s what you might encounter from major manufacturers.
Visual guide about How to Take Top Rack Out of Dishwasher
Image source: i.ytimg.com
Bosch and Siemens (German Brands)
These are known for their sleek, integrated designs. Their rack stops are often very robust. The rack support rails (the long metal or plastic pieces the wheels roll on) may be fully enclosed. To remove the rack, you typically pull it out, then lift the entire rack assembly straight up. The front wheels have a plastic clip that must clear a fixed lip on the rail. Sometimes, you need to push the rack slightly inward (toward the dishwasher) while lifting to disengage a spring-loaded clip. Always consult your Bosch manual, as some models have a third-level rack (a pull-out basket on top of the top rack) that must be removed first.
Whirlpool, KitchenAid, Maytag (Whirlpool Corp.)
These American brands commonly use the simple hook-and-latch stop described earlier. A key feature to watch for is the adjustable silverware basket. In many models, a large flatware basket is mounted to the inside of the dishwasher door. When the door is open, this basket swings down. If you forget to swing it up and out of the way, it will immediately collide with the pulled-out top rack, preventing removal and potentially damaging the basket hinges. Always check the door interior before pulling the rack.
Samsung and LG
These brands often feature highly adjustable interiors. Look for folding tine rows secured by plastic clips. Ensure all are upright. Some Samsung models have a “Crystal” or “Delicate” rack with a different, sometimes more fragile, wheel design. Be extra gentle when lifting. LG sometimes uses a sliding support rail system where the rack itself slides on a separate rail mounted to the tub. The connection can feel loose; this is normal. Just pull and lift.
Frigidaire and Electrolux
These brands frequently use a plastic stopper block design on the track ends. The lift needs to be slightly higher to clear the block. Also, be mindful of the upper spray arm supply tube. This is a long, thin plastic tube that runs from the water inlet at the back of the tub up to the top spray arm. It is usually flexible and sits in a clip on the back wall of the tub. When you pull the rack out, this tube may swing forward and get pinched between the rack and the tub. Gently guide it aside with your hand as you pull the rack out.
Troubleshooting: What If It Sticks or Won’t Come Out?
Even with the best preparation, you might encounter resistance. Don’t brute force it. Here’s a diagnostic guide for common snags.
The Rack Won’t Pull Out More Than a Few Inches
Likely Cause: An obstruction is still in place.
- Check the Door: Is the silverware basket (attached to the door) swung down? Swing it up.
- Check the Rack: Are all tines folded up? Are bottle clips or cup holders extended? Fold them in.
- Check the Tub: Shine a flashlight along the sides of the rack where it meets the tub walls. Is a dish, a plastic lid, or a utensil jammed between the rack and the wall? Remove it.
The Rack Pulls Out But Won’t Lift Off the Track
Likely Cause: You’re not lifting at the correct point or angle.
- Lift the Front, Not the Middle: The disengagement point is always at the very front of the rack (the part closest to you when the door is open). Grabbing the middle or sides won’t release the stop.
- Lift Straight Up: The motion should be primarily vertical. Don’t try to pull and lift at a 45-degree angle. Pull out until stopped, then lift the front edge straight up about an inch.
- Check for a Second Stop: Some racks have stops on both the left and right sides. You may need to lift one side slightly more than the other to disengage both tabs alternately.
A Wheel Has Fallen Off the Track
This can happen if the rack was pulled out too far without lifting first, or if a wheel was already broken. Don’t panic.
- Locate the wheel. It’s usually a small plastic caster with a metal axle. It may be sitting in the bottom of the tub.
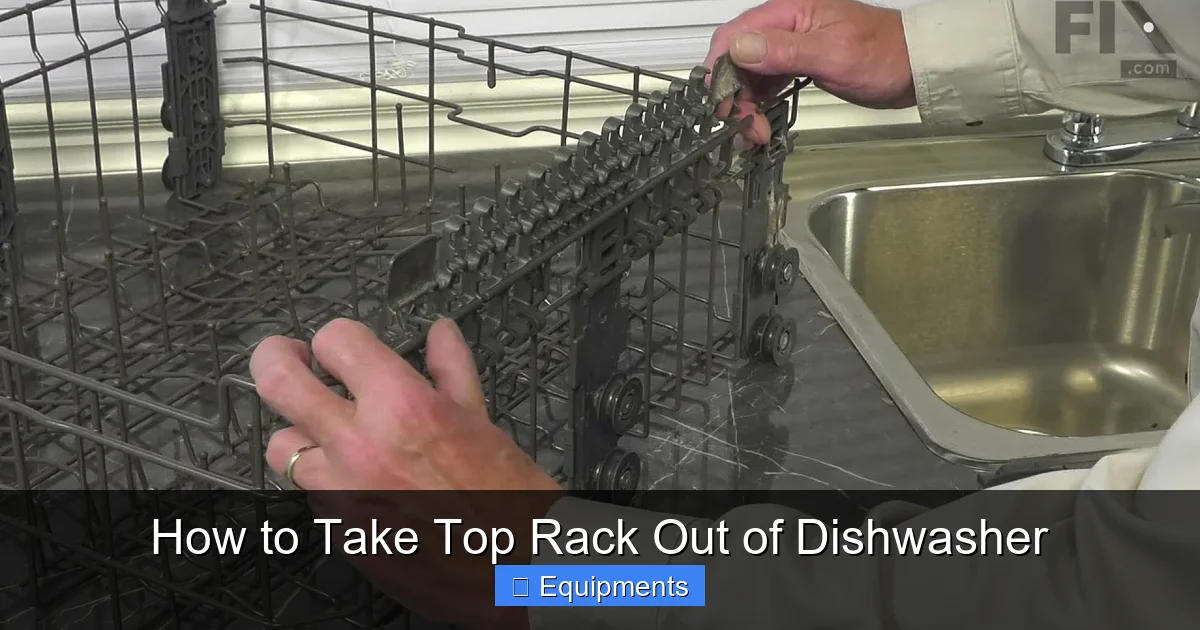
- To reinstall it, you’ll need to angle the rack so you can see the end of the support rail. The wheel snaps into a plastic holder on the end of the rail. Align the wheel’s axle with the slot in the holder and push it in until it clicks. You may need to flex the holder slightly.
- If the wheel or its holder is broken, note the model number of your dishwasher (usually on a tag inside the door frame) and order a replacement part. This is a common and easy fix.
The Rack is Rusted or Stuck to the Track
In older dishwashers, corrosion can cause the metal rack to weld itself to the steel track.
- DO NOT FORCE IT. You will bend the track or tear the rack coating.
- Try applying a penetrating lubricant (like WD-40) sparingly to the points where the wheels meet the track. Let it sit for 10-15 minutes.
- Gently try to rock the rack back and forth while pulling. Sometimes a little movement breaks the rust bond.
- If it’s completely seized, you may have to carefully cut the rack free with a hacksaw (last resort) and replace the rack entirely.
Reinstallation and Final Checks
You’ve cleaned, inspected, and repaired. Now it’s time to put the rack back. This is easier than removal, but attention to detail ensures smooth operation.
Aligning the Rack with the Tracks
Hold the rack at a slight upward angle (front higher than back). Position the back wheels (the ones farthest from you) over the start of the tracks inside the tub. Gently lower the back of the rack so the back wheels settle onto the tracks. Now, carefully push the rack forward. The front wheels will glide over the track. You’ll feel a slight resistance as the front of the rack approaches the stop mechanism.
Engaging the Stop Correctly
Continue pushing the rack in until it is fully seated. You should hear/feel a soft click or a solid stop. This is the rack’s tab engaging with the hook or the wheel settling against the stopper block. The rack should now be secure and not wiggle loosely. Gently try to pull it out again. It should only move an inch or two before stopping. If it slides out too easily, it’s not properly seated on the tracks.
The Critical Test Cycle
Do not immediately load it with dishes and run a normal cycle.
- Reconnect Power: Turn the circuit breaker back on or plug the unit in.
- Run an Empty Cycle: Select a short wash cycle (like “Rinse” or “Quick Wash”). Do not add detergent. You want to check for mechanical issues without water damage to dishes.
- Listen and Watch: Stand by the dishwasher (don’t open it during the cycle). Listen for any abnormal grinding, scraping, or loud banging. These sounds indicate the rack is hitting something—likely the spray arm, the tub walls, or the door seal.
- Check Spray Arm Rotation: If you have a transparent door, watch the top spray arm. It should spin freely without hitting the rack. If it’s striking the rack, the rack is likely pushed in too far or the upper rack height adjustment (if your model has one) is set incorrectly.
- Inspect for Leaks: After the cycle, open the door and check the floor around the dishwasher for any water. A misaligned rack can sometimes interfere with the door seal.
If the empty cycle runs quietly and without leaks, your reinstallation was successful. Now you can reload your dishes.
Long-Term Maintenance Tips for Your Top Rack
Removing the rack periodically is great, but preventing problems is even better. Incorporate these habits into your routine.
Regular Cleaning Schedule
Every 1-2 months, remove the top rack for a thorough cleaning. Use a soft brush and a solution of warm water and vinegar or a mild dishwasher-safe cleaner to scrub the rack itself, paying attention to the wheel housings where gunk accumulates. While it’s out, use a flexible wire brush or a straightened paperclip to gently clean out the spray arm holes. This prevents mineral buildup that reduces water pressure.
Load Practices That Protect the Rack
How you load the dishwasher directly affects the rack’s lifespan. Never overload. Ensure glasses and cups are secure and not touching each other; vibration during the wash can cause them to knock into each other and the rack tines. Avoid placing very heavy items (like cast iron skillets) on the top rack; it’s designed for lighter items. The weight can strain the wheels and rails. Always fold tines down securely when not in use; a loose tine can catch on a spinning spray arm and bend or break.
Inspect and Replace Worn Parts Proactively
Twice a year, when you have the rack out, do a full inspection. Look for:
- Cracked or Missing Wheels: A single missing wheel puts extra stress on the others and causes the rack to tilt and scrape. Replace the wheel or the entire support rail assembly.
- Rusted Rack Coating: A chip in the vinyl coating on a steel rack is a ticking time bomb. Moisture will reach the steel and cause rust, which will spread. Use a dishwasher rack touch-up paint (available at hardware stores) to seal the chip immediately and prevent further corrosion.
- Bent Tines: Straighten them carefully with pliers. Severely bent tines should be replaced to avoid damaging dishes.
Frequently Asked Questions
Can I remove the top rack without unplugging the dishwasher?
No, this is unsafe. Even with the control panel off, the dishwasher could accidentally start if someone presses a button or if there’s a timer malfunction. Always disconnect the power at the outlet or breaker to prevent electrical shock and injury.
My top rack has a third-level basket. Do I need to remove that first?
Yes, absolutely. The third-level rack (a small pull-out basket for utensils or small items) is almost always a separate unit that slides onto the top rack. Pull it out fully and lift it off its supports before attempting to remove the main top rack. Trying to remove the main rack with the third-level rack still attached will cause a collision and potentially break parts.
What if my dishwasher doesn’t have obvious stops on the tracks?
Some newer models, especially certain Samsung and LG lines, use a fully enclosed rail system where the wheels are captured within the rail. For these, the process is simpler: pull the rack out fully, and then simply lift the entire rack straight up. The wheels will pop out of the captured channel. There is no separate hook to disengage; the lifting action itself clears the end of the enclosed rail.
I lifted the rack but the wheels are still stuck on the track. What now?
You likely didn’t lift high enough. The front wheels must clear the stop mechanism completely. Try lifting the front of the rack a full 1-2 inches while pulling outward. If it’s still stuck, double-check that no accessory (like a cup holder) is hooked onto the tub wall or door seal from the inside, acting as a hidden stop.
Is it normal for the rack to feel loose on the tracks after reinstallation?
A slight amount of side-to-side play is normal and by design; it allows the rack to move smoothly. However, if the rack tilts significantly when loaded with dishes, or if one side sits lower than the other, it means the wheels are not properly seated on the tracks. Re-seat the rack, ensuring both sides are fully pushed in until you hear/feel the stop engage.
Can I run the dishwasher with the top rack removed?
Technically yes, but you should not. The top rack serves an important function: it holds the upper spray arm in its correct position and may also support the upper rack’s water supply tube. Running it empty can cause the lower spray arm to spray water directly upward with too much force, potentially damaging the door seal or the control panel. It also wastes water and energy. Only run an empty cycle for testing after reinstallation, and keep the rack in place for all normal washes.