Storing your homemade caramel correctly is the secret to keeping it perfectly smooth, chewy, or saucy for weeks. The method depends entirely on the caramel type—sauce, soft candies, or hard chews—with refrigeration or freezing being key for long-term freshness. Always use airtight containers to prevent moisture and odors, and learn simple tricks to fix common storage issues like crystallization or separation.
Key Takeaways
- Caramel type dictates storage: Sauces need refrigeration, while properly cooked chewy or hard caramels can be stored at room temperature in an airtight container.
- Airtight is non-negotiable: Exposure to air and moisture is caramel’s biggest enemy, causing drying, crystallization, and spoilage.
- Refrigeration extends life: For sauces and softer caramels, the fridge is your best friend, keeping them fresh for up to a month.
- Freezing is for the long haul: Both sauces and candies freeze beautifully for 2-3 months with minimal texture change if packaged correctly.
- Room temperature storage is possible but precise: Only shelf-stable, high-cooked caramels (firm-ball stage and above) stored in a truly dry, cool, dark place will last 2-4 weeks.
- Signs of spoilage are clear: Discard caramel with mold, an off smell (sour or alcoholic), or an unpleasantly grainy texture that can’t be fixed.
- Many storage problems are fixable: Separated sauce can often be rescued by gentle reheating and stirring; crystallized candy can sometimes be melted back down and re-cooked.
📑 Table of Contents
- The Sweet Challenge of Storing Your Liquid Gold
- First, Know Your Caramel: Sauce vs. Candy
- Storing Homemade Caramel Sauce: The Refrigerator is Your Friend
- Storing Chewy and Soft Caramel Candies: Airtight is Everything
- Storing Hard Caramels and Brittle: Pantry-Ready Treats
- Troubleshooting: When Storage Goes Wrong
- Creative Solutions: Don’t Waste a Drop!
- Final Thoughts: Sweet Success is in the Storage
The Sweet Challenge of Storing Your Liquid Gold
You’ve done it. You stood at the stove, sugar thermometer in hand (or maybe just a keen eye and a pot of bubbling amber), and you created homemade caramel. That deep, complex, buttery-sweet aroma fills your kitchen. You’ve poured it over ice cream, dipped apples, or maybe you’ve let it cool into those irresistible chewy squares. But then comes the question that plagues every caramel maker: what on earth do I do with the leftovers?
Storing homemade caramel isn’t as simple as tossing it in a Tupperware and calling it a day. Its very nature—a supersaturated sugar solution—makes it both a delight and a diva. Get it wrong, and you’ll find your beautiful sauce has crystallized into a grainy mess, your soft caramels have hardened into jawbreakers, or worse, unwanted moisture has invaded and spoiled your batch. The good news? With a few key principles, you can become a master of caramel preservation. This guide will walk you through every method, from countertop to freezer, for every type of caramel you might make. Let’s ensure your delicious creation lasts as long as possible.
First, Know Your Caramel: Sauce vs. Candy
Before we talk storage, we must identify what you’ve actually made. The storage rules differ drastically based on the final product’s texture and cooking stage. This is the most critical step.
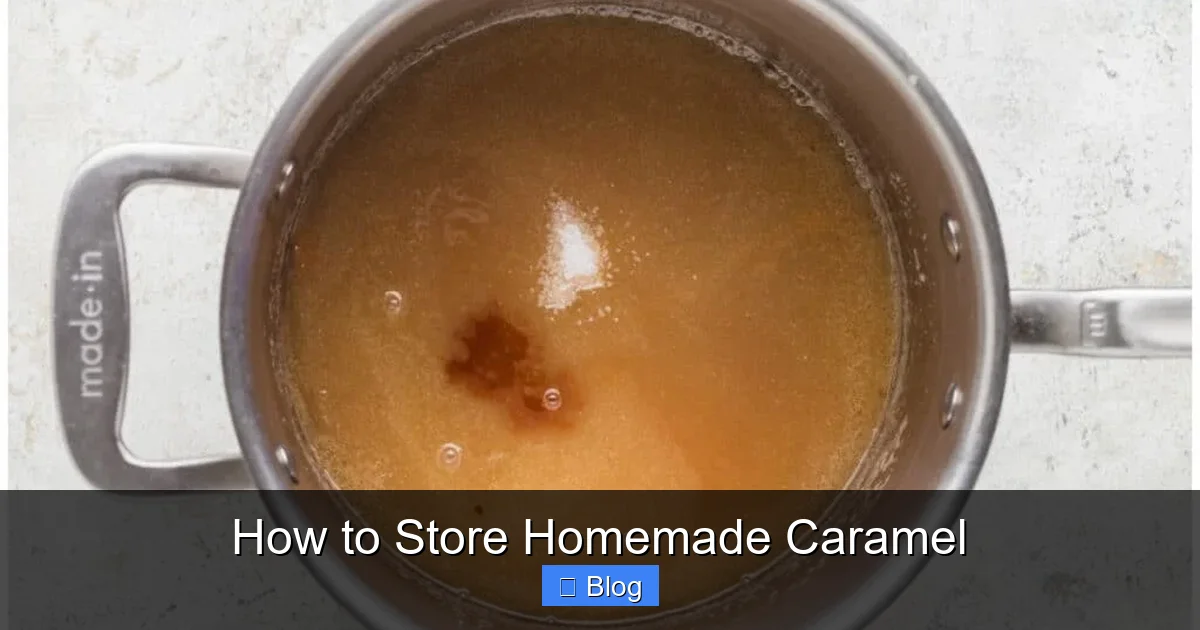
Visual guide about How to Store Homemade Caramel
Image source: amiraspantry.com
The Luscious Sauce: Soft-Ball to Soft-Crack Stage
If your caramel is pourable, dip-able, or spoonable, you’ve cooked it to the soft-ball (235-245°F / 112-118°C) or soft-crack (270-290°F / 132-143°C) stage. This includes classic caramel sauce, salted caramel, and caramel for flan or pudding. It contains a higher moisture content (from cream, butter, and often water) and is inherently unstable at room temperature. It will soften, weep, and eventually spoil if left out.
The Chewy Candy: Firm-Ball Stage
This is the classic “chewy caramel” candy stage, cooked to firm-ball (245-250°F / 118-121°C). It’s thick, holds its shape, and is pleasantly chewy. It has less moisture than a sauce but still enough to make it susceptible to humidity and drying out if not stored properly.
The Hard Chew or Brittle: Hard-Ball to Hard-Crack Stage
Cooked to hard-ball (250-265°F / 121-129°C) or even hard-crack (300-310°F / 149-154°C), these caramels are dense, firm, and have a longer “snap.” They have very little moisture content, making them the most shelf-stable of the homemade bunch, though they can still become sticky in humidity.
Why this matters: A sauce must be refrigerated. A firm-ball caramel can be stored at room temperature if conditions are perfect, but refrigeration is safer. A hard-crack caramel is the only one truly suited for long-term pantry storage.
Storing Homemade Caramel Sauce: The Refrigerator is Your Friend
For any homemade caramel sauce, the refrigerator is non-negotiable for storage beyond a few hours. Its high butter and cream content make it a prime candidate for spoilage at room temperature.
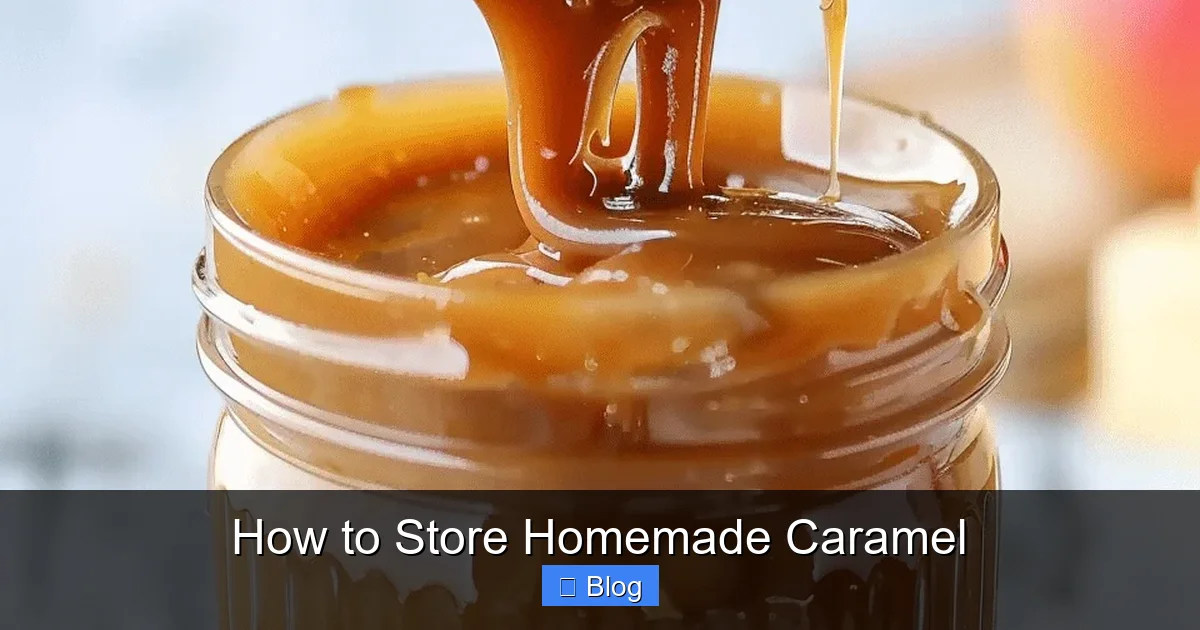
Visual guide about How to Store Homemade Caramel
Image source: kitchenloving.com
The Perfect Container: Airtight and Heat-Tolerant
Choose a clean, dry glass jar (like a mason jar) with a tight-sealing lid. Glass is ideal because it won’t retain odors or stains, and you can often reheat the sauce gently in the jar if it separates (place the closed jar in a pot of simmering water). Avoid plastic containers if you plan to reheat the sauce, as they can warp or leach chemicals.
The Refrigeration Process: Cool Completely
Never put warm or hot caramel sauce into the refrigerator. This raises the internal temperature of your fridge, endangers other foods, and causes condensation to form inside the container, which is the enemy of smooth caramel. Let the sauce cool to room temperature on the counter, stirring occasionally to release heat and prevent a skin from forming. Once completely cool, ladle it into your jar, leaving about ½ inch of headspace, and seal it tightly.
Shelf Life and Reheating
Properly stored, homemade caramel sauce will last in the refrigerator for 3 to 4 weeks. It will solidify into a thick, buttery paste. To reuse, you have two options:
- Microwave Method: Transfer the amount you need to a microwave-safe bowl. Heat on low power (30-50% power) in 15-20 second bursts, stirring gently in between, until it reaches your desired pourable consistency.
- Stovetop Method: Place the sauce in a small saucepan over very low heat. Stir constantly until warmed and smooth. Add a teaspoon of heavy cream or milk if it seems too thick.
Note: It’s normal for the sauce to separate slightly (a layer of butter on top) after refrigeration. This is usually fixed by vigorous whisking or gentle reheating while stirring.
Storing Chewy and Soft Caramel Candies: Airtight is Everything
For caramels cooked to the firm-ball stage, the goal is to maintain their chewy texture and prevent them from drying out, becoming too hard, or getting sticky.
Visual guide about How to Store Homemade Caramel
Image source: yourdelicious.com
The Room Temperature Option (For the Perfectionist)
If you live in a cool, dry climate (think consistent temperatures below 70°F / 21°C and low humidity), you can store your properly cooked chewy caramels at room temperature. The key is creating a moisture-proof barrier.
- Layer the caramels between sheets of parchment or wax paper in a single layer.
- Place this parchment-lined layer into a rigid, airtight plastic container (like a Tupperware). Do not use a flimsy bag.
- Seal the container tightly. Store it in a dark, cool pantry or cupboard, away from the stove, oven, or direct sunlight.
Even under perfect conditions, these caramels are best eaten within 2 to 4 weeks. Humidity is their ultimate nemesis, causing them to absorb moisture and become sticky or grainy.
The Recommended Method: Refrigeration
For most home cooks, refrigeration is the safest and most reliable bet for chewy caramels. It dramatically slows down any textural changes and prevents spoilage.
- Line an airtight container with parchment paper.
- Place caramels in a single layer on the paper. You can layer more caramels with additional parchment sheets between each layer to prevent sticking.
- Seal the container tightly. refrigerated caramels will stay fresh and chewy for up to 1 month.
To serve, let them sit at room temperature for 10-15 minutes to take the chill off and soften slightly. They do not need to be warmed like a sauce.
The Long-Term Solution: Freezing
Both chewy and softer caramels freeze exceptionally well with minimal texture change if packaged correctly to prevent freezer burn.
- Wrap each caramel individually in wax paper or parchment paper, twisting the ends like a tiny candy wrapper. This prevents them from sticking together.
- Place the wrapped caramels in a freezer-safe, airtight zip-top bag or container. Squeeze out as much air as possible before sealing.
- Label with the date. Frozen caramels will keep for 2 to 3 months.
Thaw by transferring the container to the refrigerator for a few hours or leaving individual wraps on the counter for 30 minutes. Do not microwave frozen caramels.
Storing Hard Caramels and Brittle: Pantry-Ready Treats
Caramels cooked to the hard-ball or hard-crack stage have very little moisture, making them the most stable. Think of traditional English toffee or a very firm caramel bite.
The Classic Pantry Storage
These can be stored at room temperature, but the same airtight rules apply.
- Ensure the caramels are completely cooled and hardened.
- Layer them between sheets of parchment paper in a single layer inside a truly airtight container—a glass jar with a rubber seal or a high-quality plastic bin with a locking lid.
- Store in a cool, dark, dry pantry. Avoid any spot with temperature fluctuations (like near the dishwasher or oven).
They will keep well for 3 to 4 weeks. In very humid environments, they may eventually absorb moisture and soften. If this happens, you can often crisp them up by placing them on a baking sheet in a 200°F (95°C) oven for 10-15 minutes.
Freezing for Extended Freshness
While not always necessary, freezing hard caramels is a great option for bulk batches. Use the same individual wrapping and airtight bag/container method as for chewy caramels. They will keep for up to 6 months. Thaw at room temperature in their wrapping to prevent condensation.
Troubleshooting: When Storage Goes Wrong
Even with the best intentions, caramel can misbehave. Here’s how to identify and fix common issues.
The Grainy, Crystallized Sauce or Candy
What it looks like: A gritty, sandy texture instead of smooth. Often starts around the edges of a cooling sauce or on the surface of a candy.
Why it happens: Sugar crystals found a seed (a speck of dust, a stray crystal, or even the side of the pot) and multiplied. This can be triggered by moisture getting into storage, or from improper initial cooking (not dissolving all the sugar, stirring too much once boiling).
Can you fix it? Yes, for sauce! Scoop the crystallized sauce into a clean saucepan. Add 1 tablespoon of water or lemon juice per cup of sauce. Heat gently over low heat, stirring constantly just until the grains dissolve and the sauce is smooth again. For crystallized candies, you can try melting them back down in a saucepan with a splash of cream and re-cooking to the proper stage, but it’s often easier to just enjoy them as a crunchy, crystallized treat.
The Separated, Oily Sauce
What it looks like: A clear layer of butter or oil floating on top of a denser caramel layer.
Why it happens: This is common after refrigeration. The fat components solidify at different rates than the sugar syrup.
Can you fix it? Almost always! Vigorously whisk the cold sauce. If that doesn’t work, gently reheat it in a saucepan over low heat or in the microwave, whisking constantly until the emulsion comes back together. Adding a teaspoon of warm cream can help bring it back to a perfect, glossy consistency.
The Too-Hard or Too-Sticky Candies
Too Hard: Likely cooked a few degrees too high. Unfortunately, you can’t uncook candy. To soften, try placing a few in a sealed container with a small piece of fresh bread or an apple slice for 24 hours; the moisture from the fruit may transfer slightly.
Too Sticky: Usually from humidity. Toss the caramels in a little cornstarch or powdered sugar (a 50/50 mix works well) to coat them and absorb surface moisture. Store them in the refrigerator immediately afterward.
Creative Solutions: Don’t Waste a Drop!
What if you have a small amount of leftover sauce or a few imperfect caramels? Don’t throw them away! Repurpose them.
- Last-Minute Sauce: A tablespoon of leftover caramel sauce stirred into plain yogurt, oatmeal, or coffee is an instant gourmet upgrade.
- Caramel Apple Dip: Whip leftover sauce with a bit of cream cheese for a thick, decadent dip for apple slices.
- Ice Cream Topping: Even slightly crystallized sauce can be warmed and drizzled over ice cream—the cold of the ice cream often masks minor texture issues.
- Candy Crumbles: Too-hard or broken caramels can be pulsed in a food processor to make caramel crunch. Use it to top ice cream, cupcakes, or yogurt parfaits.
- Hot Chocolate Swirl: A spoonful of caramel sauce swirled into a mug of hot chocolate is a revelatory experience.
Final Thoughts: Sweet Success is in the Storage
Making homemade caramel is a rewarding culinary adventure. The final, delicious step is ensuring that your effort doesn’t go to waste. Remember the golden rule: sauce goes in the fridge, candy goes in an airtight container. By understanding your specific caramel’s composition and respecting its need for protection from air, moisture, and temperature swings, you can enjoy your homemade creation at its peak for weeks to come. Whether you’re savoring a chewy square with your afternoon coffee or drizzling rich sauce over a Sunday dessert, proper storage means that sweet, complex flavor you worked so hard for will be ready whenever you are. Now, go forth and store that caramel with confidence!
Frequently Asked Questions
How long does homemade caramel sauce last in the refrigerator?
When stored in a clean, airtight container and kept consistently cold, homemade caramel sauce will last for 3 to 4 weeks. It may solidify, but it can be gently reheated back to a smooth, pourable consistency.
Can I store chewy caramels on the countertop?
Yes, but only under ideal conditions: in a cool, dry, dark pantry (below 70°F/21°C) with low humidity, and stored in a truly airtight container with parchment paper between layers. For most homes, refrigeration is safer and more reliable for maintaining texture beyond a week or two.
My caramel sauce has separated in the fridge. Is it ruined?
No, it’s usually not ruined! Separation is common after refrigeration. Simply remove the sauce from the fridge, let it sit at room temperature for 20 minutes, then whisk vigorously. If that doesn’t work, gently reheat it in a saucepan or microwave while stirring until it emulsifies back together.
How can I tell if my homemade caramel has gone bad?
Discard your caramel if you see any signs of mold, if it smells sour, fermented, or generally off (not just buttery), or if it has an unpleasantly grainy texture that doesn’t smooth out with reheating. A slight graininess from crystallization is a texture issue, not necessarily spoilage, but a sour smell is a clear sign to toss it.
Can you freeze caramel sauce?
Absolutely. Freeze caramel sauce in a freezer-safe, airtight container, leaving a little headspace for expansion. It will keep for 2-3 months. Thaw it overnight in the refrigerator and then reheat gently on the stove or in the microwave, adding a splash of cream if needed to restore its smooth texture.
Why did my stored caramels get sticky and soft?
This is almost always due to humidity. Moisture from the air has been absorbed by the sugar. To fix it, toss the caramels in a mixture of cornstarch and powdered sugar to coat them. For long-term storage, ensure they are in a truly airtight container in a cool, dry place, or move them to the refrigerator.