Shipping cutting boards properly is crucial to prevent damage, reduce costs, and ensure customer satisfaction. This guide provides a complete, step-by-step process from material selection to carrier choice, covering everything from simple wood boards to custom, high-value pieces. Follow these proven techniques to package your cutting boards securely for any destination.
So, you’ve made a beautiful cutting board. Maybe it’s a simple, sturdy maple board for chopping vegetables, or perhaps it’s a stunning, custom-engraved walnut piece with a juice groove and epoxy river. It’s perfect. It’s ready to leave your workshop or kitchen. But then comes the million-dollar question for any maker or small business owner: how on earth do you ship a cutting board without it arriving at its new home looking like it survived a demolition derby?
If you’ve ever opened a package to find a cherished item chipped, cracked, or splintered, you know the sinking feeling. For the recipient, it’s disappointment. For you, it’s a ruined product, a refund, a negative review, and the headache of a claim. Shipping cutting boards isn’t just about slapping a label on a box; it’s an art form in protective engineering. Get it wrong, and your beautiful creation becomes a costly lesson. Get it right, and you build a reputation for quality that starts the moment the box is opened.
This guide will walk you through everything you need to know about how to ship cutting boards of all types, sizes, and values. We’ll move from the fundamental principles of protection to the specific, step-by-step methods that have saved countless boards from the trash bin. Whether you’re a weekend crafter at a farmers’ market or an established brand shipping nationwide, this is your definitive playbook.
Key Takeaways
- Proper packaging is non-negotiable: Cutting boards, especially hardwood and custom ones, are susceptible to corner and edge damage during transit. Inadequate packaging leads to returns, refunds, and lost customer trust.
- Material matters for both board and box: The board’s material (bamboo, hardwood, composite) dictates its fragility. Pair this with a double-wall corrugated box and sufficient cushioning for a robust defense against impacts.
- Customization requires extra care: Engravings, inlays, or juice grooves are vulnerable points. These features need specific protective measures like edge guards and targeted cushioning to survive shipping.
- Carrier selection impacts cost and safety: USPS is often best for lighter packages under 1 lb, while UPS/FedEx may be better for heavier, larger boards. Always compare rates and consider dimensional weight pricing.
- Insurance and accurate labeling are essential: For boards over $50, always purchase shipping insurance. Clear “FRAGILE” and “THIS SIDE UP” labels, while not guarantees, alert handlers to the contents’ nature.
- Eco-friendly options are available and appealing: Using recycled/recyclable packaging materials and carbon-neutral shipping options can be a significant marketing point for environmentally conscious brands.
📑 Table of Contents
- Why Shipping Cutting Boards is a Unique Challenge
- Essential Packaging Materials: Your Arsenal for Safety
- Step-by-Step: Packing a Standard Cutting Board
- Special Considerations: Custom, Large, and Unusual Boards
- Choosing the Right Carrier & Understanding Costs
- Beyond the Basics: Insurance, Labels, and Customer Experience
- Conclusion: Shipping as Part of Your Craft
Why Shipping Cutting Boards is a Unique Challenge
Before we dive into the “how,” let’s talk about the “why.” Why can’t you just toss a cutting board in a box with some packing peanuts and call it a day? The answer lies in the very nature of the product.
The Physics of a Fall
A cutting board is a dense, rigid, often heavy object with a relatively large surface area but minimal thickness. During transit, packages are subjected to constant jostling, drops, and compression. The corners and edges of a board are its weakest structural points. A impact on a corner concentrates force into a tiny area, easily cracking wood or chipping a delicate edge. A sharp impact on the face can cause splitting along the grain. Your packaging’s sole job is to absorb and distribute that impact energy so the board itself never feels the full brunt of it.
The Value of the Finish
It’s not just the wood. Most cutting boards are finished with food-safe oils, waxes, or sealants like mineral oil, beeswax, or polyurethane. These finishes can be scratched, dulled, or cracked by rough handling. A scuff might seem minor, but to a customer paying for a handcrafted item, it feels like a flaw. Furthermore, a compromised finish can be a functional issue, allowing moisture to penetrate the wood where it shouldn’t. Protecting the surface is as important as protecting the structure.
The “Custom” Factor
A simple, rectangular board is one thing. But what about one with a juice groove? That routed channel around the edge is a prime spot for cracks to start. What about inlays of different wood species or resin? These are weak points where materials meet. What about engravings or pyrography? The burned or carved surface can be delicate. Custom features demand custom protection strategies, which we’ll cover in detail later.
Essential Packaging Materials: Your Arsenal for Safety
You wouldn’t send a soldier into battle with a rubber spoon. Similarly, you can’t protect a cutting board with newspaper and a flimsy envelope. Investing in the right materials is the first and most critical step in learning how to ship cutting boards successfully.
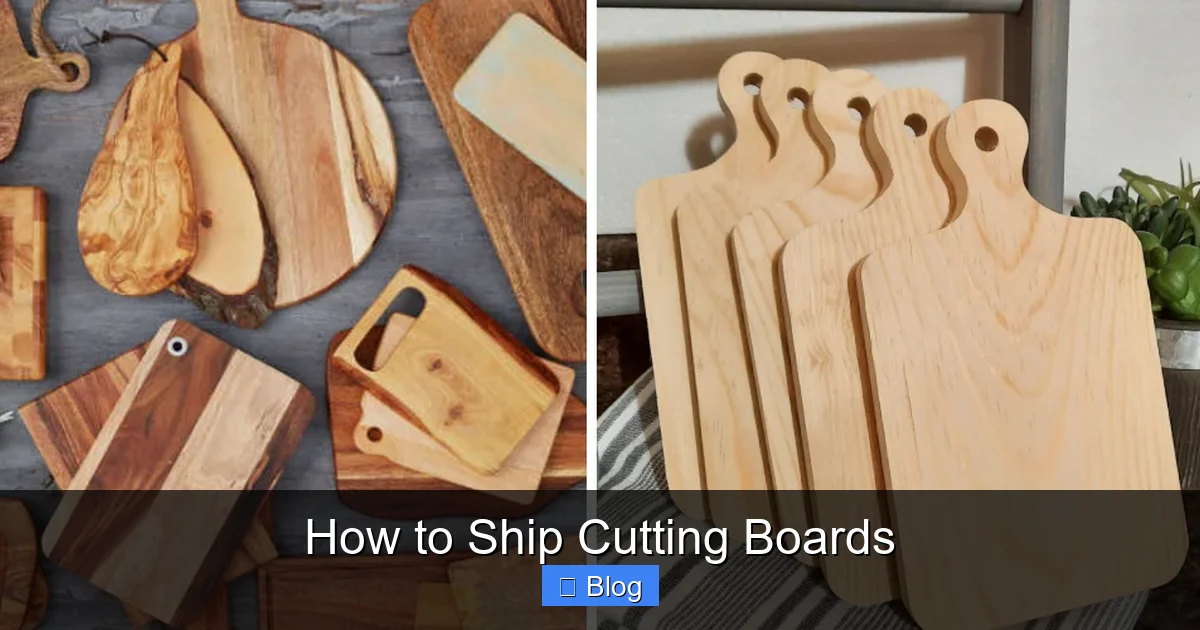
Visual guide about How to Ship Cutting Boards
Image source: thekitchenix.com
The Box: Your First Line of Defense
This is your outer shell. Never, under any circumstances, use a single-wall box (the thin, cheap kind). You need a double-wall corrugated cardboard box. The “double-wall” means it has two layers of fluted (wavy) cardboard sandwiched between three layers of flat linerboard. This creates incredible puncture resistance and compressive strength. It’s the industry standard for anything over a few pounds or with sharp edges. For very large or heavy boards (over 15 lbs), consider a triple-wall box.
- Pro Tip: Don’t reuse a beat-up box. A damaged box has already lost much of its structural integrity. Start with a new, sturdy one.
Cushioning: The Shock Absorbers
This is the soft stuff that surrounds your board inside the box. The goal is to create a snug, immobile cradle. Options vary in cost, eco-friendliness, and performance.
- Corrugated Cardboard Rolls/Sheets: Excellent. Provides firm, structured padding. You can wrap the board in a layer and use crumpled sheets as fill. It’s recyclable and cheap.
- Bubble Wrap: The classic. Use small-bubble wrap (1/4″ bubbles) for surface protection and large-bubble (1/2″+) for shock absorption. Always wrap with the bubbles facing outward, toward the box, for better impact cushioning. Avoid overusing; it’s plastic and not always eco-friendly.
- Kraft Paper / Packing Paper: Great for filling voids and providing a lightweight, soft layer. You can crumple it for bulk or use flat sheets for surface wrap. It’s inexpensive, recyclable, and biodegradable.
- Foam Peanuts (Loose Fill): Use with caution. They are terrible for immobilizing an object; the board will just rattle around inside the box. Only use them to fill large, empty spaces after the board is securely braced with other materials.
- Molded Pulp/End Caps: These are pre-formed, heavy-duty cardboard pieces that fit the shape of your board’s ends. They are fantastic for preventing corner damage and are often used by professional furniture shippers. Can be more expensive but offer supreme protection.
Sealing & Labeling: The Final Touch
A heavy-duty packing tape (at least 2″ wide, reinforced filament tape is best) is a must for sealing the box. Use the “H” taping method for maximum security. For labeling, a clear, durable shipping label is key. Additionally, invest in a “FRAGILE” stamp or sticker and a “THIS SIDE UP” arrow. While carriers don’t guarantee gentle handling based on labels, they do serve as a crucial visual cue.
Step-by-Step: Packing a Standard Cutting Board
Now, let’s get our hands dirty. Here is the universal, foolproof method for packing a typical rectangular cutting board (e.g., 12″x18″x1.5″, made of maple or bamboo). This method forms the foundation you can build upon for more complex boards.
Visual guide about How to Ship Cutting Boards
Image source: media.printables.com
Step 1: Preparation is Everything
Clean the board thoroughly. Any food debris or oil residue can stain packaging or attract pests. Ensure it is completely dry. If it’s an oiled board, a light wipe-down is fine, but don’t apply fresh oil right before packing—it can seep out.
Step 2: The Inner Wrap – Creating a Protective Cocoon
Lay out a large sheet of corrugated cardboard or several layers of kraft paper on your workspace. Place the cutting board in the center.
- For a basic board: Wrap it tightly in 2-3 layers of kraft paper or a flat sheet of corrugated. This prevents scratches and provides a first layer of shock absorption.
- For a premium board: Use a sheet of bubble wrap (bubbles out) followed by a layer of kraft paper for surface protection. Secure the wrap with a small piece of tape, but never tape directly to the board’s surface.
Step 3: Corner & Edge Armor – The Most Critical Step
This is where most shipping failures happen. You must protect those vulnerable corners.
- Cut four squares of corrugated cardboard (about 4″x4″ for a standard board).
- Place one over each corner of the wrapped board.
- Now, take two long strips of corrugated cardboard (the width of your board plus a few inches). Place one along the top edge and one along the bottom edge, covering the corners you just fortified. This creates a “frame” around the board.
- Secure this entire cardboard frame to the inner-wrapped board with a few pieces of tape on the back side only. Do not tape across the beautiful face of the board.
Step 4: The Box Fit – No Room for Movement
Place this protected board into your double-wall box. The fit should be snug. You should not be able to move the board side-to-side or front-to-back with any significant force.
- If there is too much space, you need more cushioning. Fill all voids on the sides and ends with crumpled kraft paper or cardboard strips. The board must be immobilized.
- The ideal setup has about 2-3 inches of cushioning material on all sides (top, bottom, left, right, front, back) between the board’s cardboard frame and the inner wall of the outer box.
Step 5: Cushioning & Sealing
Once the board is perfectly centered and immobilized, add a final layer of cushioning on top (more crumpled paper or a cardboard sheet). Close the box and give it a gentle shake. You should hear and feel nothing moving inside. If you do, open it and add more filler. Once satisfied, seal the box thoroughly with heavy-duty packing tape using the “H” method (tape along all seams and across the middle for reinforcement).
Special Considerations: Custom, Large, and Unusual Boards
A standard rectangle is the easy part. The real test of your shipping prowess comes with special features. Here’s how to adapt your technique.

Visual guide about How to Ship Cutting Boards
Image source: cdn.inspireuplift.com
Boards with Juice Grooves
The long, routed channel around the perimeter is a crack waiting to happen. It needs direct protection.
- Follow Steps 1-3 above.
- Take a long, thin strip of corrugated cardboard (about 1″ wide). Gently tuck it into the juice groove. This prevents anything from impacting the thin, vulnerable edge of the groove.
- Proceed with boxing, ensuring the board is oriented so the groove isn’t pressed directly against the box wall.
Round, Oval, or Unusual Shapes
These are trickier because they don’t maximize box space efficiently and have no natural “corners” to brace.
- Molded Pulp is Your Friend: Consider ordering custom-molded pulp end caps that match the curve of your board. This is the professional solution.
- DIY Cardboard Form: Create a custom cradle inside the box. Cut corrugated cardboard into a curved shape that matches the board’s profile on two or more sides. Use more crumpled paper to fill the remaining space and prevent rolling.
- The “Box Within a Box” Method: Pack the board securely in a smaller, perfectly sized inner box (using the same cushioning principles). Then place that inner box into a larger outer box with at least 3 inches of padding (peanuts or more paper) on all sides. This is for very fragile or high-value items.
Heavy, Thick, or Large Boards (e.g., Butcher Blocks)
Weight and size introduce new risks: the box collapsing under its own weight or the board breaking through a weak spot.
- Upgrade Your Box: Use a triple-wall box for anything over 20 lbs.
- Internal Bracing: Use flat sheets of corrugated cardboard as vertical dividers or “shelves” inside the box to support the board’s weight and prevent sagging.
- Handles are a Must: For boards over 15 lbs, include reinforced cardboard handles on the outside of the box for safe carrying. No one wants to drop a 25-pound block because they couldn’t get a grip.
Choosing the Right Carrier & Understanding Costs
Your packaging is perfect. Now, who do you give it to? And how much will it cost? This is where logistics come in.
The Big Three: USPS, UPS, FedEx
Their pricing structures and strengths differ significantly for how to ship cutting boards.
- USPS (United States Postal Service): Often the winner for lighter packages (under 1 lb). Their Priority Mail service (2-3 day) has flat-rate boxes, but a cutting board won’t fit in them. You’ll use their weight-based pricing. For a well-packed 1.5 lb board to a zone 5 address, you might pay $10-$15. Their “Retail Ground” (formerly Parcel Post) is cheaper for heavier, non-urgent shipments but slower (2-8 days). Best for: Small to medium boards under 5 lbs, especially to residential addresses.
- UPS (United Parcel Service): Excellent reliability and tracking. Their pricing is heavily based on dimensional weight for larger boxes. A large, light box (like a big, thin board) can be surprisingly expensive because UPS charges based on the box’s volume (LxWxH/139) if that number is higher than the actual weight. Best for: Heavier, denser boards where actual weight exceeds dimensional weight, and for business-to-business shipments.
- FedEx: Similar to UPS in pricing model (dimensional weight). Often competitive with UPS. Their Ground service is reliable. Best for: Similar use cases as UPS; always compare all three.
Golden Rule: Always, always use an online shipping calculator (like Pirate Ship, Shippo, or the carriers’ own websites) and enter the exact outer box dimensions and weight of your packaged product. Don’t guess.
Decoding Dimensional Weight
This is the #1 hidden cost for shipping large, lightweight items. Carriers calculate: (Length x Width x Height) / 139 = Dim Weight (in lbs). They then charge you for whichever is greater: the actual weight or the dimensional weight. A 24″x18″x3″ box has a dim weight of about 9 lbs, even if the board inside only weighs 4 lbs. You’ll pay for 9 lbs. This is why choosing the smallest possible box that still allows for adequate cushioning is a direct cost-saving measure.
Beyond the Basics: Insurance, Labels, and Customer Experience
The final pieces of the puzzle turn a shipped package into a professional delivery.
Insurance: Don’t Ship Without It
For any board with a value over $50, you must buy shipping insurance. The included carrier liability is minuscule (often $50-$100 max, and you have to prove negligence, which is nearly impossible). For a $200 custom board, a $2-$5 insurance premium is the best peace of money you can spend. File a claim promptly with photos of the damaged packaging and item if something goes wrong. Platforms like Etsy or Shopify often offer discounted insurance through partners like Shipsurance.
Labeling & Documentation
A clear, complete label is mandatory.
- Print it on a thermal label printer or high-quality laser paper. Never hand-write.
- Include a packing slip inside the box with the order number and your contact info. This helps if the label falls off.
- Apply your “FRAGILE” and “THIS SIDE UP” labels clearly on at least two adjacent sides of the box.
- If shipping internationally, you must include a customs form accurately describing the contents as a “Handcrafted Wood Cutting Board” with the declared value. Some countries have specific import rules for wooden goods, so research this beforehand.
The Unboxing Experience
Your job isn’t done when you tape the box. Think about the moment of opening.
- Consider a branded outer box or a branded tape seal. It’s free marketing.
- Include a small thank you note or care instructions for the board. “Please oil monthly with mineral oil.” This shows you care about the product’s longevity.
- If you’re eco-conscious, mention that your packaging materials are recycled/recyclable. This is a huge plus for many buyers.
Conclusion: Shipping as Part of Your Craft
Learning how to ship cutting boards properly is an extension of your craft. The care you put into selecting the wood, designing the shape, and sanding the finish should be matched by the care you put into protecting it for its journey. It’s the final, critical step in delivering your promise of quality to your customer.
Remember the core formula: Double-wall box + immobilized board + corner/edge armor + void-free fill + correct carrier + insurance. Master this, and you’ll see a dramatic drop in damage-related issues, glowing reviews about secure packaging, and the confidence to ship your work anywhere in the world. Your beautiful cutting board deserves a safe trip. Now you know exactly how to give it one.
Frequently Asked Questions
Should I use a USPS Flat Rate box for a cutting board?
No. Standard cutting boards are too large and heavy to fit in any USPS Flat Rate box. Attempting to force one in would compromise the packaging and likely exceed the box’s weight limit. Always use appropriately sized, new double-wall boxes for cutting boards.
What’s the single most common mistake people make when shipping cutting boards?
The most common mistake is using a box that is too large and not filling the voids adequately. A board rattling around inside a big box is a recipe for corner chips and face splits. The board must be immobilized with cushioning on all sides.
Is bubble wrap alone enough to protect a cutting board?
No. Bubble wrap is a cushioning material, not a structural solution. It must be used in conjunction with a sturdy double-wall box and, crucially, with corner protectors made of rigid cardboard. Bubble wrap alone will not prevent a sharp corner impact from cracking the wood.
How do I ship a very large, heavy butcher block (e.g., 24”x24”x2”)?
For boards over 20 lbs, use a triple-wall box. Create internal bracing with vertical sheets of corrugated cardboard to support the weight and prevent sagging. Add reinforced carrying handles on the outside of the box. Consider a “box-in-a-box” method with heavy-duty padding between layers for maximum security.
Do I really need to insure a $75 cutting board?
Absolutely. Carrier liability for loss or damage is typically very low (often around $50) and requires proving the carrier’s negligence, which is almost impossible. A small insurance premium (usually $2-$4 for that value) protects your profit and your customer relationship. It’s a non-negotiable cost of doing business for items above a minimal value.
Can I ship cutting boards internationally?
Yes, but with significant extra steps. You must research the destination country’s agricultural and wood import regulations (some require heat treatment or fumigation certificates). You must accurately complete a customs declaration form. Shipping costs will be high, and transit times long. Always use the most robust packaging possible (double-boxing is recommended) and purchase international shipping insurance.