Sharpening Japanese knives doesn’t have to be intimidating. With the right tools, a simple routine, and a few insider tricks, you can restore a razor‑sharp edge in minutes and keep it that way for years.
Key Takeaways
- Understand blade geometry: Japanese knives have a different angle and hardness than Western knives, so they need a specific sharpening approach.
- Choose the right stone: A combination of coarse, medium, and fine whetstones (or a water stone set) gives the best results.
- Maintain consistent angles: Aim for 10‑15° per side for most Japanese knives; a sharpening guide can help you stay steady.
- Use proper technique: Push the blade across the stone in a sweeping motion, finishing with a light polish on a fine stone or leather strop.
- Practice safety: Keep the stone stable, protect your fingers, and never force the blade.
- Regular maintenance matters: Light honing after each use and full sharpening every few months prolongs edge life.
- Storage and care: Keep knives dry, store them in a knife block or on a magnetic strip, and clean stones after each session.
📑 Table of Contents
- Introduction: Why Sharpening Japanese Knives Is Different
- 1. Getting to Know Your Knife: Blade Geometry and Steel Types
- 2. Essential Tools for Sharpening Japanese Knives
- 3. Preparing Your Workspace and the Stone
- 4. Step‑by‑Step Sharpening Process
- 5. Special Cases: Single‑Bevel Knives and Alternative Tools
- 6. Maintaining Your Knives After Sharpening
- Conclusion: Sharpening Japanese Knives Becomes Second Nature
Introduction: Why Sharpening Japanese Knives Is Different
Japanese kitchen knives are celebrated for their ultra‑thin edges, precise cuts, and beautiful craftsmanship. Unlike the thick, robust blades many Western chefs use, a typical Japanese knife—whether it’s a Gyuto, Santoku, or Nakiri—has a finer angle (usually 10‑15 degrees per side) and a harder steel core. Those qualities give you that buttery‑smooth slice through fish, meat, and vegetables, but they also mean the edge can become dull faster if you don’t treat it right.
Many home cooks think they need a professional sharpening service, but with a few inexpensive tools and a clear routine, you can sharpen your own knives at home. This guide walks you through everything you need to know: the tools, the technique, safety tips, and maintenance habits that will keep your Japanese knives performing like new.
1. Getting to Know Your Knife: Blade Geometry and Steel Types
1.1. Edge Angles Matter
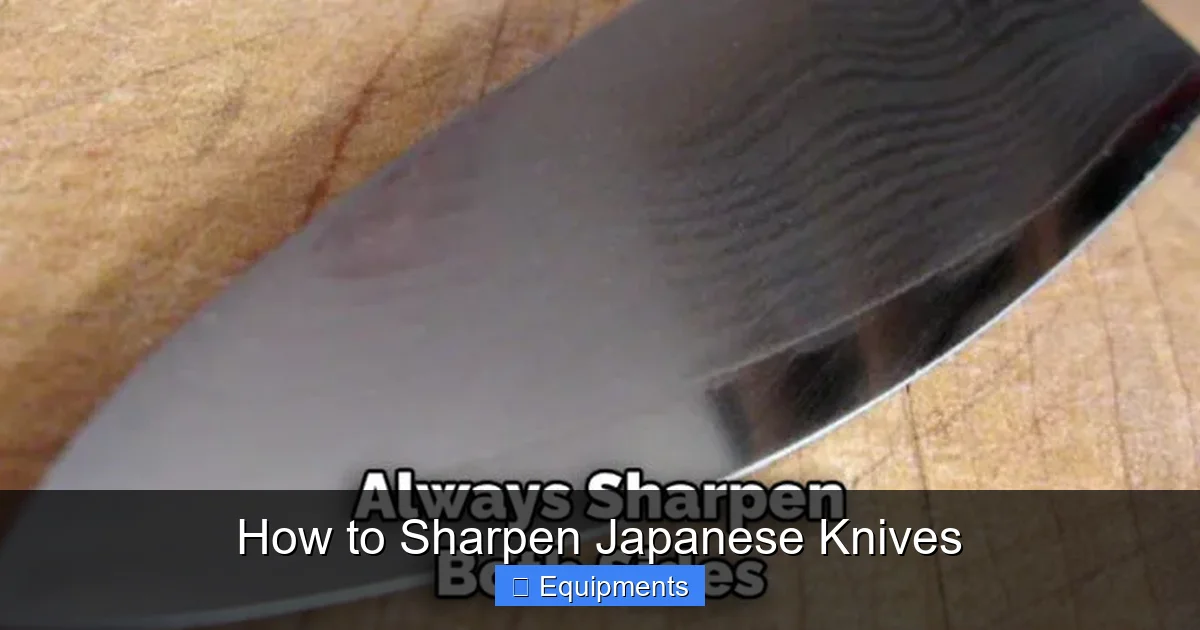
Japanese knives are typically sharpened to a total edge angle of 20‑30 degrees (10‑15 degrees per side). This narrow angle creates a razor‑thin edge but also makes the edge more delicate. In contrast, many German‑style knives are set at 40‑45 degrees total, giving them more durability but a slightly thicker cut.
Visual guide about How to Sharpen Japanese Knives
Image source: thekitchenix.com
1.2. Hardness and the Role of Steel
Most Japanese knives use high‑carbon stainless steel (often rated 58‑63 HRC). The high hardness allows the blade to hold a fine edge, yet it also makes the steel more prone to chipping if you apply too much pressure while sharpening. Knowing your knife’s hardness helps you choose the right grit and pressure.
1.3. Types of Japanese Knives
- Gyuto: A versatile chef’s knife with a slightly curved edge.
- Santoku: Similar to a Gyuto but with a flatter profile, ideal for rocking cuts.
- Yanagiba: Long, thin single‑bevel blade used for slicing raw fish.
- Deba: Heavy, thick‑backed knife for breaking down fish and meat.
While the sharpening basics are the same, single‑bevel knives (like Yanagiba) require a different approach on the flat side, which we’ll cover later.
2. Essential Tools for Sharpening Japanese Knives
2.1. Whetstones (Water Stones)
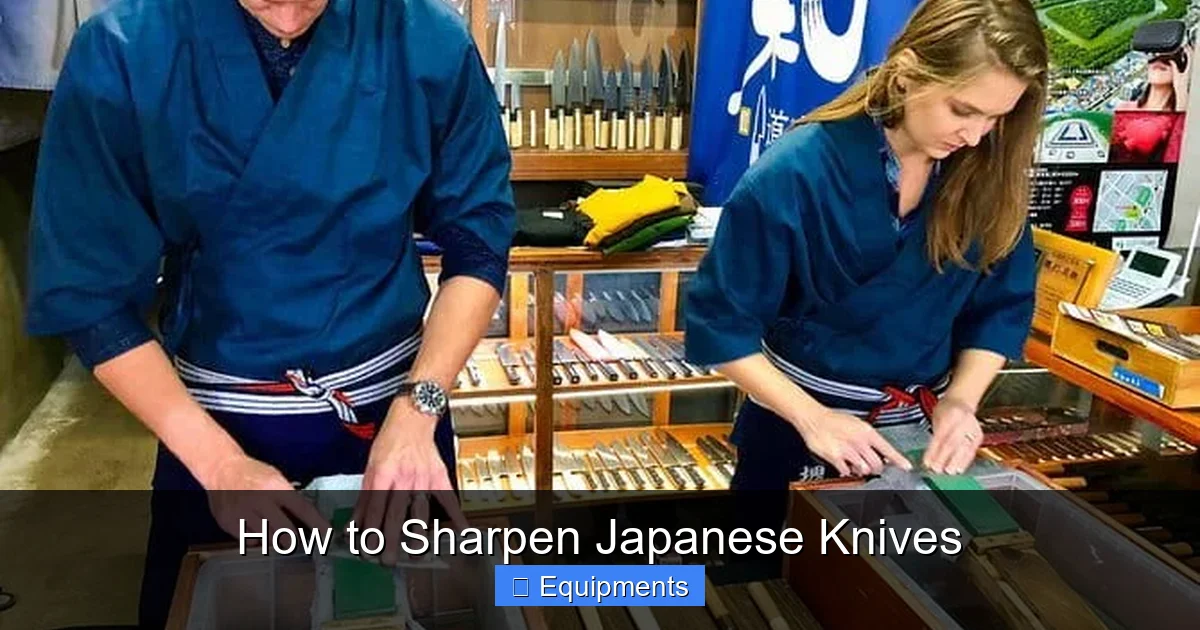
The heart of any sharpening routine is a good set of whetstones. For Japanese knives, a three‑stone set works best:
Visual guide about How to Sharpen Japanese Knives
Image source: cdn.travelersuniverse.com
- Coarse (200‑400 grit): Removes nicks and reshapes the edge.
- Medium (800‑1000 grit): Refines the edge and restores the bevel.
- Fine (3000‑8000 grit): Polishes the edge to a razor‑sharp finish.
Water stones need to be soaked for about 10‑15 minutes before use. They wear down quickly, but the fresh surface they provide makes sharpening easier.
2.2. Honing Rods and Ceramic Sticks
After a full sharpening, a ceramic honing rod (10,000 grit) can realign the edge between sessions. It’s not a substitute for a stone but helps maintain sharpness.
2.3. Leather Strop
A leather strop loaded with polishing compound (or even just a clean leather strap) removes any remaining burr and gives the edge a mirror finish. Use it as the final step.
2.4. Angle Guides and Sharpening Jigs
If you struggle to keep a consistent angle, inexpensive plastic or metal guides clamp onto the spine and keep the blade at the correct tilt. They’re especially helpful for beginners.
2.5. Safety Gear
- Non‑slip mat: Place your stone on a damp towel or silicone mat to prevent sliding.
- Gloves: Cut‑resistant gloves protect your fingers while you work.
- Eye protection: Small metal filings can bounce off the stone; safety glasses are a good habit.
3. Preparing Your Workspace and the Stone
3.1. Setting Up the Area
Choose a flat, stable surface—your kitchen counter works fine if you use a non‑slip mat. Keep a bucket of water nearby for rinsing the stone and wiping the blade.
Visual guide about How to Sharpen Japanese Knives
Image source: thekitchenix.com
3.2. Soaking the Stone
Place the stone in a bowl of water and let it sit for 10‑15 minutes. You’ll know it’s ready when bubbles rise to the surface and the stone stops absorbing water.
3.3. Testing the Grit
Lightly drag your thumb across the stone; you should feel a fine, gritty texture. If the stone feels smooth, it needs more soaking.
4. Step‑by‑Step Sharpening Process
4.1. Establish the Correct Angle
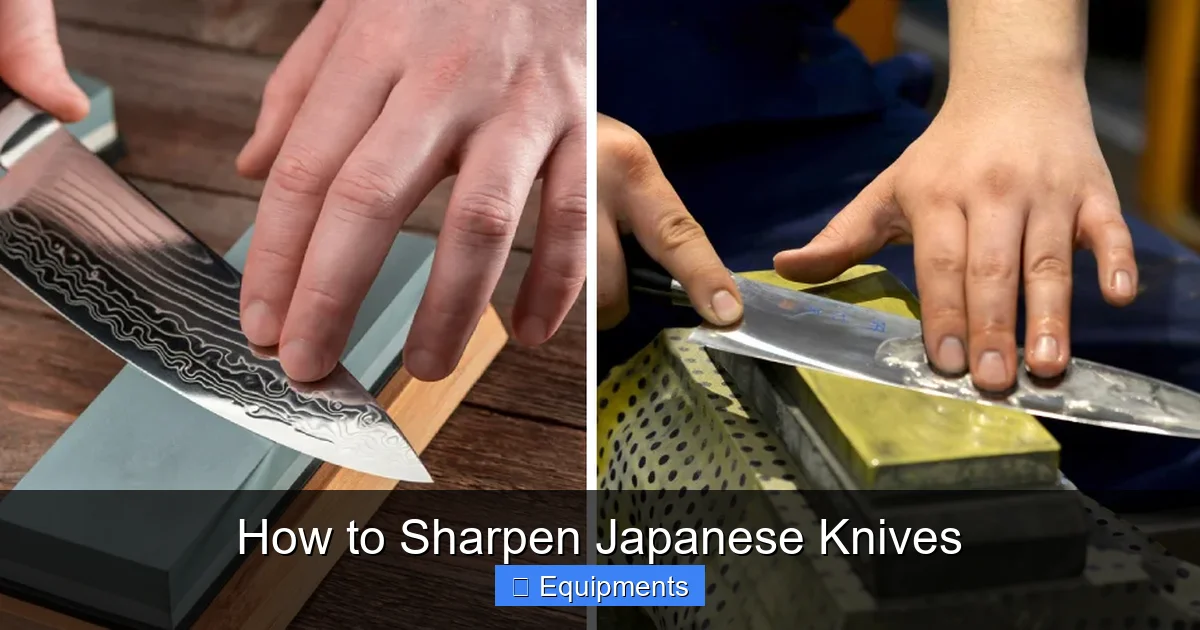
For most double‑bevel Japanese knives, aim for 12‑15 degrees per side. If you’re using an angle guide, set it to the desired degree. Without a guide, picture a matchbook (about 10 degrees) and tilt the blade slightly more.
4.2. Coarse Grit: Removing Nicks
1. Place the coarse stone on the mat with the coarse side up.
2. Hold the knife by the handle, index finger on the spine for control.
3. Starting at the heel, push the blade away from you while maintaining the angle, sweeping to the tip.
4. Repeat 8‑10 strokes on one side, then switch to the other side.
5. Check for a uniform “V” shape; if you see deep valleys, repeat a few more strokes.
4.3. Medium Grit: Forming the Bevel
1. Flip the stone to the medium grit.
2. Using the same angle, repeat the sweeping motion—this time focus on creating a smooth, even bevel.
3. Perform 10‑12 strokes per side. You’ll feel less resistance as the edge refines.
4.4. Fine Grit: Polishing the Edge
1. Switch to the fine stone (3000‑8000 grit).
2. Lightly lubricate with water; the stone should feel silky.
3. Do 12‑15 gentle strokes per side, keeping the angle steady.
4. As you near the end, you’ll notice a faint “micron‑level” shine on the edge—this is the polished edge.
4.5. Removing the Burr
After the fine grit, a tiny burr (a thin wire) forms on the opposite side of each pass. To remove it, give the blade a few light, alternating strokes on the fine stone, or use a leather strop.
4.6. Honing and Stropping
Finish with a ceramic honing rod: hold the rod vertically, stroke the blade away from you at the same angle, alternating sides 5‑6 times.
Then, pull the blade across a leather strop loaded with polishing compound, moving from heel to tip, 10‑12 strokes per side. The edge should feel like a paper cut—smooth and incredibly sharp.
5. Special Cases: Single‑Bevel Knives and Alternative Tools
5.1. Sharpening Yanagiba, Deba, and Other Single‑Bevel Knives
Single‑bevel knives have a flat (or slightly hollow) side that does not need sharpening. Focus only on the beveled side:
- Use a medium‑coarse stone (400‑800 grit) to reshape the bevel.
- Maintain a consistent angle of 10‑12 degrees.
- Finish on a fine stone (3000‑5000 grit) and then polish the flat side on a very fine stone (8000 grit) to remove any micro‑burrs.
5.2. Using a Sharpening System (e.g., Chef’sChoice, Work Sharp)
If you prefer a guided system, electric sharpeners with adjustable angles can work, but they often remove more metal than a hand stone. Use them sparingly, and always follow up with a hand‑polished fine stone to restore the knife’s signature edge.
5.3. Honing vs. Sharpening
Honing merely realigns the existing edge and should be done after each use or weekly. Sharpening (the stone process) removes metal and restores the bevel, typically needed every 1‑3 months depending on usage.
6. Maintaining Your Knives After Sharpening
6.1. Proper Cleaning
Rinse the blade with warm water and dry immediately with a soft cloth. Avoid soaking the knife for long periods; moisture can cause corrosion, especially on high‑carbon steels.
6.2. Storage Solutions
- Knife block: Keeps blades protected but may cause occasional edge contact.
- Magnetic strip: Saves space and reduces contact, but ensure the magnet is strong enough.
- Blade guard or sheath: Ideal for transporting knives.
6.3. Routine Edge Care
Use a ceramic honing rod after a few uses, and give the blade a light polish on the fine stone or strop once a month. This habit extends the time between full sharpenings.
6.4. Re‑soaking Your Stones
After each sharpening session, rinse the stone, let it dry, and store it in a dry place. When you’re ready to sharpen again, soak it for the same 10‑15 minutes to reactivate the abrasive surface.
Conclusion: Sharpening Japanese Knives Becomes Second Nature
Sharpening a Japanese knife is a blend of art and science, but with the right tools and a clear step‑by‑step routine, anyone can achieve a professional edge at home. Remember the key points: respect the blade’s angle, use a progressive grit sequence, keep the stone wet, and finish with a strop. By incorporating light honing between full sharpenings and storing your knives properly, you’ll enjoy that effortless slice for years to come.
So next time you hear that satisfying “whoosh” as the knife glides through a tomato, know you earned it with a little practice and the right technique. Happy sharpening!
Frequently Asked Questions
How often should I sharpen my Japanese knives?
Full sharpening every 1‑3 months is typical, depending on use. Light honing with a ceramic rod can be done after each use or weekly to keep the edge aligned.
Can I use oil stones instead of water stones?
Yes, oil stones work, but they require oil and tend to be slower. Water stones are preferred for Japanese knives because they provide a finer, more consistent abrasive surface.
What if my knife has a chip in the tip?
Start with the coarse grit stone, focusing a few extra strokes on the damaged area. Keep the angle steady and transition to finer grits once the chip is removed.
Do I need a separate stone for single‑bevel knives?
Use the same stones, but only sharpen the beveled side. The flat side can be polished on a fine stone or left untouched.
Is it safe to sharpen knives without a guide?
Yes, many chefs sharpen freehand, but a guide helps beginners maintain a consistent angle and avoid uneven edges.
How do I know when the edge is truly sharp?
Test by gently slicing a piece of paper or a tomato. A properly sharpened Japanese knife will cut cleanly with little force and no tearing.
Pingback: How to Tenderize Steak - kitchenandhouseware.com