Maintain a consistent 20-degree angle to preserve your filet knife’s flexibility and prevent damage while sharpening. Use a fine-grit whetstone with smooth, even strokes for a razor-sharp edge that ensures precise, clean cuts every time.
Key Takeaways
- Select the proper sharpening tool: Use a fine-grit stone or honing rod for precision.
- Maintain a consistent sharpening angle: Hold the blade at 15-20 degrees for best results.
- Employ smooth, even strokes: Draw the blade steadily across the stone with uniform pressure.
- Test sharpness after sharpening: Slice through paper to confirm a razor-sharp edge.
- Hone the blade regularly: Use a honing rod between sessions to maintain alignment.
- Prioritize safety always: Cut away from your body and keep fingers clear of the blade.
- Store knives to protect edges: Use a knife block or magnetic strip to prevent dulling.
📑 Table of Contents
- Why Your Filet Knife Deserves (and Needs) a Razor’s Edge
- The Golden Rules of Filet Knife Sharpening: Mindset Before Method
- Your Sharpening Toolkit: Tools of the Trade (And Which to Choose)
- Step-by-Step: How to Sharpen a Filet Knife on a Whetstone
- Common Mistakes & How to Avoid Them (The “I Ruined My Knife” Guide)
- Beyond Sharpening: The Essential Routine for a Long-Lasting Edge
- Conclusion: The Satisfaction of a Perfect Fillet
Why Your Filet Knife Deserves (and Needs) a Razor’s Edge
Let’s be honest, there’s a unique kind of frustration that comes from wrestling with a dull filet knife. You’re trying to gracefully glide the blade along a fish’s backbone, but instead, you’re hacking and sawing, mangling the precious fillet and probably cursing under your breath. I’ve been there, covered in fish scales and disappointment, wondering why my “sharp” knife felt so utterly useless. The truth is, a filet knife isn’t just another kitchen tool; it’s a precision instrument. Its long, thin, and incredibly flexible blade is designed for one beautiful, fluid motion. And that motion only works when the edge is honed to a terrifyingly sharp bevel.
Learning how to sharpen a filet knife properly isn’t just about maintenance; it’s about respect. It’s about honoring the craft of fishing and cooking by ensuring your primary tool can perform its job with elegance and efficiency. A sharp knife is a safe knife—it requires less force, gives you more control, and dramatically reduces the chance of a slip. So, whether your blade has seen one season or ten, this guide will walk you through everything you need to bring that flexible fillet knife back to its former glory. We’ll cover the tools, the techniques, the common pitfalls, and the simple habits that keep an edge lasting longer. Grab your knife, and let’s get sharp.
The Golden Rules of Filet Knife Sharpening: Mindset Before Method
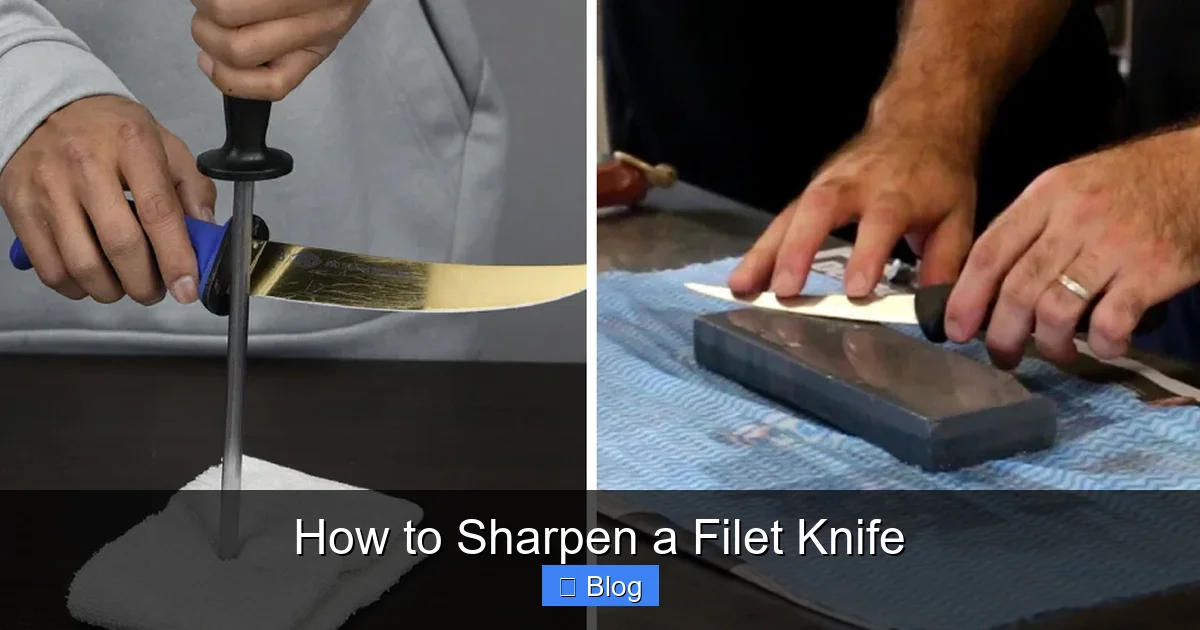
Before we touch a single sharpening tool, we need to adjust our mindset. Filet knives are special, and treating them like a standard chef’s knife is the first mistake. Their flexibility is their superpower, but it’s also their Achilles’ heel when it comes to sharpening. Understanding these core principles will save you from heartache (and a potentially destroyed blade).
Visual guide about How to Sharpen a Filet Knife
Image source: thekitchenix.com
Respect the Flexibility
A stiff knife stays flat on a sharpening stone. A flexible filet knife? It wants to bend. Applying too much pressure or using an improper technique can cause the blade to arch away from the stone, creating a completely uneven, useless edge. You must use a lighter, more controlled touch, often supporting the blade’s spine with your free hand to maintain consistent contact.
Angle is Everything (And It’s Usually Small)
The sharpening angle is the degree at which you hold the blade against the abrasive surface. For most Western filet knives, this is between 12 and 17 degrees per side. That’s incredibly acute! Compare that to a typical chef’s knife at 20 degrees. This acute angle is what gives the knife its legendary slicing ability but also makes it more delicate. Consistency is your holy grail. Wobbling even a degree or two will create a serrated-like edge that tears rather than slices.
Patience is Not Optional
You cannot rush this. Sharpening a flexible blade is a skill, not a quick fix. The first few times will feel awkward. Your arm will tire. You might doubt you’re doing it right. Embrace the process. Focus on the feel and the sound—a fine, consistent grit noise means you’re on the right track. Hurrying leads to uneven bevels, overheating (which can ruin the temper), and ultimately, a knife that still won’t fillet properly.
Your Sharpening Toolkit: Tools of the Trade (And Which to Choose)
You don’t need a fancy, expensive workshop to sharpen a filet knife effectively. In fact, for this specific task, simpler is often better. The key is choosing a method that gives you the control needed for that flexible, acute edge. Let’s break down your options, from traditional to modern.
Visual guide about How to Sharpen a Filet Knife
Image source: spearfishing.de
The Whetstone (Water Stone or Oil Stone): The Gold Standard
This is the method that yields the best, most controllable results for a filet knife. A good dual-grit whetstone (e.g., 1000-grit for sharpening, 3000-6000-grit for polishing) gives you complete control over the angle and pressure.
- Pros: Ultimate control, creates a superior edge, affordable upfront cost, versatile for all knives.
- Cons: Steeper learning curve, requires practice, can be messy (water stones), takes more time.
- Best for: The dedicated home cook or angler who wants to master the craft and achieve a laser-sharp, long-lasting edge.
The Honing Steel (Sharpening Steel): Your Daily Driver
Let’s clarify: a honing steel does not sharpen a knife in the traditional sense (it doesn’t remove metal). It hones—it realigns the microscopic edge, which rolls over with regular use. For a filet knife used daily during fishing season, a few strokes on a fine ceramic or diamond steel before each use is non-negotiable maintenance.
- Pros: Incredibly fast, simple, extends time between full sharpenings, portable.
- Cons: Only maintains an existing edge; if the blade is truly dull, it won’t help.
- Best for: Daily upkeep and touch-ups. Think of it like dental flossing versus a root canal.
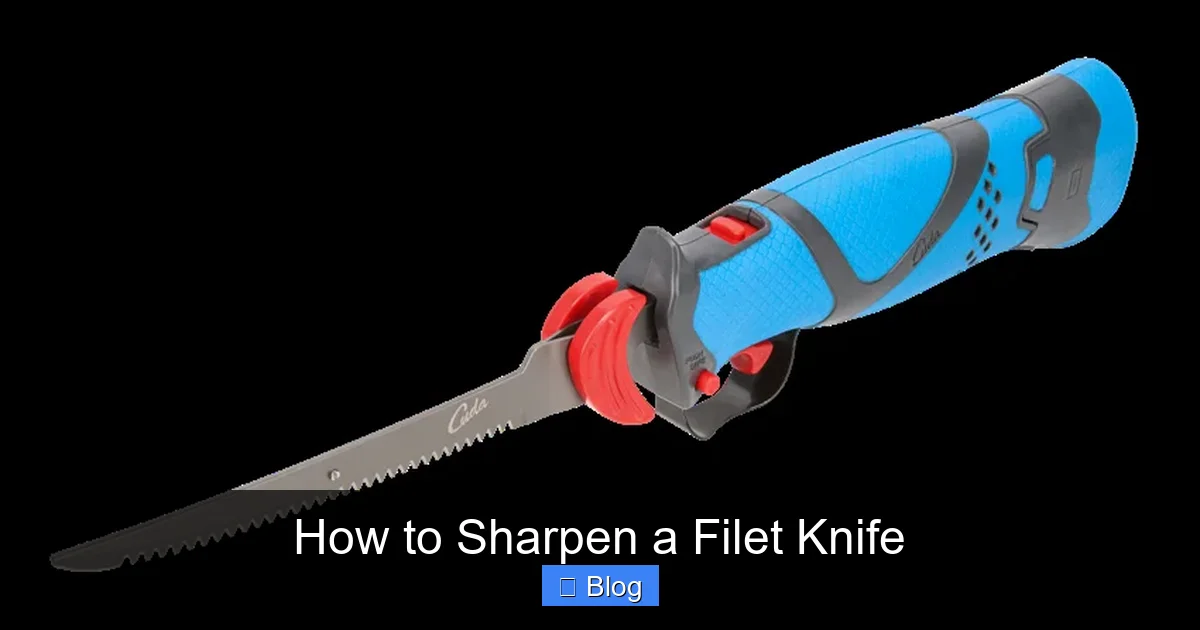
Electric Knife Sharpeners: The Contender (With Caveats)
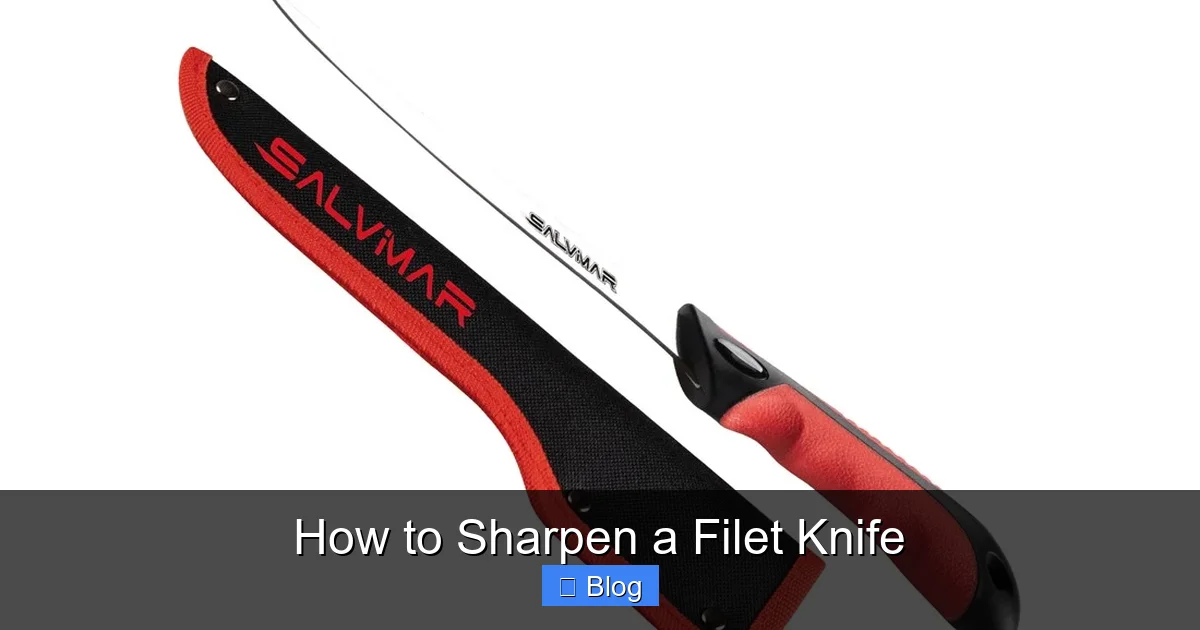
Modern electric sharpeners are fast and convenient, but they are generally not recommended for flexible filet knives. Most use guided slots that force a fixed, often too-wide angle and apply aggressive, uncontrolled pressure. This can easily grind away too much metal, destroy the knife’s original geometry, and compromise the flexible tip.
- Pros: Speed, ease of use, consistent angle (for stiff knives).
- Cons: High risk of damaging a filet knife, removes excessive metal, lacks finesse.
- Best for: Maybe a very inexpensive, replaceable filet knife, but even then, proceed with extreme caution. Not for your good knives.
Comparison: Choosing Your Primary Tool
| Method | Skill Level | Control & Finesse | Metal Removal | Best Use Case |
|---|---|---|---|---|
| Whetstone | Medium-High | Excellent | Precise & Minimal | Full restoration & achieving ultimate sharpness |
| Honing Steel (Ceramic/Diamond) | Low | Good (for maintenance) | Negligible | Daily/Weekly touch-ups between full sharpenings |
| Guided Sharpener (Pull-through) | Low | Poor to Fair | Moderate to High | Not recommended; high risk of damage |
Step-by-Step: How to Sharpen a Filet Knife on a Whetstone
Alright, let’s get our hands dirty (or wet, as it were). This is the method that will serve you best for life. We’ll assume you have a dual-grit water stone and a container for soaking. Always refer to your stone’s specific instructions for soaking time.
Visual guide about How to Sharpen a Filet Knife
Image source: cdn11.bigcommerce.com
Step 1: The Setup
Place your soaked stone on a non-slip surface—a damp cloth underneath works perfectly. You want zero movement. Have a cup of water nearby to keep the stone lubricated. For a filet knife, you’ll likely start on the coarser grit (e.g., 1000) and finish on the finer (e.g., 3000+).
Step 2: Finding and Locking Your Angle
This is the most critical part. For a typical filet knife, aim for about a 15-degree angle per side. How do you find it? A trick is to hold the knife so the blade is vertical (90 degrees to the stone), then tilt the spine of the knife toward the stone by half of that angle (so 45 degrees from vertical? No, that’s not right). Let me correct that. Think of it this way: if 90 degrees is straight up and down, a 15-degree angle is very slight. A good proxy is to imagine you’re trying to cut a very thin slice off the top of the stone. The blade should be almost flat. Another method: use a cheap angle guide or even a matchbook cover (approx. 15 degrees) as a visual reference until muscle memory kicks in. Once you have the angle, lock your wrist and forearm. The movement should come from your shoulder, not your wrist, to maintain consistency.
Step 3: The Push Stroke (The Heart of the Technique)
Starting at the knife’s tip, place the edge-down on the stone at your locked angle. Apply moderate, even pressure—not enough to make the blade flex excessively. Push the blade forward and across the stone, covering the entire length of the edge, from tip to heel. As you push, imagine you’re trying to spread an even, thin layer of mustard on the stone with the edge of the blade. At the end of the stroke, lift the knife and return to the starting position without dragging the edge back over the stone (that dulls it). Repeat this push stroke, 5-10 times on one side.
Step 4: Switching Sides & Building the Burr
After several strokes on one side, you’ll feel a slight “burr” or raised edge on the opposite side. This is good! It means you’re removing metal. Flip the knife over and replicate the exact same number of strokes and the exact same pressure and angle on the other side. Continue alternating sides (e.g., 5 strokes left, 5 strokes right) until you can feel a consistent, fine burr along the entire edge on both sides. This usually takes 10-20 cycles for a moderately dull knife.
Step 5: Refining and Polishing (The Finer Grit)
Once the burr is established, switch to your finer grit stone (3000+). The process is the same, but you’ll use significantly less pressure. The goal here isn’t to create a new burr, but to refine the edge, remove the coarse scratches from the first stone, and polish the bevel. Do 5-10 light, smooth strokes per side. You can also do alternating single strokes to refine the apex.
Step 6: The Final Test & Stropping
Rinse and dry the knife. Now for the moment of truth. The classic test is slicing a piece of paper held vertically. A razor-sharp filet knife should cut cleanly through with no tearing. You can also try the “thumbnail test” (lightly dragging the edge perpendicularly across a thumbnail—it should catch cleanly). For a final polish and to remove any remaining burr, do a few light strokes on a piece of leather (strop) or even the bottom of a ceramic coffee mug, holding the knife at the exact sharpening angle.
Common Mistakes & How to Avoid Them (The “I Ruined My Knife” Guide)
Even with the best intentions, it’s easy to go wrong. Here are the most common pitfalls specific to filet knives and how to sidestep them.
Mistake 1: Using Too Much Pressure
This is the #1 killer of filet knife edges. You’re trying to “force” the sharpness. Excessive pressure causes the flexible blade to flex and bow, meaning only the middle of the blade makes contact with the stone. The tip and heel remain dull. The Fix: Use firm but gentle pressure, especially on the finer grits. Let the abrasive do the work. If the blade is flexing significantly, you’re pressing too hard.
Mistake 2: Inconsistent Angle (The Wobble)
Your wrist is moving independently, creating a rocking motion. The result is a rounded, ineffective edge. The Fix: Anchor your wrist. Think of your forearm as a solid unit. Practice the motion slowly in the air first. Some people find it helpful to rest their fingers on the stone’s surface for stability during the stroke.
Mistake 3: Neglecting the Tip
The delicate, pointed tip of a filet knife is its most useful part for precision work. It’s also the easiest to miss when sharpening because you naturally focus on the main belly of the blade. The Fix: When you start your stroke, make sure the very tip of the knife makes contact with the stone first. You’ll need to slightly raise your elbow to compensate for the angle change at the tip.
Mistake 4: Forgetting the Heel
Similarly, the heel (the part near the handle) is crucial for powerful cuts starting from the tail. If you only sharpen the middle third, you’ll have a useless edge near the handle. The Fix: Ensure your stroke is long enough that the heel of the blade fully passes over the stone. You may need to adjust the angle of your arm slightly to keep consistent pressure from tip to heel.
Mistake 5: Overheating the Blade
Friction from aggressive sharpening can build heat, especially on a flexible, thin blade. Excessive heat (you’ll see a faint discoloration, a “blueing”) can draw the temper from the steel, making it soft and unable to hold an edge. The Fix: Use plenty of water (or oil) for lubrication and cooling. Work in short bursts, dipping the knife in water if it feels warm. Never use a power grinder on a filet knife.
Beyond Sharpening: The Essential Routine for a Long-Lasting Edge
Sharpening is the fix. Maintenance is the prevention. A good routine will mean you sharpen far less often and your knife performs better between sessions.
Hone Before Every (or Most) Use
Make this as automatic as washing your hands. A quick 5-10 strokes on a fine ceramic or diamond honing steel before you start filleting realigns the edge and removes any microscopic rolls from the last use. It takes 15 seconds and makes a world of difference.
Proper Cleaning and Drying
Fish is acidic and salty. Never, ever leave your filet knife soaking in the sink or sitting wet in a sink basin. Rinse it immediately with fresh water, wash with mild soap, and dry it thoroughly with a towel before storing. This prevents corrosion, which is a silent edge-killer.
Safe Storage is Key
Tossing a loose filet knife in a drawer with other utensils is a recipe for nicks and dings that will ruin your carefully sharpened edge. Store it in a knife block, on a magnetic strip, or in a protective blade cover/sleeve. If you must store it in a drawer, use a dedicated knife guard.
Know When to Stop (And When to Seek Help)
Every time you sharpen, you remove a tiny amount of metal. Over years, you’ll eventually wear the blade down. If you find you’re needing to sharpen extremely frequently (multiple times a week) or the knife is developing a noticeable “belly” or curve from uneven sharpening, it might be time to take it to a professional sharpening service. They have the equipment to restore the original factory geometry. For most home users, a professional touch-up once a year is a worthwhile investment to preserve a high-quality knife.
Conclusion: The Satisfaction of a Perfect Fillet
There’s a profound satisfaction that comes from the first clean, effortless stroke of a perfectly sharpened filet knife through a fish. That satisfying “shhhick” sound as the blade parts the flesh from the bone, leaving a pristine, un-mangled fillet in its wake—it’s the reward for your patience and practice. Sharpening isn’t a chore; it’s a fundamental part of the ritual, connecting you to the tool and the task.
Remember the core tenets: respect the flexibility, lock in your angle, use light pressure, and hone religiously. Start with a whetstone, even if it feels clumsy at first. The muscle memory you build will pay dividends for decades. Your filet knife is a partner in the kitchen or on the boat. Treat it well, and it will deliver beautiful, clean fillets time after time. Now, go find that neglected knife in your drawer. It’s waiting for you to bring its edge back to life.
Frequently Asked Questions
How often should you sharpen a filet knife?
You should sharpen your filet knife when you notice it tearing flesh instead of slicing cleanly, or if it requires excessive force. For regular home use, this is typically every few months. Honing with a steel before each use helps maintain the edge between full sharpenings.
What’s the best way to sharpen a filet knife at home?
The best method for most is using a sharpening stone or a guided sharpening system. Maintain a very consistent, shallow angle of 15-20 degrees per side. Work slowly from heel to tip, repeating evenly on both sides until a burr forms, then refine.
Can you use an electric sharpener on a filet knife?
While possible, electric sharpeners are generally not recommended for flexible filet knives. They remove too much metal quickly and can damage the precise, thin edge. A manual stone or ceramic rod offers the control needed to preserve the knife’s integrity and flexibility.
Why is the sharpening angle so important for a filet knife?
The correct sharpening angle (usually 15-20 degrees) is critical because it creates a strong yet razor-sharp edge that can flex without breaking. A wider angle makes the knife too blunt for precision work, while a narrower angle will be fragile and roll over easily.
How do I know if my filet knife is sharp enough?
A truly sharp filet knife will slice through the skin of a fish or a tomato’s skin with minimal pressure and no tearing. You can also carefully test it by slicing a piece of paper; a sharp knife will cut cleanly and smoothly without catching or shredding.
What’s a common mistake to avoid when you sharpen a filet knife?
The most common mistake is using inconsistent pressure or angle throughout the stroke. This creates an uneven edge. Another key error is over-sharpening; filet knives have thin blades, so remove only the necessary metal to restore the edge.