Seasoning a flat top is the secret to a flawless cooking surface that lasts for years. Follow our friendly, step‑by‑step guide to clean, oil, heat, and maintain your grill so every bite comes out perfect.
Key Takeaways
- Start clean: Remove rust and old residue before the first seasoning.
- Use the right oil: High smoke‑point oils create a durable, non‑stick layer.
- Gradual heating: Heat the flat top slowly to avoid warping and ensure even polymerization.
- Multiple thin coats: Several light layers work better than one thick coat.
- Regular maintenance: Light scrapes after each use keep the seasoning intact.
- Cool down properly: Allow the grill to cool before wiping excess oil.
- Re‑season when needed: Spot‑treat areas that look dull or sticky.
📑 Table of Contents
- Introduction: Why Seasoning Matters
- 1. Gather the Right Tools and Materials
- 2. Clean the Flat Top Thoroughly
- 3. Apply the First Layer of Oil
- 4. Heat the Grill to Polymerize the Oil
- 5. Spot‑Treat and Maintain Your Seasoning
- 6. Common Mistakes and How to Avoid Them
- Conclusion: Your Flat Top, Ready for Anything
Introduction: Why Seasoning Matters
If you’ve ever cooked on a flat top grill that sticks, rusts, or gives off a metallic taste, you know how frustrating it can be. The good news is that a proper seasoning routine can eliminate those problems and turn your flat top into a chef’s dream surface. Seasoning is not just a one‑time chore; it’s a protective “cooking oil skin” that builds up over time, creating a natural non‑stick layer while preventing rust.
In this guide we’ll walk you through everything you need to know about how to season a flat top. From the tools you’ll need, to the exact temperature steps, to everyday maintenance tips, you’ll finish this article ready to treat your grill like a prized kitchen member.
1. Gather the Right Tools and Materials
Essential supplies
Before you light the burner, make sure you have the following items within arm’s reach:

Visual guide about How to Season a Flat Top
Image source: ci6.googleusercontent.com
- High smoke‑point oil: Flaxseed, grapeseed, canola, or peanut oil work best.
- Steel wool or a non‑abrasive scrub pad: For removing rust and old seasoning.
- Dish soap and hot water: To give the surface a clean start.
- Paper towels or a clean lint‑free cloth: For spreading oil evenly.
- Heat‑resistant gloves: Safety first when handling a hot grill.
- Thermometer (optional): Helpful for monitoring exact grill temperature.
Choosing the right oil
The key to a durable seasoning is an oil that polymerizes well. Flaxseed oil is a favorite among professionals because it creates a hard, glass‑like coating when heated past its smoke point. If flaxseed is hard to find, grapeseed or canola oil are excellent alternatives.
2. Clean the Flat Top Thoroughly
Remove rust and old residue
Even a brand‑new flat top may have a thin protective film from the factory. Scrub the surface with steel wool until you see the bare metal. If you notice rust spots, give them extra attention—rust will sabotage the seasoning process.

Visual guide about How to Season a Flat Top
Image source: ci6.googleusercontent.com
Wash and dry
Fill a bucket with hot, soapy water and wipe the entire cooking area. Rinse with clean water and dry completely with a towel. Any leftover moisture will cause the oil to pool and create uneven seasoning.
3. Apply the First Layer of Oil
How much oil to use
Less is more. Pour a teaspoon of oil onto the surface, then spread it with a paper towel until the metal is just barely glistening. Too much oil will drip, smoke heavily, and create a sticky mess.
Visual guide about How to Season a Flat Top
Image source: i.ytimg.com
Even distribution tips
Use a clean cloth to rub the oil in a circular motion, covering every corner. Pay special attention to the edges and the back side of the flat top where food can splatter.
4. Heat the Grill to Polymerize the Oil
Gradual temperature increase
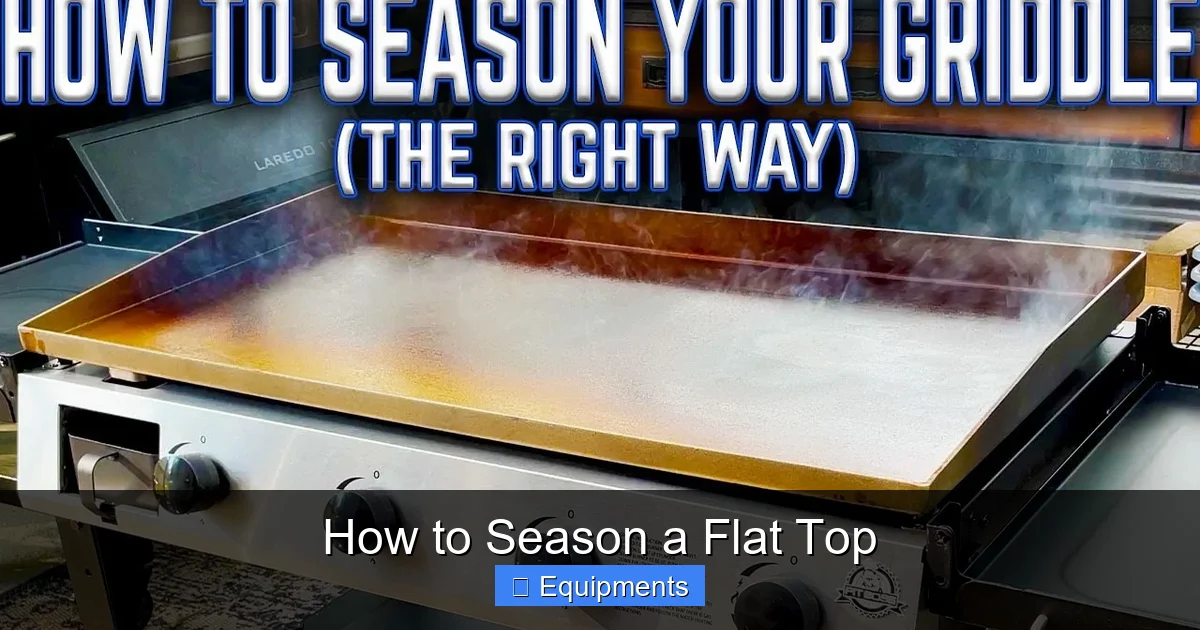
Turn the burners to medium‑high and let the flat top heat up slowly. Aim for a temperature of 400‑450°F (204‑232°C). If you have a thermometer, monitor the heat; otherwise, watch the oil start to smoke lightly.
The smoking stage
When the oil begins to smoke, keep the heat steady for 10‑15 minutes. The smoke indicates that the oil is breaking down and forming a polymer layer. You’ll notice the surface turning a darker, uniform color.
Cool down and repeat
After the first heating cycle, turn off the burners and let the grill cool completely. Once cool, wipe away any excess oil with a clean towel. Then repeat the oil‑apply and heat cycle 3‑5 more times. Multiple thin coats build a stronger, more even seasoning than a single thick coat.
5. Spot‑Treat and Maintain Your Seasoning
Every‑day care
After each cooking session, scrape the surface with a metal spatula to remove food particles. Then, while the grill is still warm, wipe a thin layer of oil across the surface. This “after‑cook” oiling prevents rust and keeps the seasoning smooth.
Spot‑treatment for wear spots
If you see a dull or sticky patch, repeat the oil‑apply and heat steps just on that area. A small portable propane torch works well for pinpoint heating if the whole grill is already seasoned.
Deep re‑seasoning
Every 6‑12 months, give your flat top a full re‑season. Follow the original steps from cleaning to multiple coats. This refreshes the protective layer and extends the life of the grill.
6. Common Mistakes and How to Avoid Them
Using the wrong oil
Low smoke‑point oils (like olive oil) will burn and leave a sticky residue. Stick to high smoke‑point oils for the best results.
Applying too much oil
A thick puddle will carbonize, creating a rough, uneven surface. Always spread a thin, even film.
Skipping the cooling period
If you apply a new coat while the grill is still hot, the oil won’t bond properly and will peel off later.
Neglecting regular maintenance
Even the best seasoning will wear down without after‑cook oiling. A quick wipe after each use makes a huge difference.
Conclusion: Your Flat Top, Ready for Anything
Seasoning a flat top is a simple, repeatable process that pays off in flavor, durability, and ease of cleanup. By following the steps outlined above, you’ll create a resilient, non‑stick surface that turns every pancake, steak, and stir‑fry into a masterpiece. Remember, the secret lies in clean metal, thin oil layers, gradual heating, and consistent maintenance. Treat your grill with these habits, and it will reward you with years of flawless cooking.
Frequently Asked Questions
How often should I re‑season my flat top?
Do a full re‑season every 6‑12 months, or sooner if you notice rust or uneven seasoning. Light oiling after each use keeps the surface healthy between deep seasons.
Can I use butter instead of oil for seasoning?
No. Butter has a low smoke point and contains water, which prevents proper polymerization. Stick to high smoke‑point oils like flaxseed or grapeseed.
What temperature is ideal for the seasoning process?
Heat the flat top to 400‑450°F (204‑232°C). This range is hot enough to polymerize the oil without scorching the metal.
Is it safe to season a cast‑iron flat top on a gas grill?
Yes. The same principles apply—clean, oil, heat, and repeat. Just make sure the burners provide even heat across the entire cooking surface.
Why does my flat top get sticky after seasoning?
Stickiness usually means too much oil was applied or the grill wasn’t heated enough to fully polymerize. Remove excess oil, heat to the proper temperature, and apply thinner coats.
Do I need to season a brand‑new flat top?
Absolutely. Even new grills have a protective factory coating that can flake off. A proper seasoning creates a reliable, non‑stick surface from day one.