Locking your oven door for the self-clean cycle is a critical safety step that is often automatic but sometimes requires manual intervention. The process varies by brand and model, involving a dedicated latch, button, or electronic mechanism that secures the door against extreme heat. Always consult your owner’s manual first, ensure the door is completely closed and clear of obstructions, and never force the lock. Understanding your specific oven’s locking system prevents damage and ensures a safe, successful cleaning cycle.
Hey there, fellow home chef and appliance enthusiast! Let’s talk about one of the most important yet often overlooked steps in your oven’s self-cleaning ritual: locking the door. You might be thinking, “Doesn’t it just lock itself?” Well, sometimes it does, and sometimes you have to give it a little manual help. Getting this step right isn’t just about following instructions; it’s a critical safety measure that protects you, your family, and your costly kitchen equipment. Whether you’re a first-time self-clean user or a seasoned pro who’s just never quite understood that latch, this guide is for you. We’re going to demystify the entire process, from the “why” to the “how” for every major type of oven lock you’re likely to encounter. So, grab your owner’s manual (we’ll talk about that too), and let’s make sure your next self-clean is not only effective but perfectly safe.
Key Takeaways
- The self-clean lock is a high-temperature safety feature, not a child lock. It’s designed to withstand extreme heat and prevent accidental opening during the cycle, which could cause burns or fire.
- Most modern ovens lock automatically when you start the self-clean cycle. You typically select the self-clean option, set the time/temp, and the oven handles the locking sequence electronically.
- Some older or specific models require manual locking. This is usually done via a lever, switch, or button located on the door frame or control panel that you must engage before starting the cycle.
- Never force the door lock or try to open the oven during the self-clean cycle. The lock is engaged for your safety, and the oven will not operate if the lock mechanism senses the door isn’t secure.
- Common locking issues often stem from debris, a misaligned door, or a faulty gasket. A thorough visual check and cleaning of the latch area and door seal can resolve many problems before calling for service.
- The lock will automatically disengage after the oven cools down to a safe temperature. This can take 1-2 hours after the cleaning cycle ends. Do not try to manually unlock it while the oven is still hot.
- Post-clean maintenance includes wiping down the door gasket and checking the latch mechanism. Residue from the cleaning process can interfere with future locking, so a quick wipe-down is essential.
📑 Table of Contents
- Understanding the Self-Cleaning Process and Why the Lock is Non-Negotiable
- Step-by-Step: How to Lock Your Oven Door for Self-Clean (By Mechanism Type)
- Troubleshooting: What to Do When the Door Won’t Lock
- Safety Best Practices: Your Well-Being is the Priority
- Post-Clean: Unlocking, Cool-Down, and Final Wipe-Down
- Conclusion: Knowledge is the Key to Confidence
Understanding the Self-Cleaning Process and Why the Lock is Non-Negotiable
Before we dive into the “how,” we need a solid grasp of the “why.” The self-cleaning cycle, often called “PyroClean” or a similar brand-specific name, is essentially a controlled incineration inside your oven. The temperature soars to a scorching 800°F to 900°F (427°C to 482°C)—that’s significantly hotter than your highest baking or broiling setting. At these extreme temperatures, food residue, grease, and spills carbonize, turning into a light, ashy powder that you can simply wipe away once the cycle is complete.
The Role of the Lock in High-Heat Safety
Imagine that immense heat contained in a metal box with a door. Now, imagine someone accidentally opening that door during the cycle. The consequences would be severe: a violent rush of superheated air and steam could cause instant, serious burns. Furthermore, the sudden influx of cooler room air could shock the oven’s interior components and even cause a flare-up from any remaining grease. The door lock is the unsung hero that physically prevents this from happening. It’s a robust, heat-resistant mechanism that engages to hold the door firmly shut, ensuring the seal remains intact and the cycle can proceed without risk of accidental opening.
Automatic vs. Manual Locking: What’s the Difference?
This is the core of our entire guide. The method you use depends entirely on your oven’s design and age.
- Automatic (Electronic) Locking: This is the standard in most ovens manufactured in the last 15-20 years. You program the self-clean cycle on the control panel. When you press “Start,” the oven’s control board sends a signal to an electric motor or solenoid that physically moves a latch into a locked position. You’ll often hear a distinct clunk or whirring sound. The lock remains engaged for the duration of the cycle and the subsequent cool-down period. The control panel will usually indicate “Lock” or show a lock icon.
- Manual Locking: Found on some older models, certain commercial-style ranges, and a few current budget or specific design lines, this requires user intervention. There will be a visible lever, knob, or switch—often located on the top of the oven door frame or the bottom of the door edge. You must physically move this into the “Lock” position before you can even set the self-clean cycle or press start. The oven’s safety system will not allow the cycle to begin if it detects the manual lock is not engaged.
Your first and most important task is to identify which type you have. This is where your owner’s manual becomes your best friend.
Step-by-Step: How to Lock Your Oven Door for Self-Clean (By Mechanism Type)
Alright, theory is over. Let’s get hands-on. Follow these steps for your specific lock type. Remember: Always ensure the oven is completely cool and empty before starting any of these procedures. Remove all oven racks, baking sheets, and thermometer probes. Any metal item left inside can warp, melt, or catch fire.
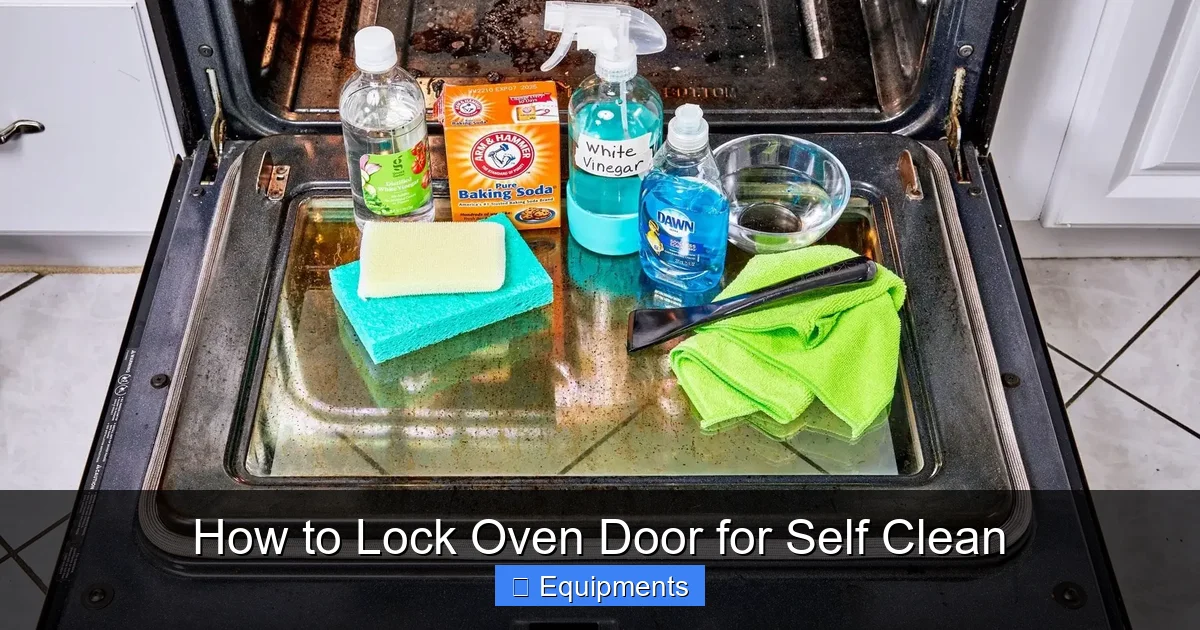
Visual guide about How to Lock Oven Door for Self Clean
Image source: i2.wp.com
For Ovens with Automatic Electronic Locks
This is the most common and simplest process, but it still requires attention to detail.
- Prepare the Oven: With the oven cool, remove all interior accessories. Wipe out any large chunks of food debris from the floor and walls. While the self-clean cycle will handle stuck-on grime, excessive loose debris can smoke heavily.
- Close the Door Firmly: Shut the oven door completely. Give it a gentle push near the handle to ensure it’s seated properly against the gasket. An improperly closed door is the #1 reason an automatic lock will fail to engage.
- Navigate the Control Panel: Find the self-clean or “Pyro” button/cycle on your electronic control panel. The exact wording varies by brand (e.g., “Self Clean,” “Clean,” “Pyrolytic”).
- Set the Cycle: Press the self-clean option. You may be prompted to select a time (usually 2, 3, or 4 hours for light/medium/heavy soil) or it may have a preset duration. Confirm your selection.
- Initiate the Lock and Cycle: Press “Start” or “Enter.” This is the critical moment. Listen carefully. You should hear a mechanical CLUNK, WHIR, or CLICK from the door area within 5-15 seconds. Simultaneously, a lock icon or the word “Lock” should illuminate on your control panel display. If you do not hear this sound or see the indicator, the lock has not engaged, and the cycle will not start.
- Verification: Once the cycle begins, try gently pulling on the door handle. It should not move at all. Do not use force, but a slight tug will confirm it’s secured.
Pro Tip: Some ovens, particularly certain GE Profile or Café models, have a two-step locking process. After starting, the door may lock, then after a minute or two, you might hear a second, deeper clunk as a secondary safety latch engages. This is normal.
For Ovens with Manual Locks (Lever, Knob, or Switch)
These require a more tactile approach. The lock mechanism is usually a metal bar or hook that swings into a catch.
- Identify the Lock Mechanism: Look along the top edge of the oven door frame (when the door is open) or sometimes along the bottom edge of the door itself. You’re looking for a metal lever, a slotted knob, or a rectangular switch. It’s often labeled “Lock” or has a padlock symbol.
- Engage the Lock: Using your hand, firmly move the lever into the “Lock” position. This is usually by pushing it to the right, sliding it forward, or turning a knob clockwise. You should feel and hear it click solidly into place. The motion is often a bit stiff, which is intentional for safety.
- Confirm Engagement: Visually inspect. The lever should be flush against the frame or in a position where it clearly cannot be moved back without deliberate action. There should be no gap between the hook and its catch.
- Close the Door: Now, close the oven door. The manual lock is designed to be engaged before the door is closed. The hook on the door will slide into the fixed catch on the frame. You should hear a solid thud as it seats.
- Set the Self-Clean Cycle: With the door now closed and the manual lock already engaged, go to your control panel. Select the self-clean cycle and set the duration. Press “Start.” The oven should now begin heating immediately. There will be no secondary automatic locking sound because you already did it manually.
- Key Verification: Try the door handle. It should not budge. If it moves even slightly, the manual lock was not fully engaged, and the safety switch will prevent the oven from heating. Re-open the door, re-engage the lock firmly, and try again.
Critical Safety Note: On manual-lock ovens, you must disengage the lock before you can open the door after the cycle. The lock must be in the “Unlock” position for the door to open. Never try to force the door open while the lock is engaged, even if the oven is cool.
Troubleshooting: What to Do When the Door Won’t Lock
So you followed the steps, but the lock icon isn’t showing, the cycle won’t start, or the handle still wiggles. Don’t panic. This is a common safety feature preventing you from running an unsafe cycle. Here’s your systematic diagnostic approach.
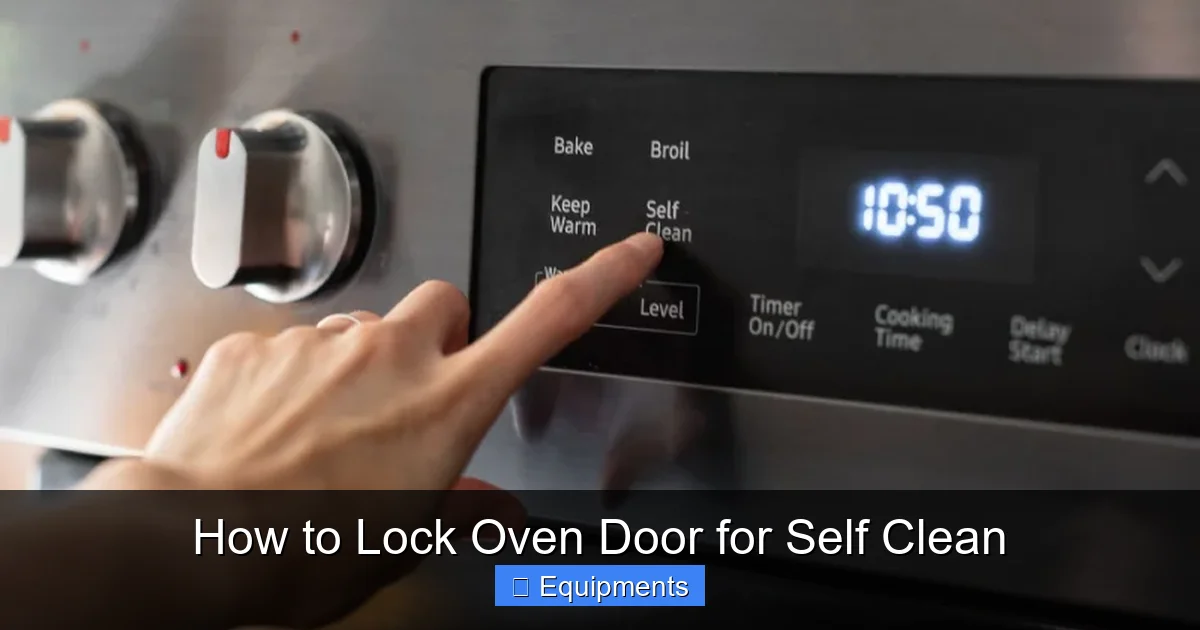
Visual guide about How to Lock Oven Door for Self Clean
Image source: prohousekeepers.com
Diagnostic Checklist: From Simple to Complex
- Step 1: The Obvious Obstruction. Is there anything inside? A forgotten baking sheet, a probe thermometer, or even a large piece of foil can physically block the door from closing fully, which in turn prevents the lock from engaging. Remove everything and try again.
- Step 2: Door Alignment. Gently close the door and look at the seal. Is it making even contact all the way around? If the door is sagging (common with heavy oven doors over time), the latch won’t align with the catch. Try lifting the door slightly by the handle as you close it. If this helps, your hinges may need adjustment or replacement.
- Step 3: Clean the Latch and Catch. Spills, grease, and self-clean ash can build up in the latch mechanism, jamming it. With the oven cool and unplugged (or turn off the breaker for safety), use a damp cloth and mild cleaner to wipe around the latch housing on the door frame and the corresponding hook on the door edge. An old toothbrush is perfect for getting into crevices. Dry thoroughly.
- Step 4: Inspect the Door Gasket. The rubber seal around the door is crucial. If it’s torn, brittle, or has a piece missing, the oven’s safety sensor may detect an improper seal and prevent locking. Run your fingers along the entire gasket. Replace it if damaged. Replacement gaskets are often available from the manufacturer using your model number.
- Step 5: The “Reset” Procedure. For electronic locks, a glitch can occur. Try a full reset: Turn the oven off at the control panel. Go to your home’s electrical panel and switch off the circuit breaker that powers the oven for 2-3 minutes. Turn it back on. Wait for the control panel to reboot (clocks will reset). Now, try the locking process again from the very beginning.
- Step 6: Consult the Manual’s Error Codes. If your display shows an error code (e.g., “F5,” “E1,” “Door Lock Error”), look it up in your manual. It will give you the specific meaning and sometimes a prescribed reset sequence.
When to Call a Professional
If you’ve completed all the steps above and the oven still refuses to lock, the issue is likely internal. This could be a:
- Faulty door lock motor or solenoid (the part that moves the latch).
- Failed door switch or sensor that tells the control board the door is closed.
- Broken latch mechanism or worn gears.
- Control board failure.
Do not attempt to disassemble the lock mechanism or force the door. These parts are under tension and can cause injury. A qualified appliance repair technician has the tools and parts to diagnose and fix these internal failures safely. Given the high cost of a service call versus the potential cost of a new oven, this is a necessary step for complex issues.
Safety Best Practices: Your Well-Being is the Priority
The lock is your primary safeguard, but it’s part of a larger safety ecosystem. Treat the self-clean cycle with the respect it deserves.
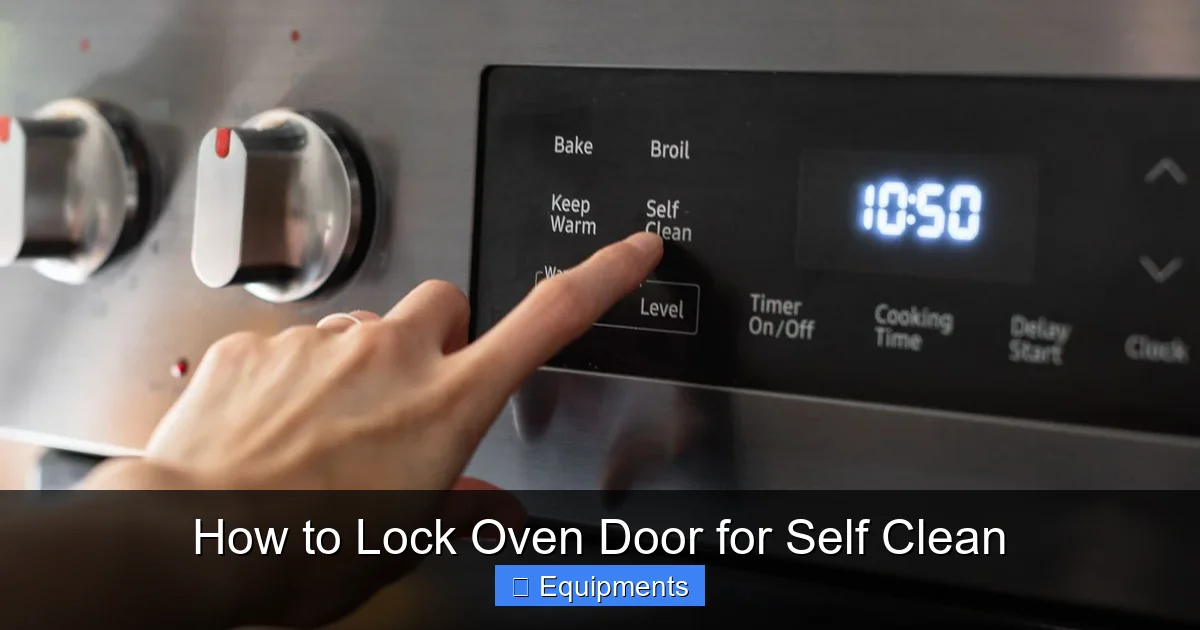
Visual guide about How to Lock Oven Door for Self Clean
Image source: thespruce.com
Before You Start: The Pre-Clean Safety Scan
- Ventilation is Key: The self-clean cycle generates smoke and fumes, especially if there’s a lot of food residue. Open windows and turn on your kitchen exhaust fan to its highest setting. If you don’t have a fan, consider using a portable fan to vent air out a window.
- Keep Kids and Pets Out: Make the kitchen off-limits. Clearly communicate that the oven is “on and locked” and will be extremely hot for hours. The exterior of the oven will get very warm, and the fumes are not ideal for breathing.
- No Chemicals, Ever: Never, under any circumstances, use commercial oven cleaners inside the oven cavity before or during a self-clean cycle. The chemicals can react violently with the extreme heat, creating toxic fumes or even a fire. The self-clean process is designed to work on organic residue alone.
- Remove Plastic and Aluminum: Double-check that no plastic utensils, plastic wrap, or aluminum foil (except for the specific purpose of protecting the floor from ash, as some manuals suggest) are inside. They will melt, smoke, and possibly ignite.
During the Cycle: Hands Off
Once the cycle is running and locked, leave it alone. Do not try to open the door to “check on it.” Do not try to cancel the cycle unless there is a genuine emergency (like smoke alarm activation). The oven’s internal temperature is dangerously high. Trust the process. The lock is working. The cycle will end on its own.
Post-Clean: Unlocking, Cool-Down, and Final Wipe-Down
The cycle is done, the timer has beeped, and the display shows “End” or “Cool.” Now what? Patience is your next virtue.
The Mandatory Cool-Down Period
Do not attempt to unlock or open the door immediately. The oven interior is still at or near 900°F. The lock mechanism itself is also superheated and could cause a burn. The oven is designed to keep the lock engaged until the internal temperature drops to a safe level (typically below 200°F). This can take anywhere from 45 minutes to over 2 hours, depending on the oven and ambient temperature. The fan may continue running to cool the electronics. Wait until you can comfortably place your hand near (not on) the oven door and feel no radiant heat.
Unlocking the Door
- For Automatic Locks: The lock will disengage on its own. You will usually hear a clunk as the latch retracts. The “Lock” icon on the display will disappear. At this point, you should be able to open the door normally.
- For Manual Locks: You must manually disengage the lock. Locate the lever/knob/switch you used to lock it. Move it back to the “Unlock” position. You may need to use a bit of force, as it can be stiff from heat expansion. Only after it’s fully in the “Unlock” position will the door open. If you try to open the door first, it will not budge, which is a good thing—it means the lock is doing its job.
The Final Wipe-Down (The Easy Part)
Once the door is open and the oven is cool, put on some gloves. The ash residue is fine and easy to move.
- Use a damp microfiber cloth to wipe out all the white/gray ash from the oven floor, walls, and ceiling. It should come off effortlessly.
- Pay special attention to the door gasket and the latch area. Wipe the rubber seal clean. Ash and debris here can dry hard and interfere with the next locking/sealing cycle.
- Wipe the oven door interior, especially the glass if it’s a double-pane door (ash can get between panes over many cycles).
- Replace your oven racks. They will be coated in ash too. Wipe them down or wash them in the sink.
And that’s it! Your oven is now sparkling clean and ready for your next culinary masterpiece.
Conclusion: Knowledge is the Key to Confidence
Mastering the art of locking your oven for self-clean transforms what can be a nerve-wracking process into a simple, routine maintenance task. It all boils down to this: know your machine, prepare it properly, engage the lock correctly—whether automatically or manually—and then step back and let it work. The lock is your guardian against the extreme temperatures inside. Respect its function, troubleshoot issues logically, and never bypass a safety feature. By following these detailed steps and safety protocols, you’re not just cleaning an appliance; you’re ensuring it serves you safely and effectively for years to come. Now, go enjoy that clean oven and bake something wonderful!
Frequently Asked Questions
What should I do if my oven’s self-clean cycle starts but the door lock icon never appears?
First, do not assume it’s locked. Gently try the door handle. If it moves, the cycle should stop automatically. If it doesn’t stop, turn the oven off at the breaker immediately. The most common cause is an obstruction preventing the door from closing fully. Re-check for any item inside and ensure the door is pushed shut completely. Then restart the process. If the problem persists, consult your manual or a technician.
Can I manually override the lock if I need to open the oven during a self-clean cycle?
Absolutely not. The lock is a critical safety device. Forcing it open while the oven is hot will result in severe burns from superheated air and steam. It can also damage the lock mechanism, the door, and the oven’s interior. The only safe way to open the door is to wait for the full cool-down period until the lock disengages automatically or you can manually unlock it (on manual-lock models) once cool.
How do I clean around the door lock mechanism itself?
During your post-clean wipe-down, use a soft, damp cloth to gently clean around the latch housing on the oven frame and the hook on the door edge. For stubborn ash, a soft-bristled brush (like an old toothbrush) can help dislodge debris. Avoid using sharp tools or excessive water that could seep into the mechanism. Ensure it’s completely dry before the next use.
My oven has a manual lock lever, but it feels stuck and won’t move. What now?
Do not force it. The lever can become jammed due to heat expansion, grease buildup, or a misaligned door. First, ensure the oven is completely cool. Try gently wiggling the lever back and forth while applying steady pressure. If it’s stuck due to grime, a small amount of a degreaser (like a mild soap solution) applied with a cloth to the pivot point can help after the oven is cool and unplugged. If it remains stuck, the internal mechanism may be damaged and require professional service.
How long does the entire self-clean cycle with lock engagement typically take?
A full self-clean cycle includes the high-heat cleaning phase (usually 2-4 hours, depending on soil level setting) plus the mandatory cool-down period (another 1-2 hours). The lock is engaged for the entire duration, from the moment you press start until the oven cools sufficiently. Plan on the oven being out of commission for a total of 3-6 hours.
Is it normal for my oven to make loud noises (clunking, whirring) during the lock engagement?
Yes, this is completely normal and expected. The sound you hear is the lock motor or solenoid physically moving the latch into place. It’s a mechanical process, not a silent electronic one. The sound is often a solid CLUNK or a WHIR followed by a CLICK. The absence of this sound usually means the lock failed to engage. However, if the noise is grinding, screeching, or repetitive, it could indicate a failing motor or obstruction, and you should investigate.