Keeping ribs warm in the oven is a crucial skill for perfect barbecue, but it’s easy to ruin your hard work. The secret lies in using a very low temperature (typically 150-200°F) and creating a moisture barrier with foil or a covered pan. This gentle warming phase allows the ribs to rest, redistributes juices, and holds them at a safe serving temperature without overcooking or drying out. Following these precise methods ensures your ribs stay succulent and hot from the first bite to the last.
You’ve done it. You’ve spent hours tending your smoker or grill, applying rubs, managing fire, and patiently waiting for that beautiful rack of ribs to hit that magical, tender “bend” or achieve a perfect probe tenderness. The bark is set, the smoke ring is deep, and the aroma is intoxicating. Victory is within reach. And then… the guests are late. The potato salad isn’t ready. The cornbread needs five more minutes. Now what? Do you just let the ribs sit and get cold? Absolutely not. But if you’re not careful, the very act of trying to keep ribs warm can transform your masterpiece into a dry, tough, disappointing mess. Learning how to properly keep ribs warm in the oven is not a backup plan; it’s an essential, final chapter in the rib-cooking process that separates good barbecue from unforgettable barbecue.
This isn’t about simply turning your oven to 200°F and tossing the ribs on a bare rack. That’s a one-way ticket to rubbery, desiccated meat. The goal is to hold the ribs at a safe, serving-appropriate temperature while protecting them from the relentless, drying heat of your oven’s ambient air. We need to create a microclimate—a warm, humid, gentle environment—where the ribs can rest peacefully, their internal juices relaxing and redistributing, all while staying perfectly hot for your hungry crowd. This guide will walk you through the exact science, the foolproof methods, and the common pitfalls to ensure your ribs emerge from the oven just as juicy and tender as they were when you pulled them from the heat.
Key Takeaways
- Use Very Low Heat: Always warm ribs at 150-200°F. Higher temperatures will continue to cook the meat, drying it out and making it tough.
- Create a Moisture Barrier: Tightly wrap ribs in foil with a splash of liquid (apple juice, broth, beer) or place them in a covered baking dish to trap steam and prevent moisture loss.
- Resting is Non-Negotiable: Letting ribs rest for 15-30 minutes after cooking, even while kept warm, allows juices to redistribute, resulting in more tender, flavorful meat.
- Avoid the “Warm” Setting: Most oven “warm” settings (170-200°F) are too hot and can still cook the ribs. Use the lowest possible temperature your oven can hold steadily.
- Foil is Your Best Friend: Heavy-duty aluminum foil provides the best seal. For extra insurance, use the “boat” method (foil on a baking sheet) or a Dutch oven.
- Timing is Everything: Ribs can be safely held warm for 1-2 hours. Beyond that, texture will degrade. Always use a thermometer to ensure internal temp stays above 140°F for safety.
- Know Your Ribs: St. Louis cut spareribs and baby back ribs have different densities. Baby backs, being leaner, are more prone to drying out and benefit most from meticulous warming techniques.
📑 Table of Contents
Why Proper Warming is Non-Negotiable for Perfect Ribs
Before we dive into the “how,” let’s establish the “why.” Ribs, especially pork ribs, are a delicate balance of meat, fat, and connective tissue. The long, low-and-slow cooking process we use (whether on a smoker, grill, or in an oven) does two critical things: it breaks down tough collagen into succulent gelatin, and it renders fat slowly. This process creates that fall-off-the-bone tenderness we all crave. However, this transformation is a chemical and physical process that doesn’t stop the moment you remove the heat source.
The Science of Carryover Cooking and Resting
When you pull a rack of ribs from your cooker, the exterior is often hotter than the interior. Heat migrates from the hotter outside to the cooler center—a phenomenon called “carryover cooking.” The internal temperature of your ribs can rise by 5-10°F after removal. If you immediately slice into them, all the precious, liquefied gelatin and juices, which have been forced to the center of the meat by the heat, will run out onto your cutting board. You need to let the ribs rest. Resting allows the muscle fibers to relax and reabsorb those juices. This resting period is the first, most critical phase of keeping them warm. You’re not just waiting; you’re allowing the meat to finish its own internal work.
The Danger Zone: From Tender to Tough
Ribs are not like a steak. You cannot hold a medium-rare steak in a warm oven and expect it to stay medium-rare. Ribs, cooked to proper doneness (typically an internal temp of 195-205°F for pork spareribs, 190-200°F for baby backs), are already at the far end of the cooking spectrum. They are fully cooked and tenderized. Applying continued dry heat, even at a moderate temperature, will simply drive off the moisture you worked so hard to create. The proteins contract, squeezing out the very juices you want to keep. The result is meat that shrinks, becomes chewy, and loses its luscious mouthfeel. Therefore, the warming technique must prioritize moisture retention over temperature increase.
The Golden Rules: Temperature, Time, and Moisture
With the principles in mind, we can establish three non-negotiable rules for warming ribs in your oven. Think of these as your commandments for hot, juicy ribs.
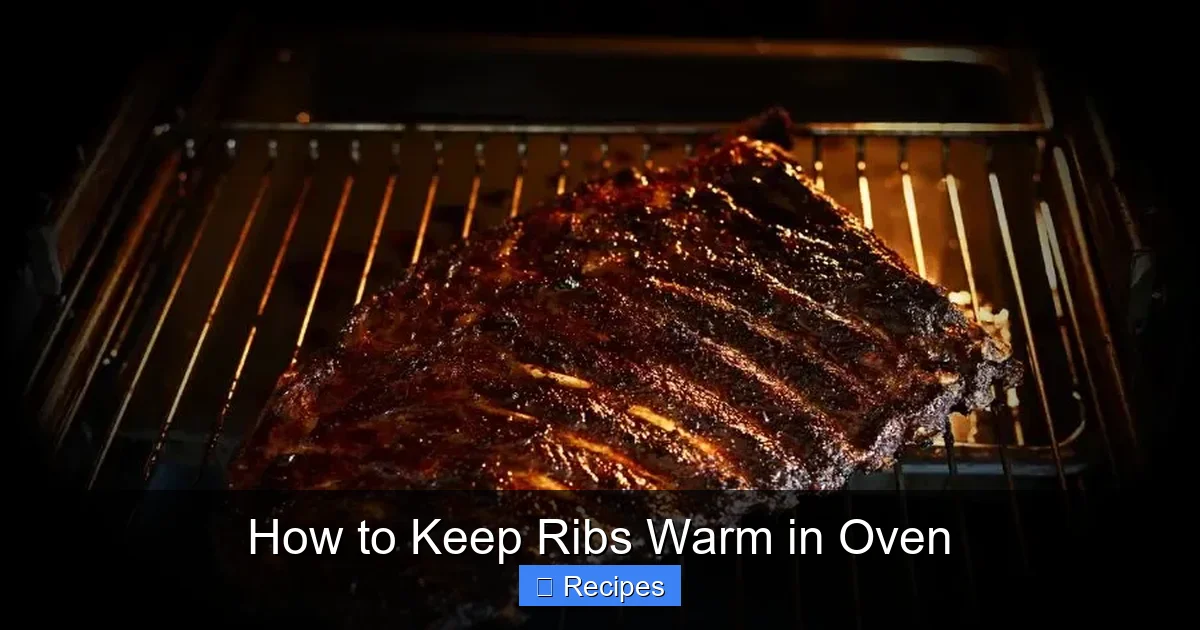
Visual guide about How to Keep Ribs Warm in Oven
Image source: mybackyardlife.com
Rule #1: The Lowest Possible Temperature (150-200°F is the Sweet Spot)
Your oven’s lowest setting is your best friend. Most home ovens have a “Warm” setting, which is usually around 170-200°F. This is often still too hot. The ideal warming temperature is between 150°F and 175°F. At this range, you are not significantly increasing the internal temperature of the already-cooked ribs; you are merely replacing the heat they are slowly losing to the room, preventing them from dropping below a safe and pleasant eating temperature (140°F and above). If your oven cannot hold a steady 150°F, 200°F is your absolute maximum, but you must compensate with excellent moisture protection (see Rule #2) and a shorter time.
Rule #2: Create an Airtight, Moist Environment
This is the most important rule. You must shield the ribs from the oven’s dry air. The two best tools for this are:
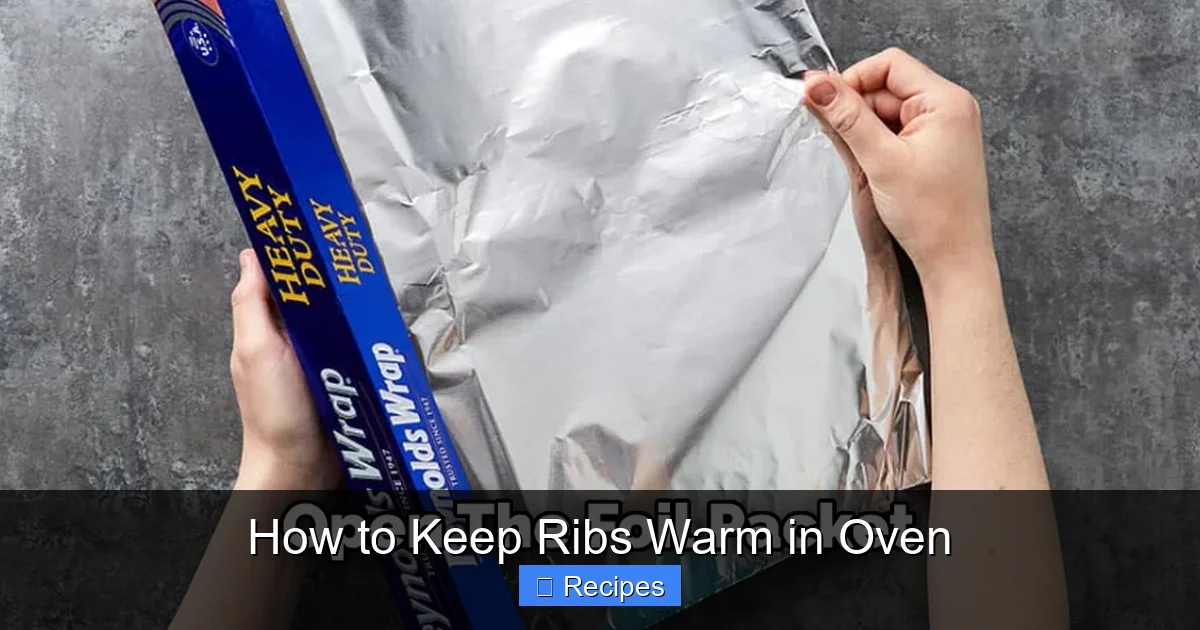
- Heavy-Duty Aluminum Foil: Create a sealed packet or “boat.” Place the ribs on a double layer of foil. Add a small amount of liquid—2-4 tablespoons of apple juice, beer, cider vinegar, or even just water. Seal the foil tightly into a packet, ensuring no steam can escape. For a “boat,” place the ribs on a baking sheet, bring the foil up the sides, and seal the top loosely to allow some steam circulation but trap most moisture.
- A Covered Baking Dish or Dutch Oven: A ceramic baking dish with a lid or a cast iron Dutch oven is perfect. Add a thin layer of liquid to the bottom (just enough to create steam, not submerge the ribs). Place the ribs inside, cover tightly, and place in the warm oven.
The liquid is key. It vaporizes, creating a humid atmosphere inside the foil or dish, which bathes the ribs in gentle steam, preventing surface dehydration.
Rule #3: Time Limits are Real (1-2 Hours Max)
Even at the perfect temperature and with perfect moisture, time is the enemy. The ribs will continue to cook, albeit very slowly, and the texture will begin to degrade after about 1 hour. Two hours is the absolute maximum for holding ribs in a warming oven. Your goal should be to get them from the cooker to the table within 60-90 minutes. This is why planning your side dishes and timing your cook to finish just before serving is so important. The warming oven is a buffer for a 30-45 minute delay, not a multi-hour holding tank.
Step-by-Step: The Best Methods for Keeping Ribs Warm
Now, let’s get practical. Here are three detailed, foolproof methods, ranked from simplest to most robust.
Visual guide about How to Keep Ribs Warm in Oven
Image source: thekitchenix.com
Method 1: The Classic Foil Packet (The Go-To for Most)
This is the easiest and most effective method for a typical backyard barbecue.
- Rest First: As soon as you pull the ribs from the heat, let them rest, uncovered, on a cutting board or baking sheet for 10-15 minutes. This initial rest is critical for juice redistribution.
- Prep the Packet: Tear off a large piece of heavy-duty aluminum foil. Place the rested rack of ribs in the center. Drizzle 2-4 tablespoons of your chosen liquid over the top. Apple juice is classic, but a dark beer or a mixture of juice and a splash of bourbon adds nice flavor.
- Seal Tightly: Bring the short sides of the foil together over the ribs. Fold down tightly several times to create a seal. Then, fold the long sides up and over the top, crimping the edges to form a completely sealed, flat packet. Ensure there are no holes.
- Warm: Place the sealed packet on a baking sheet (for easy handling) and put it in your preheated oven set to 150-175°F.
- Serve: When ready to serve, carefully open the packet (watch for steam!). The ribs should be piping hot, steaming, and incredibly juicy. Serve immediately.
Method 2: The Covered Pan or Dutch Oven (Ultimate Moisture Lock)
This method is even more foolproof than the foil packet and is ideal if you have a very tight-fitting lid.
- Preheat: Place your covered baking dish or Dutch oven in the oven as you preheat it to 150-175°F. This ensures the vessel is hot and won’t cool the oven when you add the ribs.
- Add Liquid: Remove the hot dish (use mitts!). Pour in just enough liquid to coat the bottom—about 1/4 cup. You want steam, not a braise.
- Add Ribs & Cover: Place the rested rack of ribs inside. Cover immediately and tightly with the lid.
- Warm: Return to the oven. The heavy lid and steam created will provide an incredibly stable, humid environment.
- Serve: Remove the lid at the table for a dramatic presentation of steaming ribs. The ribs will be exceptionally moist.
Method 3: The “Warming Drawer” or Low Oven with a Towel (Gentle & Indirect)
If your oven has a separate warming drawer (or a very low “Proof” setting around 100-120°F), this is the gold standard.
- Do Not Foil: For this gentle heat, you can often get away with just placing the rested ribs (uncovered) on a baking sheet or platter. The heat is so low it won’t dry them quickly.
- Add Humidity: Place a small, oven-safe ramekin or pan of boiling water on the rack next to the ribs. This adds ambient humidity.
- The Towel Trick: For an extra layer of insulation, you can loosely tent the ribs with a clean, dry kitchen towel before placing them in the warming drawer. The towel traps a layer of still, warm air.
- Monitor: Check every 20 minutes. At this low temperature, you have more time (up to 2 hours) but should still be vigilant.
Advanced Techniques & Pro Tips
Once you’ve mastered the basics, these tips will elevate your rib-holding game from good to expert.
Visual guide about How to Keep Ribs Warm in Oven
Image source: thekitchenix.com
The “Foil Boat” on a Grill or Smoker
Don’t want to heat your whole kitchen oven? You can create the same environment on your still-warm grill or smoker. After pulling the ribs, place them on a sheet of foil on the grill grate (away from direct heat if your grill has hot spots). Add the liquid, fold the foil up into a deep boat, and close the lid. The residual heat and smoke flavor will keep them warm beautifully for 30-45 minutes.
Butter or Oil for a Protective Barrier
Before wrapping in foil, you can brush a very thin layer of neutral oil, melted butter, or even a little of your rendered fat from the cook onto the ribs. This creates a microscopic lipid barrier on the surface that helps repel moisture loss. Don’t overdo it—a light coating is all you need.
Holding Multiple Racks
If you need to hold multiple racks, do not stack them directly on top of each other in one packet. The weight will compress the bottom rack. Instead, place each rack on its own piece of foil (with liquid) and then place all the packets on a baking sheet. Alternatively, use a large, deep roasting pan with a rack insert. Place the ribs on the rack, add liquid to the bottom of the pan, and cover tightly with foil or the pan lid.
Critical Mistakes to Avoid at All Costs
Even with the best intentions, it’s easy to slip up. Here are the cardinal sins of rib warming.
Mistake 1: Using “High” Heat to “Speed It Up”
This is the #1 reason for dry ribs. The mindset of “I need them hot in 10 minutes, so I’ll turn the oven to 300°F” is fatal. You are not reheating a pizza; you are holding a delicate, fully-cooked product. There is no “speeding up.” You are only cooking them further into dryness. Be patient. 150°F is hot enough.
Mistake 2: Wrapping Too Early or Without Resting
Do not wrap the ribs the second they come off the heat. Let them rest uncovered for at least 10 minutes first. Wrapping immediately traps all the initial, aggressive steam right against the hot surface, which can actually start to “cook” the outer layer and make the bark soggy. The initial rest lets the surface temperature drop slightly and the juices settle.
Mistake 3: Using Parchment Paper Instead of Foil
Parchment paper is not an airtight barrier. It breathes. It will not trap steam effectively. You must use heavy-duty aluminum foil or a lidded vessel for proper moisture retention.
Mistake 4: Forgetting the Liquid
Dry heat in a low oven will still eventually draw out moisture. The small amount of liquid is what creates the protective steam. Skipping it means you’re just warming the ribs in a dry, 150°F oven—which is essentially a very slow dehydrator.
Mistake 5: Not Checking for Doneness Before Warming
The warming phase is not the time to try and achieve final tenderness. If your ribs are not yet tender when you pull them, no amount of warming will fix that. They must be perfectly cooked before they enter the holding phase. Probe the thickest part of the meat between the bones. It should slide in with little resistance. If not, cook them a bit longer first.
Conclusion: The Final, Gentle Touch
Mastering the art of keeping ribs warm in the oven is about respecting the product you’ve worked so hard to create. It’s understanding that the journey isn’t over at the moment of pull; it concludes at the moment of serve. By treating this final phase with the same care as the smoke and fire—using a low, gentle temperature, sealing in precious moisture with foil or a covered dish, and respecting strict time limits—you guarantee that every single person at your table experiences ribs that are not just hot, but hot, juicy, and perfectly tender.
This technique is your safety net. It turns a potential disaster of cold or overcooked ribs into a seamless, stress-free serving experience. You can confidently chat with your guests, finish the baked beans, and pour another drink, knowing your ribs are resting peacefully in a warm, humid cocoon, waiting to be unveiled at their peak. So next time timing is tight, don’t panic. Wrap them up, set the oven low, and trust the process. Your perfectly warm, fall-off-the-bone ribs await.
Frequently Asked Questions
Can I keep ribs warm in the oven without foil?
It is not recommended. Without a moisture barrier like foil or a lidded dish, the oven’s dry air will quickly draw moisture from the ribs, making them tough and dry. You must use a sealed method to trap steam.
What is the absolute maximum time I can hold ribs warm?
For food safety and quality, do not exceed 2 hours. After 90 minutes, even at low temperatures, texture will noticeably degrade. Aim to serve within 60 minutes of removing from the heat source.
Should I add barbecue sauce before or after warming?
Always add sauce after warming. Warming already sauced ribs can cause the sugar in the sauce to burn or become gummy. If you want the sauce warm and sticky, brush it on and place the ribs under a broiler or on a hot grill for just 2-3 minutes after they have been held warm.
What’s the best liquid to add to the foil packet?
Apple juice is the classic choice for its mild, fruity sweetness. Apple cider, beer, cider vinegar (diluted with water), or even just water work well. For extra flavor, you can mix a bit of juice with a teaspoon of your favorite BBQ rub or a dash of hot sauce.
My oven doesn’t go below 200°F. Is that okay?
It can work, but you must be extra vigilant. At 200°F, the ribs are cooking, just very slowly. Use the most airtight moisture barrier possible (a lidded Dutch oven is better than foil). Check the ribs after 30 minutes and aim to serve within 45-60 minutes max to prevent drying.
How can I tell if the ribs are still safe to eat after warming?
Use an instant-read thermometer. The internal temperature of the ribs should remain above 140°F throughout the holding period. If they drop below this, they enter the “danger zone” for bacterial growth. When in doubt, reheat them gently to 165°F before serving, though this may further affect texture.