Drying parsley in an air fryer is a fast, efficient method that locks in vibrant color and robust flavor better than traditional air drying. This guide walks you through every step, from washing and prepping your fresh parsley to setting the correct temperature and time for perfect results. You’ll learn expert tips to avoid common mistakes and how to store your dried herb for maximum potency. Say goodbye to wilted, flavorless dried parsley and hello to a pantry staple that elevates any dish.
Key Takeaways
- Speed & Efficiency: An air fryer dries parsley in 1-2 hours, drastically faster than air-drying which can take days or weeks.
- Superior Flavor Retention: The rapid, heated-air circulation preserves essential oils better than slow, ambient-air methods, resulting in a more potent, flavorful herb.
- Proper Prep is Crucial: Thoroughly washing, drying, and removing leaves from stems ensures even drying and prevents mold or sogginess.
- Low & Slow is Key: Use the lowest possible temperature setting (typically 150°F/65°C) to dehydrate without cooking or burning the delicate leaves.
- Storage Dictates Longevity: Store completely cooled, crisp dried parsley in an airtight container in a cool, dark place to maintain freshness for up to a year.
- Test for Doneness: Properly dried parsley should crumble easily between your fingers. Any remaining flexibility means it needs more time.
- Not All Air Fryers Are Equal: Models vary; start checking for doneness early and adjust time/temp based on your specific appliance’s performance.
📑 Table of Contents
- Why Choose the Air Fryer for Drying Parsley?
- Essential Preparation: Washing and Prepping Your Parsley
- Mastering the Air Fryer Settings: Temperature and Time
- The Step-by-Step Drying Process
- How to Store Dried Parsley for Maximum Freshness
- Creative Ways to Use Your Air Fryer-Dried Parsley
- Conclusion: Your New Pantry Staple
Why Choose the Air Fryer for Drying Parsley?
If you’re a home cook or gardening enthusiast with a surplus of fresh parsley, you’ve likely wondered about the best way to preserve it. While traditional methods like hanging bunches to air dry or using a dedicated dehydrator have their merits, the modern kitchen’s secret weapon is the humble air fryer. This countertop convection oven excels at creating a controlled, low-temperature environment with constant airflow—the exact conditions needed for effective dehydration. Learning how to dry parsley in air fryer units offers a compelling blend of speed, efficiency, and exceptional results that other methods struggle to match.
The primary advantage is time. Air-drying parsley can take 1-2 weeks, depending on humidity, during which the herb can lose color and some potency. A standard dehydrator is faster but requires counter space and another appliance. Your air fryer, however, is likely already on your counter. It can transform a large batch of fresh, garden-grown parsley into a shelf-stable, intensely flavored seasoning in just 1 to 2 hours. Furthermore, the concentrated, circulating hot air of an air fryer is remarkably effective at drawing out moisture while minimizing the exposure to heat that can degrade delicate flavor compounds. The result? Dried parsley that looks greener, smells brighter, and tastes more like its fresh self than many commercially available versions.
The Science of Dehydration in an Air Fryer
An air fryer works on the principle of convection cooking: a heating element warms the air, and a powerful fan circulates that hot air rapidly around the food. For drying herbs, this is ideal. The moving air continuously wicks moisture away from the surface of the parsley leaves. Because the temperature can be set very low (most models go down to 150°F or 65°C), you gently evaporate the water content without actually “cooking” the herb, which would cook off its volatile aromatic oils. This gentle, forced-air process is scientifically superior to passive air-drying, where moisture evaporates slowly and unevenly, potentially exposing some leaves to ambient humidity and spoilage.
Essential Preparation: Washing and Prepping Your Parsley
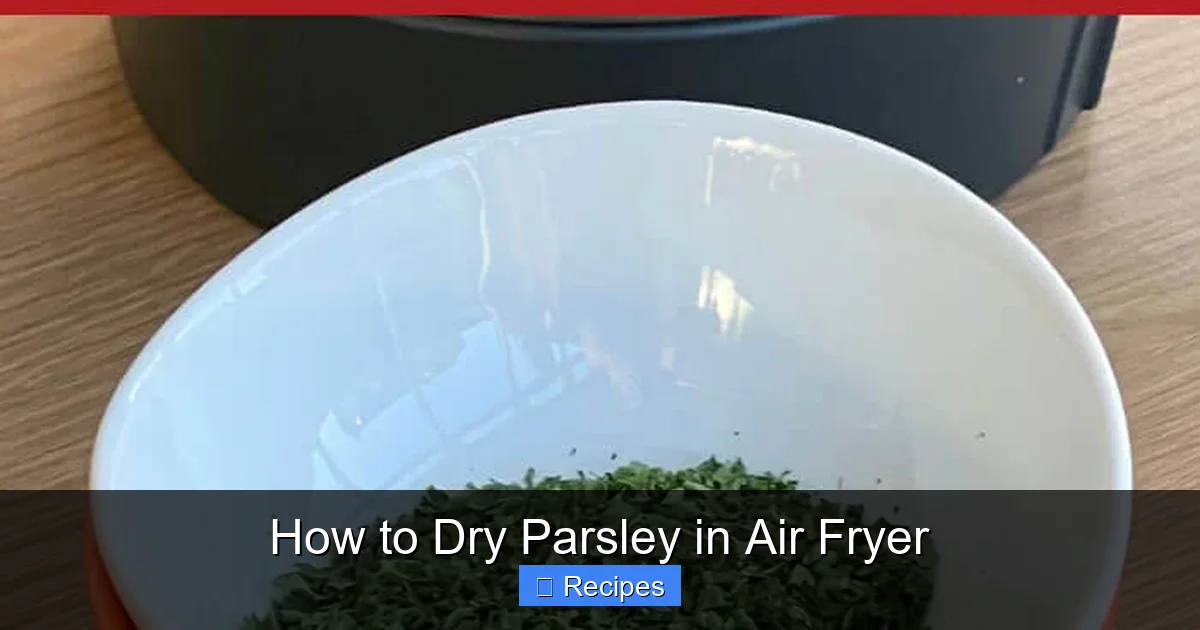
The success of your dried parsley hinges almost entirely on how well you prepare it before it ever touches the air fryer basket. Skipping or rushing this step is the number one cause of failed batches—leading to soggy, mold-prone, or unevenly dried herb. The goal is to start with parsley that is impeccably clean and utterly dry on the surface.
Visual guide about How to Dry Parsley in Air Fryer
Image source: recipethis.com
Step 1: Selecting and Washing
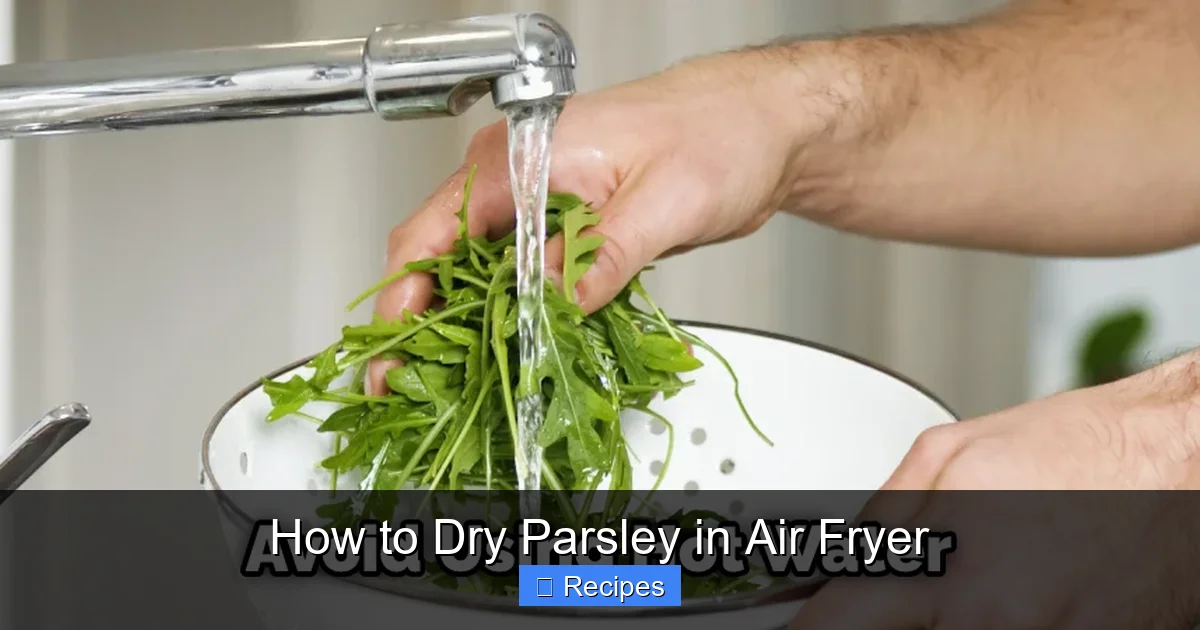
Begin with the freshest, healthiest parsley you can find. If harvesting from your garden, pick it in the morning after the dew has dried but before the sun’s heat peaks, as this is when essential oil concentration is highest. Give the parsley a thorough rinse under cool running water to remove any dirt, insects, or pesticides. Use your fingers to gently agitate the leaves. For extra assurance, you can soak the bunch in a bowl of cold water for a few minutes, then lift it out, letting excess water drip off.
Step 2: The Critical Drying Phase
This is non-negotiable. Any surface moisture will steam the parsley in the closed air fryer environment, preventing proper dehydration and encouraging mold. After washing, use a clean salad spinner to remove the bulk of the water. Spin it in several batches until no more water is ejecting. Then, lay the parsley out in a single layer on clean kitchen towels or paper towels. Gently pat and roll the towels over the bunches to absorb every last droplet of visible water. Let it sit for 15-20 minutes to air-dry further. The leaves should feel completely dry to the touch and look slightly wilted from the water loss before you proceed.
Step 3: De-Stemming (The Big Debate)
There are two schools of thought here. Some chefs swear by drying parsley with the stems on, as they believe the stem holds flavor that can be stripped and used. However, for the cleanest, most crumbly end product perfect for sprinkling, we strongly recommend removing the leaves from the stems. The stems are thicker and take significantly longer to dry than the delicate leaves. If you leave them on, you risk over-drying the leaves to a crisp while the stems are still pliable. Take a moment to pinch or pull the tiny leaves from their stems. It’s a bit of a mindfulness exercise, but your future self will thank you for the uniform, ready-to-use dried herb.
Mastering the Air Fryer Settings: Temperature and Time
Now for the core of the process: setting your air fryer correctly. The universal rule for drying herbs is low and slow. High heat will toast the parsley, turning it brown and bitter while destroying its fresh, green flavor. You are not cooking it; you are dehydrating it.
Visual guide about How to Dry Parsley in Air Fryer
Image source: airfryerfanatics.com
Finding the Right Temperature
The optimal temperature range for drying parsley in an air fryer is between 150°F and 175°F (65°C to 80°C). If your air fryer has a specific “Dehydrate” or “Low Temp” setting, use that. If not, manually set it to the lowest temperature available. Start at 150°F (65°C). Some older or more powerful models might not maintain such a low temp accurately and could run hotter. If you know your appliance runs hot, start at 160°F or even 170°F, but be prepared to check it very frequently. The goal is gentle, sustained heat that encourages moisture evaporation without cooking the leaf tissues.
Timing: The 60-120 Minute Window
Drying time is highly variable and depends on three main factors: 1) your air fryer model’s exact temperature and airflow, 2) how thoroughly you pre-dried the parsley, and 3) how densely you packed the basket. As a general guide, expect the process to take between 60 and 120 minutes. Do not set it and forget it. Beginning at the 45-minute mark, start checking every 15-20 minutes. The final batch of parsley you load will always take the longest, as the air fryer needs to re-heat after each opening.
Loading the Basket: Less is More
Overcrowding is the second most common mistake. The hot air must circulate freely around every single leaf to pull moisture away evenly. If you pile the parsley in, the leaves in the center will steam and wilt instead of drying. Work in small batches. Spread the parsley in a single, loose layer in the basket. You can gently shake the basket to settle the leaves, but do not compress them. It’s better to do 4-5 small batches than 2 large, crowded ones. The time saved by not overcrowding is negligible compared to the ruined batch you’d create.
The Step-by-Step Drying Process
With your prepped parsley and a preheated air fryer (let it heat for 3-5 minutes), you’re ready to begin. Follow this methodical process for consistent success.
Visual guide about How to Dry Parsley in Air Fryer
Image source: thekitchenix.com
1. Preheat: Set your air fryer to your chosen low temperature (start with 150°F/65°C) and let it run empty for 3-5 minutes. This ensures the chamber is at a stable, consistent heat before introducing moisture.
2. First Batch: Place a single layer of completely dry parsley leaves in the basket. Do not use parchment paper or liners, as they can block airflow. Close the drawer.
3. Set Timer & Shake: Set the timer for 30 minutes. At the 15-minute mark, pause the cycle, carefully pull out the basket, and give it a good shake. This redistributes the leaves, ensuring those on the bottom get exposed to the top airflow. Return the basket and resume cooking.
4. Begin Checking: At the 45-minute mark, start the crucial doneness test. Remove a few leaves from the center of the batch. Let them cool for a minute on the counter (they crisp up further as they cool), then try to crumble them between your fingers.
5. The Crumble Test: Perfectly dried parsley will shatter into fine, brittle pieces with no resistance. If it bends or feels leathery, it needs more time. Return the batch and check again in 10-15 minutes.
6. Remove & Cool: Once a batch passes the crumble test, immediately remove it from the air fryer. Spread the dried parsley on a cool plate or cooling rack in a single layer. Do not pile it up while warm, as trapped steam will re-hydrate it and make it limp. Let it cool completely to room temperature, which may take 20-30 minutes.
7. Repeat: While one batch cools, proceed with the next. Once all batches are dried and completely cooled, you can proceed to storage.
How to Store Dried Parsley for Maximum Freshness
Your beautifully dried, green parsley is useless if not stored correctly. Improper storage is the silent killer of dried herbs, leading to rapid loss of flavor, color, and aroma through exposure to air, light, and heat.
The Cardinal Rule: Airtight and Dark
The enemy is oxygen. Transfer your completely cooled dried parsley to a glass jar with a tight-sealing lid, a high-quality resealable plastic bag (squeeze out all air), or a dedicated spice container. Mason jars are excellent. Avoid containers that are not truly airtight. Store this container in a cool, dark place—a pantry cupboard away from the stove, oven, and direct sunlight is perfect. Light and heat are the secondary enemies that degrade the delicate essential oils.
Label and Date
Always label your container with the contents and the date you dried it. While properly stored dried parsley can last for 6-12 months, its potency peaks in the first 3-6 months. The “best by” date on your label will remind you to use it while its flavor is brightest.
Whole Leaves vs. Crushed
For the longest shelf life, store the dried leaves whole and only crush or crumble them just before using. Whole leaves have less surface area exposed to oxygen, slowing the degradation of flavor. You can easily crumble them between your fingers or grind them in a mortar and pestle when a recipe calls for it.
Creative Ways to Use Your Air Fryer-Dried Parsley
Now that you have this potent, homemade seasoning, don’t just sprinkle it on as a garnish. Its concentrated flavor makes it a versatile ingredient.
- Herb-Infused Oils and Vinegars: Add a few sprigs of your dried parsley to a bottle of olive oil or white wine vinegar and let it steep for a week for a fantastic finishing oil or salad dressing base.
- Homemade Seasoning Blends: Combine it with dried chives, dill, thyme, and garlic powder to create your own “Herbes de Provence” or “Italian Seasoning” blend, free from fillers and anti-caking agents.
- Flavor Booster for Soups and Stews: Stir a tablespoon into vegetable soup, bean chili, or stew during the last 10 minutes of cooking to add a layer of fresh, green flavor that survives the cooking process.
- Rub for Meats and Fish: Mix with coarse salt, pepper, and a little lemon zest to create a simple, flavorful rub for chicken, fish, or pork before roasting or grilling.
- Elevate Dips and Spreads: Stir directly into hummus, cream cheese, or softened butter for an instant herb upgrade. The fine texture blends in beautifully.
- Healthy “Green” Salt: Pulse dried parsley with coarse sea salt in a food processor for a gorgeous, flavorful finishing salt for roasted vegetables, avocado toast, or popcorn.
Conclusion: Your New Pantry Staple
Mastering how to dry parsley in air fryer is one of the simplest yet most rewarding kitchen skills you can develop. It transforms a fleeting seasonal abundance into a year-long treasure, saving you money and reducing waste. The method gives you unparalleled control over the final product, ensuring your dried parsley is a vibrant, flavorful shadow of its fresh self, not a pale, dusty imitation. With just a few minutes of active prep and the push of a button on your air fryer, you can fill your pantry with the essence of your summer garden. The next time a recipe calls for a tablespoon of dried parsley, you’ll reach for your own homemade stash, confident it will make the dish sing. So, grab that bunch of parsley, fire up your air fryer, and start preserving flavor the modern, efficient way.
Frequently Asked Questions
Can I dry parsley with the stems on in the air fryer?
You can, but it’s not recommended. The stems retain moisture much longer than the leaves, leading to uneven drying. The leaves may become overly crisp and brittle while the stems are still pliable. For best results and a uniformly crumbly product, remove the leaves from the stems before drying.
What is the absolute lowest temperature I should use?
Aim for 150°F (65°C) if your air fryer allows it. This is the sweet spot for dehydration. Temperatures above 175°F (80°C) risk cooking the parsley, causing it to brown, lose its vibrant green color, and lose its delicate flavor compounds to volatilization.
How do I know when the parsley is completely dry?
Use the “crumble test.” After cooling a few leaves for a minute, try to crush them between your fingers. Properly dried parsley will shatter into fine, brittle pieces with no bend or flexibility. Any leathery feel or pliability means it needs more drying time.
My air fryer doesn’t have a dehydrate setting. Is it still safe to use the lowest temp?
Yes. Simply use the lowest temperature setting available on your model, often labeled “Warm” or the lowest number on the dial. Monitor it closely, as some air fryers may not maintain a precise low temperature and could run hotter than intended. Start checking for doneness early.
Can I dry other herbs like cilantro or basil this way?
Absolutely! The same low-and-slow method works beautifully for most delicate herbs like cilantro, basil, dill, chives, and mint. Basil and mint have higher moisture content, so they may take slightly longer. Always use the crumble test to determine doneness.
Why does my dried parsley taste bland or have no color?
This usually indicates the drying temperature was too high, which cooked off the flavorful essential oils and caused chlorophyll breakdown (loss of green color). It can also happen if the parsley was not completely surface-dry before air frying, causing it to steam instead of dehydrate. Always start with a low temp and ensure leaves are bone-dry beforehand.