Keeping stove knobs clean not only looks great but also prevents grime buildup that can affect performance. This guide walks you through easy, budget‑friendly methods, the right tools, and maintenance habits so your knobs stay like new. Follow the simple steps and enjoy a sparkling, hygienic cooking surface every day.
Key Takeaways
- Understanding How To Clean Stove Knobs: Provides essential knowledge
📑 Table of Contents
- Introduction: Why Clean Stove Knobs Matter
- Understanding Your Stove Knob Types
- Gathering the Right Tools and Supplies
- Step‑by‑Step Guide: How to Clean Stove Knobs
- Deep‑Cleaning Techniques for Tough Grime
- Maintaining Clean Knobs: A Simple Routine
- Common Mistakes to Avoid
- When to Replace Stove Knobs
- Conclusion: Keep Your Knobs Shining and Safe
Introduction: Why Clean Stove Knobs Matter
Stove knobs are the unsung heroes of your kitchen. They sit right where your hands meet heat, grease, and steam every day. Over time, they collect oil splatters, food particles, and even tiny crumbs that can turn into stubborn grime. Not only does that look unsightly, but it can also affect the knob’s movement, cause sticky spots, and even harbor bacteria.
Cleaning stove knobs isn’t a chore reserved for “deep‑clean day.” A little routine care keeps them functioning smoothly and extends their life. In this article, we’ll show you how to clean stove knobs using everyday items, explain the best methods for different knob materials, and give you a maintenance schedule you can stick to without breaking a sweat.
Understanding Your Stove Knob Types
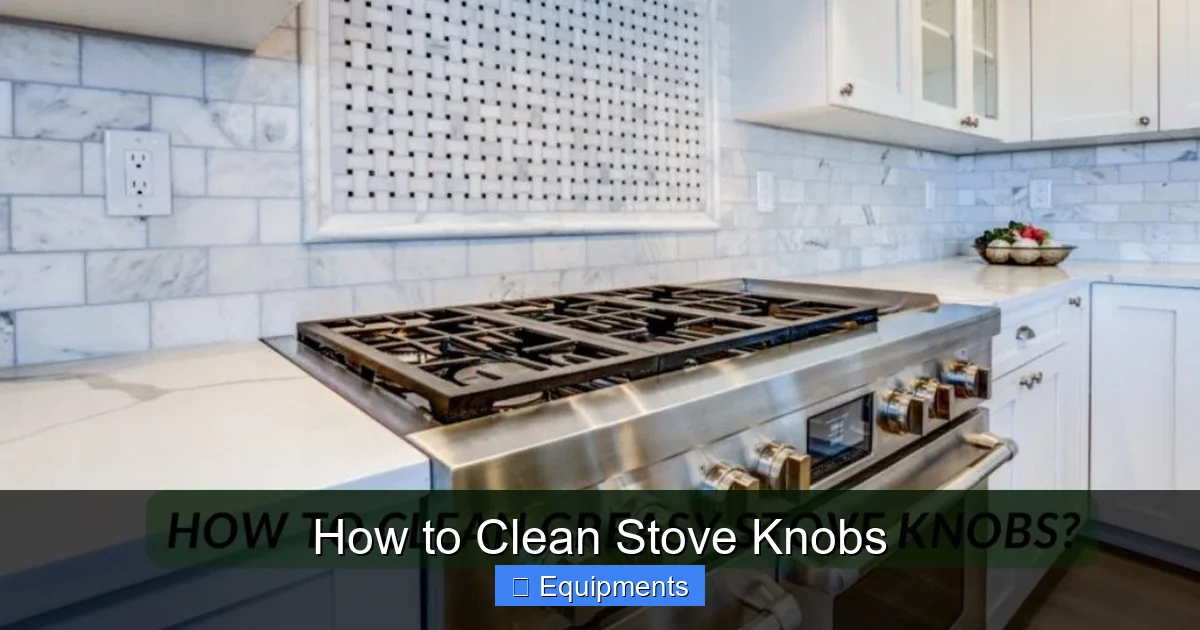
Before you grab a sponge, it helps to know what you’re dealing with. Stove knobs come in a few common materials, each with its own cleaning quirks.
Visual guide about How to Clean Stove Knobs
Image source: missact.com
Metal Knobs
Often found on gas ranges, metal knobs are usually aluminum, stainless steel, or brass. They are durable but can develop a dull patina or rust if water sits on them for too long.
Plastic Knobs
Electric and induction cooktops frequently use high‑temperature plastics. These are lightweight and cheap to replace, but they can melt or discolor if harsh chemicals are used.
Silicone or Rubber‑Coated Knobs
Some modern designs feature a soft silicone grip for better control. Silicone tolerates heat well but can attract oily fingerprints.
Decorative or Vintage Knobs
Older homes may have enamel, porcelain, or even wood‑finished knobs. These need extra gentleness to avoid chipping or staining.
Gathering the Right Tools and Supplies
You don’t need a professional cleaning kit. Most households already have everything required. Here’s a quick checklist:
Visual guide about How to Clean Stove Knobs
Image source: thekitchenix.com
- Soft cloths or microfiber towels – for wiping and drying.
- Non‑abrasive sponge or soft-bristled brush – to scrub without scratching.
- Mild dish soap – the base cleaner for most knobs.
- White distilled vinegar – natural degreaser and deodorizer.
- Baking soda – gentle abrasive for tough spots.
- Isopropyl alcohol (70% or higher) – for sanitizing after cleaning.
- Old toothbrush – perfect for crevices.
- Rubber gloves (optional) – protects your hands from hot water.
Step‑by‑Step Guide: How to Clean Stove Knobs
Step 1: Safety First – Turn Off and Cool Down
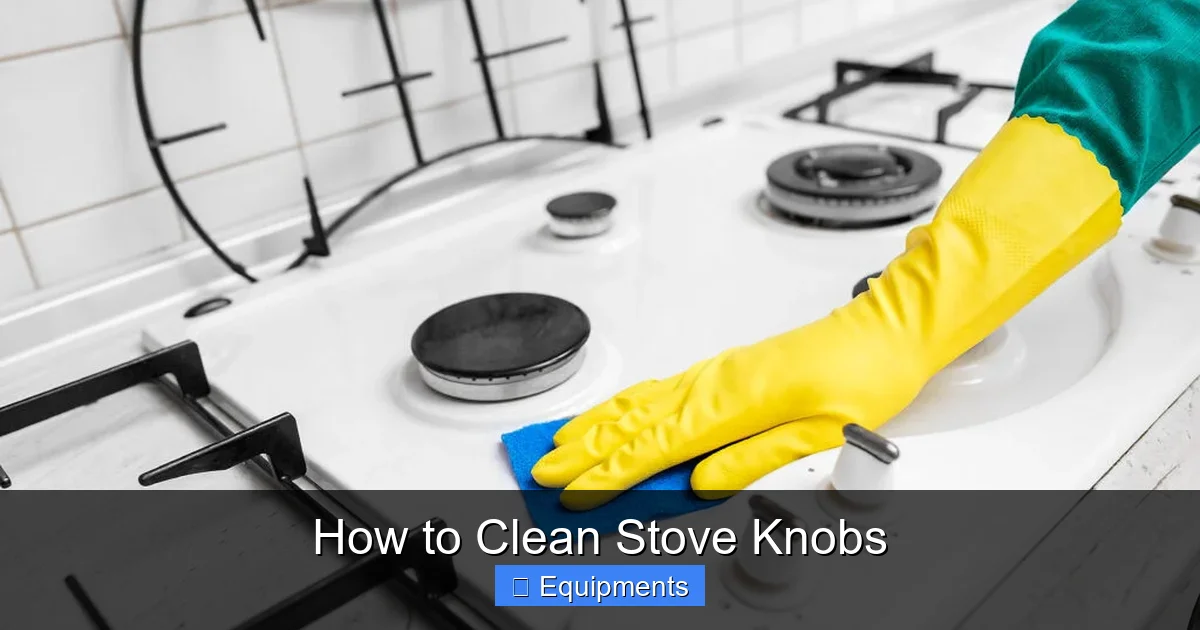
Always make sure the stove is completely off and the burners are cool. This prevents burns and eliminates the risk of short‑circuiting an electric knob.
Visual guide about How to Clean Stove Knobs
Image source: repair2000.com
Step 2: Remove the Knobs (If Possible)
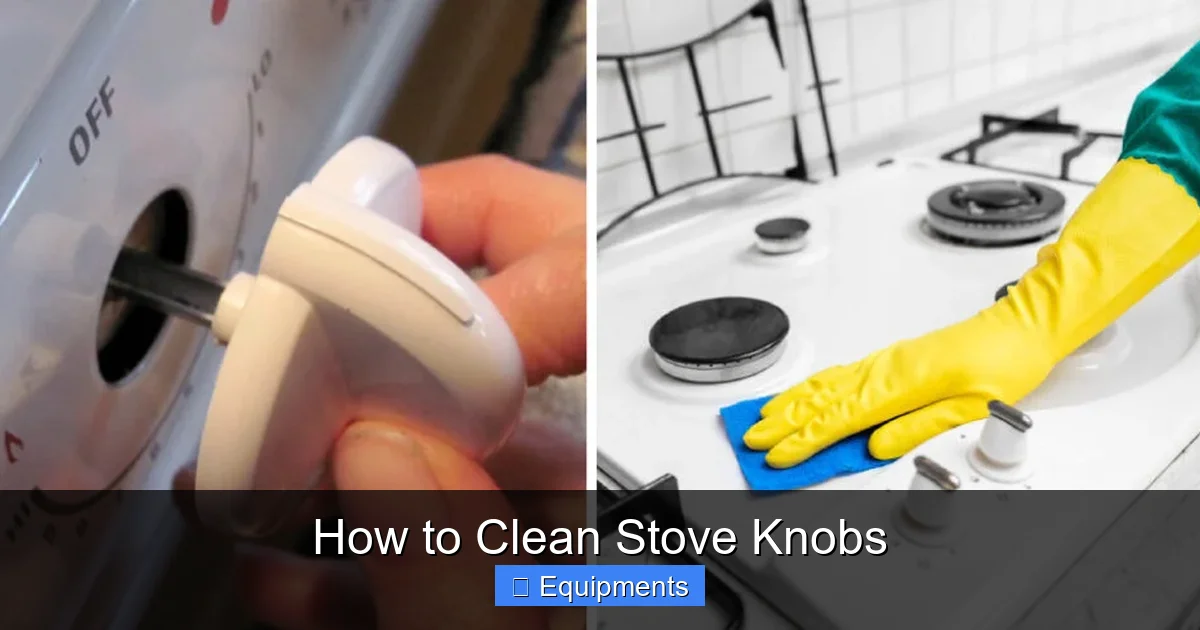
Most knobs simply pull straight off. Grip the base of the knob and give it a gentle twist while pulling upward. If it feels stuck, a little wiggle usually does the trick. Keep the original placement in mind so you can re‑install them correctly later.
Step 3: Soak in Warm, Soapy Water
Place the removed knobs in a bowl of warm water mixed with a few drops of dish soap. Let them soak for 5‑10 minutes. This loosens baked‑on grease and softens any dried food particles.
Step 4: Scrub Gently
After soaking, use a soft sponge or an old toothbrush to scrub the surface. For metal knobs, a non‑abrasive pad works well. For plastic, avoid anything that could scratch the finish. Pay special attention to the shaft where the knob meets the stove.
Step 5: Tackle Stubborn Stains with Baking Soda Paste
If you still see spots, make a paste of baking soda and a few drops of water. Apply it to the stain, let it sit for 2‑3 minutes, then gently rub with the sponge. Baking soda’s mild abrasiveness lifts grime without harming the material.
Step 6: Rinse and Dry Thoroughly
Rinse each knob under warm running water to remove any soap or residue. Immediately dry with a microfiber towel. For metal knobs, pat the edges dry to prevent water from pooling, which could cause rust.
Step 7: Disinfect (Optional)
Wipe the knobs with a cloth dampened with isopropyl alcohol. This kills lingering bacteria and evaporates quickly, leaving no streaks.
Step 8: Re‑install the Knobs
Align the knob’s shaft with the stove’s post and push it back on. Twist gently until it clicks into place. Test each knob to ensure smooth rotation.
Deep‑Cleaning Techniques for Tough Grime
Sometimes, a regular wash isn’t enough. Here are a few deeper methods for those extra‑sticky situations.
Vinegar Soak for Metal Knobs
Mix equal parts white vinegar and warm water. Soak metal knobs for 15‑20 minutes. Vinegar’s acidity cuts through thick grease and can even lift light rust. After soaking, follow the normal scrubbing steps.
Steam Cleaning for Plastic or Silicone Knobs
If you have a handheld steamer, hold it a few inches away from the knob for 30 seconds. The steam softens grime, making it easy to wipe away with a cloth. This method is chemical‑free and safe for heat‑resistant plastics.
Commercial Degreaser (When Needed)
For commercial‑grade kitchens, a mild degreaser like Krud Kutter can be used. Spray lightly, let sit per the product’s instructions, then rinse well. Always test on a hidden spot first to ensure no discoloration.
Maintaining Clean Knobs: A Simple Routine
Cleaning doesn’t have to be a once‑in‑a‑while ordeal. Incorporate these quick habits into your daily cooking rhythm.
Daily Wipe‑Down
After each cooking session, wipe the knobs with a damp microfiber cloth. This removes fresh splatters before they dry.
Weekly Light Clean
Once a week, remove the knobs and give them a quick soak in soapy water (5 minutes). Scrub lightly and dry. This prevents buildup without a full deep‑clean.
Monthly Deep Clean
Follow the full step‑by‑step guide above once a month. It keeps the knobs looking brand new and ensures any hidden grime is removed.
Spot‑Check for Damage
While cleaning, inspect the knob’s shaft and the stove’s post for wear. Replace any cracked or worn knobs promptly to avoid safety hazards.
Common Mistakes to Avoid
Even well‑meaning cleaners can slip up. Keep these pitfalls in mind.
- Using abrasive pads: Steel wool or harsh scouring pads can scratch metal and melt plastic.
- Applying too much water: Excess moisture can seep into the stove’s interior, especially on gas models, leading to rust or electrical issues.
- Skipping the drying step: Wet knobs left to air‑dry encourage rust on metal and mold on silicone.
- Using bleach on metal: Bleach can corrode aluminum and stainless steel over time.
- Forgetting to re‑install securely: A loosely fitted knob may detach while cooking, creating a safety risk.
When to Replace Stove Knobs
Cleaning can revive most knobs, but sometimes replacement is the smartest choice.
- Cracks or chips: Even small damage can harbor bacteria.
- Persistent rust: Once rust spreads beyond the surface, it’s hard to stop.
- Loose or wobbly fit: If the knob no longer clicks securely, it may affect flame control.
- Outdated design: Upgrading to newer, ergonomically designed knobs can improve safety and aesthetics.
Most manufacturers sell replacement knobs for a few dollars. Keep the model number handy when ordering.
Conclusion: Keep Your Knobs Shining and Safe
Cleaning stove knobs is a small task that makes a big difference. By understanding the material of your knobs, using gentle yet effective cleaners, and establishing a quick maintenance routine, you’ll enjoy smooth operation, a spotless look, and a healthier kitchen environment. Remember the simple steps: turn off and cool, remove, soak, scrub, rinse, dry, and re‑install. With a little weekly attention, those knobs will stay as bright as the day you bought them.
Now you’re equipped with everything you need to answer the question, “how to clean stove knobs?”—and you can share these tips with friends, family, or anyone who loves a tidy kitchen.
Frequently Asked Questions
Can I clean stove knobs without removing them?
Yes, you can wipe them with a damp cloth and a mild soap solution, but removing them allows a deeper clean and prevents moisture from seeping into the stove.
Is vinegar safe for all knob materials?
Vinegar works well on metal knobs but should be used sparingly on plastic or silicone, as prolonged exposure could cause discoloration.
How often should I deep‑clean my stove knobs?
A full deep‑clean once a month is ideal. Daily wipes and a weekly light soak keep grime at bay between deep cleans.
What if my metal knobs develop rust?
Light surface rust can be removed with a baking soda paste and thorough drying. Persistent rust may require a rust remover or replacement.
Can I use a dishwasher to clean the knobs?
Most metal and sturdy plastic knobs are dishwasher‑safe, but check the manufacturer’s instructions. High heat can warp some plastics.
Do I need special tools for silicone‑coated knobs?
No special tools are needed. A soft sponge and mild soap work fine; avoid abrasive brushes that could damage the silicone surface.
