Cleaning oven trays doesn’t have to be a nightmare. With a few household items and simple techniques, you can remove baked‑on grime in minutes and keep your trays looking brand‑new. Follow our step‑by‑step guide to save time, money, and effort.
Key Takeaways
- Choose the right cleaner: Baking soda, vinegar, and commercial oven cleaners each have a place depending on the level of buildup.
- Prep matters: Soaking trays before scrubbing loosens debris and reduces elbow grease.
- Safety first: Always wear gloves and ensure good ventilation when using harsh chemicals.
- DIY solutions work: A paste of baking soda and water can tackle most stains without damaging the metal.
- Prevent future mess: Line trays with parchment or aluminum foil to reduce the need for deep cleaning.
- Regular maintenance: A quick wipe‑down after each use extends the life of your trays.
- Know your tray type: Non‑stick, cast iron, and disposable trays each require slightly different care.
📑 Table of Contents
Why Clean Oven Trays Regularly?
Oven trays are the unsung heroes of every kitchen. They hold cookies, roasts, and casseroles, but they also collect splatters, grease, and burnt bits. If you ignore that buildup, three things happen:
- Flavor transfer: Old residue can give new dishes an off‑taste.
- Smoke and fire risk: Grease that isn’t removed can ignite during high‑heat cooking.
- Shortened lifespan: Corrosion and warping accelerate when trays stay dirty.
Cleaning them often keeps your food tasting great, your oven safer, and your equipment lasting longer. Below is a friendly, step‑by‑step system that works for any tray you own.
Gathering Your Supplies
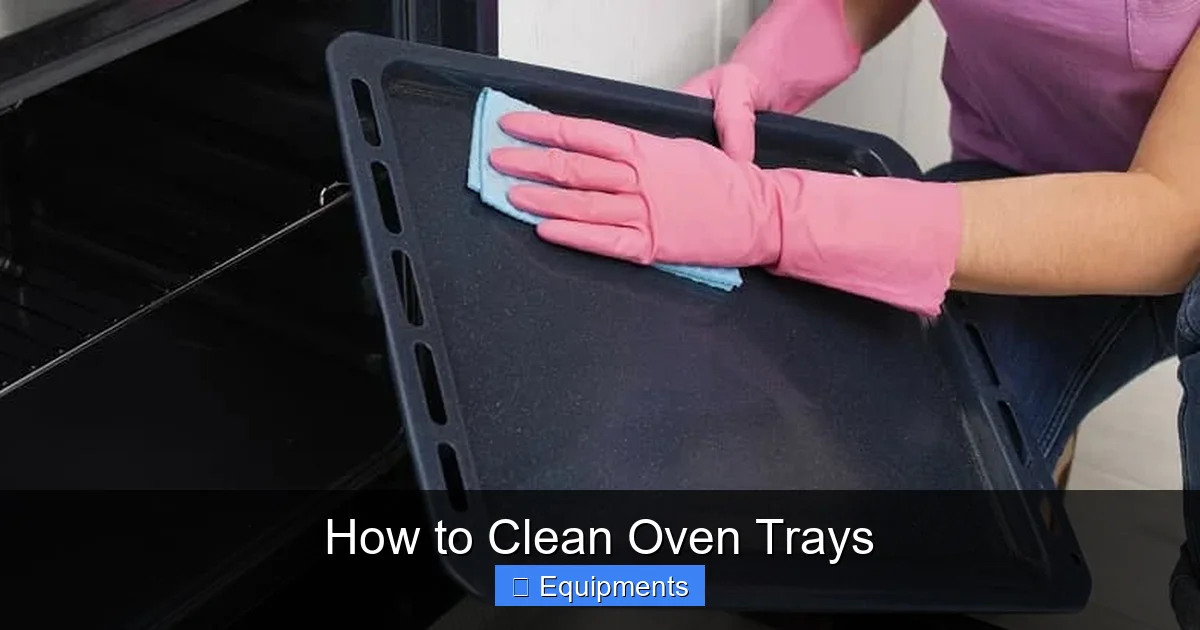
Before you start, collect everything you’ll need. Having all tools within reach saves time and prevents you from scrambling mid‑clean.
Visual guide about How to Clean Oven Trays
Image source: blog.fantasticservices.com
Basic Household Items
- Baking soda: A gentle abrasive that neutralizes odors.
- White vinegar: Cuts through grease and helps dissolve mineral deposits.
- Dish soap: A mild degreaser for the final rinse.
- Hot water: Speeds up the loosening of baked‑on food.
- Sponges or non‑scratching scrub pads: Prevents scratching the tray surface.
- Gloves: Protects skin from heat and chemicals.
When to Reach for Commercial Cleaners
If the tray is heavily charred, a store‑bought oven cleaner can be a lifesaver. Choose a product labeled safe for metal and follow the manufacturer’s safety instructions.
Step‑by‑Step Guide: How to Clean Oven Trays
Below is a flexible workflow. You can skip steps that don’t apply to your situation.
Visual guide about How to Clean Oven Trays
Image source: helpinghandscleaningservices.com
1. Remove Loose Debris
Let the tray cool completely. Use a dry paper towel or a soft brush to sweep away crumbs, burnt bits, and loose grease. This prevents scratching when you apply a cleaning paste.
2. Soak the Tray
Fill a large basin or your kitchen sink with hot water. Add a few squirts of dish soap and, if you like, a cup of white vinegar. Submerge the tray for 15‑30 minutes. The heat and soap soften stubborn particles.
3. Make a Baking Soda Paste
While the tray soaks, mix ½ cup of baking soda with enough water to form a thick paste. The consistency should be spreadable but not runny. Baking soda’s mild abrasion lifts grime without scratching.
4. Apply the Paste
Drain the tray and pat it dry with a towel. Spread the baking soda paste over the greasy areas using a sponge or your fingers (gloves on!). Let it sit for 20‑30 minutes. For extra power, sprinkle a little vinegar on top; it will fizz and help lift the grime.
5. Scrub Gently
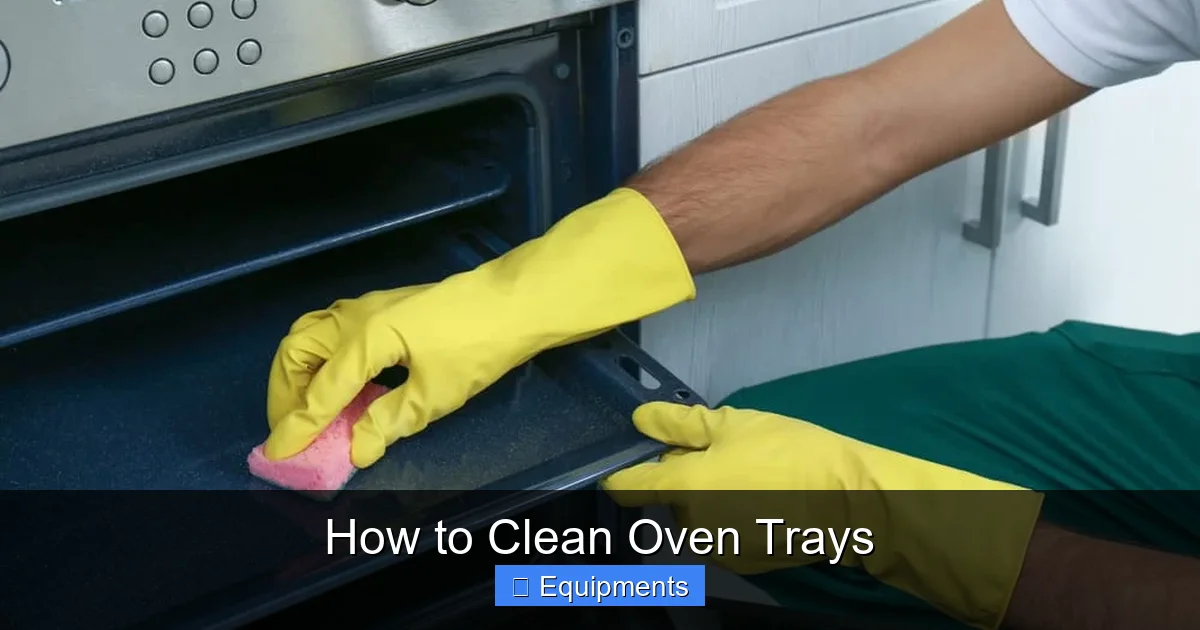
After the waiting period, use a non‑scratch scrub pad or a soft‑bristled brush. Work in circular motions, focusing on corners and edges. If the paste turns brown, you’re breaking down the burnt residue—keep going until the surface looks clean.
6. Rinse Thoroughly
Rinse the tray under warm running water. Make sure all baking soda and vinegar residues are gone. Any leftover alkaline material can affect the taste of future dishes.
7. Dry and Inspect
Dry the tray with a clean cloth or let it air‑dry on a rack. Examine the surface; if spots remain, repeat steps 3‑5 on those areas only.
8. Optional: Polish for a Shine
For a bright finish, wipe the tray with a cloth dampened with a mixture of equal parts water and white vinegar. Then buff with a dry towel. The tray will look almost new.
Special Techniques for Different Tray Types
Not all oven trays are created equal. Adjust the method to match the material.
Visual guide about How to Clean Oven Trays
Image source: thekitchenix.com
Non‑Stick Trays
These are delicate. Avoid abrasive pads and harsh chemicals. Stick to the baking soda paste and a soft sponge. Never use metal scouring pads—they will ruin the coating.
Cast Iron or Heavy‑Duty Metal Trays
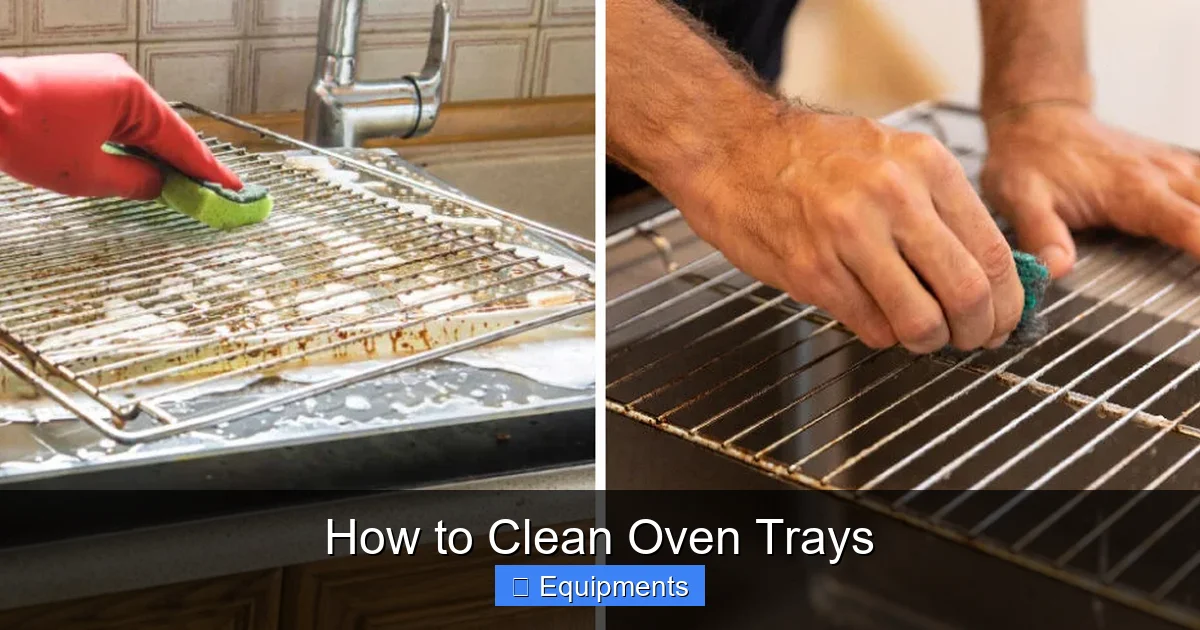
These can handle a stronger approach. After the baking soda paste, you may use a gentle steel wool pad for stubborn rust spots. After cleaning, season the tray lightly with oil to prevent future rust.
Aluminum Foil or Disposable Trays
Usually, these are meant for one‑time use, but if you want to reuse them, a quick soak in hot, soapy water followed by a wipe with a sponge is enough. Do not attempt to scrub heavily—they’ll tear.
Preventive Care: Keeping Trays Clean Longer
Spending a few minutes after each cooking session can dramatically reduce deep‑cleaning time.
Line With Parchment or Foil
Place a sheet of parchment paper or a piece of aluminum foil on the tray before adding food. The liner catches spills and can be tossed away, leaving the tray clean.
Quick Wipe‑Down
While the tray is still warm (not hot), use a damp cloth to wipe away excess grease. Warm metal releases stuck‑on bits more easily.
Seasoning Non‑Stick Surfaces
Lightly rub a tiny amount of cooking oil on a non‑stick tray after it’s dry. This creates a protective barrier and reduces food sticking.
Eco‑Friendly Alternatives
If you prefer greener options, try these natural cleaners.
Lemon Juice Power
Lemon’s citric acid cuts grease. Mix equal parts lemon juice and water, spray on the tray, let sit for 10 minutes, then scrub.
Salt Scrub
Coarse sea salt works as an abrasive. Sprinkle salt on a half‑wet tray, add a few drops of oil, and rub with a cloth. Rinse well.
Enzyme Cleaners
Plant‑based enzyme cleaners break down organic stains without chemicals. Follow the label for soak time.
When to Replace Oven Trays
Even the best cleaning routine won’t save a tray that’s beyond repair. Look for these signs:
- Severe warping that prevents even cooking.
- Deep rust that penetrates the metal.
- Cracked or flaking non‑stick coating.
- Persistent odors after multiple cleanings.
If you notice any of these, it’s time to invest in a new tray. A fresh tray ensures even heat distribution and safe cooking.
Conclusion
Cleaning oven trays doesn’t have to be a dreaded chore. By using simple household items like baking soda, vinegar, and hot water, you can restore any tray to a near‑new condition. Remember to adjust the method for the tray material, practice regular quick wipe‑downs, and use liners to keep messes at bay. With these tips, your trays will stay clean, your food will taste better, and you’ll extend the life of one of your kitchen’s most essential pieces of equipment. Happy cooking—and happy cleaning!
Frequently Asked Questions
Can I use a dishwasher to clean my oven trays?
Yes, most metal trays are dishwasher‑safe, but the high heat can cause warping over time. If you choose this method, place the tray on the top rack and avoid using harsh detergents.
Is it safe to use bleach on oven trays?
Bleach can remove stains but is harsh on metal and may leave a residue that affects food flavor. Use it only as a last resort and rinse thoroughly.
How often should I deep‑clean my oven trays?
A quick wipe‑down after each use is ideal. Perform a full deep clean (the baking soda method) every 2‑4 weeks, depending on how frequently you bake.
What if the baking soda paste doesn’t remove stubborn burns?
Try adding a little hydrogen peroxide to the paste for extra oxidation power, or let the tray soak longer before re‑applying the paste.
Can I use steel wool on non‑stick trays?
No. Steel wool will scratch and ruin the non‑stick coating. Stick to soft sponges or non‑abrasive scrub pads.
Do I need to season cast‑iron oven trays after cleaning?
Yes. Lightly coat the tray with a high‑smoke‑point oil and heat it in the oven for 10 minutes. This restores the protective layer and prevents rust.
Pingback: Filet Mignon Seared Then Oven - kitchenandhouseware.com
Pingback: Oven Baked Salmon - kitchenandhouseware.com