Keeping your Nespresso frother spotless is easier than you think. Follow these simple, everyday steps to remove milk residue, prevent odors, and extend the life of your frother. Regular cleaning ensures perfect foam every time.
Key Takeaways
- Daily rinse: A quick rinse after each use stops milk buildup.
- Weekly deep clean: Use warm water, mild detergent, and a soft brush to reach hidden spots.
- Descaling: Perform every 2‑3 months with Nespresso‑approved descaling solution.
- Dry properly: Air‑dry or towel‑dry to avoid mold and unpleasant smells.
- Check seals: Inspect gaskets and O‑rings regularly; replace when cracked.
- Use proper milk: Fresh, low‑fat milk foams better and leaves less residue.
- Store smart: Keep the frother upright and covered to protect it from dust.
📑 Table of Contents
- Introduction: Why Cleaning Your Nespresso Frother Matters
- What You Need Before You Start
- Step‑by‑Step Daily Maintenance
- Weekly Deep Cleaning Routine
- Descaling: Removing Mineral Buildup
- Maintaining Seals, Gaskets, and Other Wear Parts
- Best Practices for Everyday Use
- Conclusion: A Little Care Goes a Long Way
Introduction: Why Cleaning Your Nespresso Frother Matters
Imagine waking up, pressing the button, and expecting a cloud of silky foam only to get a thin, stinky mess. That’s what happens when milk residue builds up inside the frother. The frother is a small, high‑temperature appliance, and milk proteins love to cling to the heating element and the inner walls. Over time these proteins turn sour, cause unpleasant odors, and can even damage the heating coil.
Cleaning the frother isn’t just about hygiene; it’s about performance. A clean frother produces richer, creamier foam, uses less energy, and lasts many years longer. The good news? The process is quick, inexpensive, and can be turned into a daily habit that takes less than five minutes.
What You Need Before You Start
Basic cleaning kit
- Warm water (not boiling)
- Mild dish soap or Nespresso cleaning tablets
- Soft‑bristle brush or old toothbrush
- Non‑abrasive sponge
- Micro‑fiber cloth or paper towel
- White vinegar (optional for descaling)
- Silicone or rubber gloves (if you prefer)
Optional accessories
- Nespresso descaling solution (recommended for hard water areas)
- Cleaning brush that fits the frother’s nozzle
- Food‑grade silicone mat to protect countertops
Having these items on hand means you won’t need to pause mid‑cleaning to run to the store. Most of the supplies are already in a typical kitchen drawer.
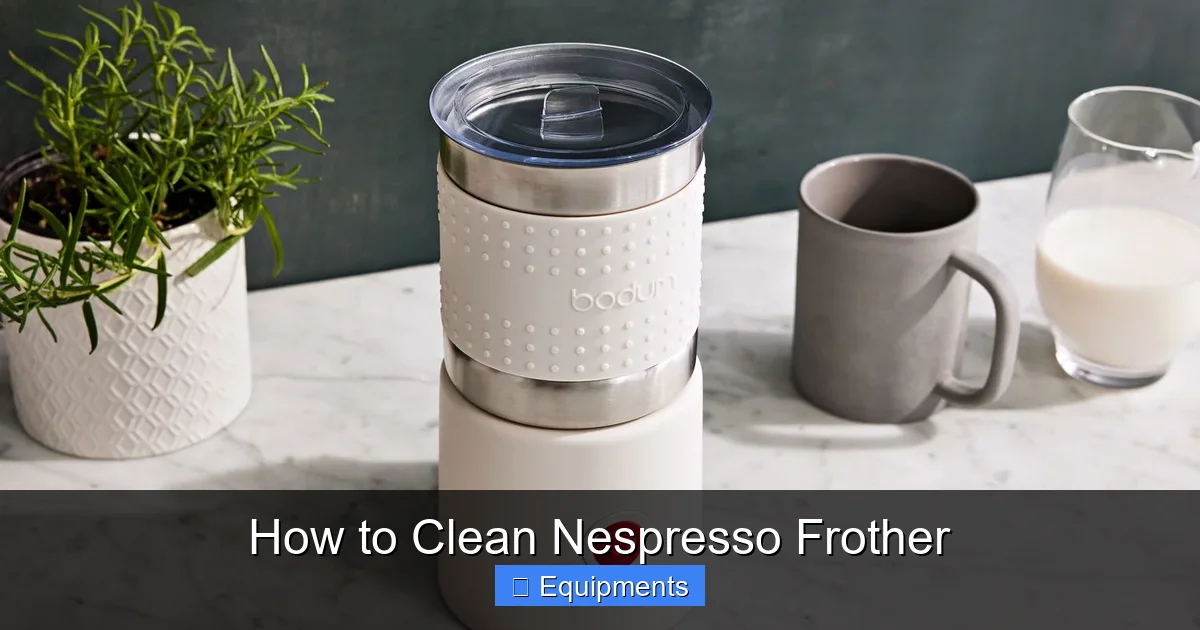
Visual guide about How to Clean Nespresso Frother
Image source: foodandwine.com
Step‑by‑Step Daily Maintenance
1. Rinse Immediately After Use
As soon as you finish frothing, detach the frothing jug and rinse it under warm running water. Swirl the water inside to dislodge milk particles. No soap is needed for this quick rinse.

Visual guide about How to Clean Nespresso Frother
Image source: missact.com
2. Wipe the Exterior
Use a damp microfiber cloth to wipe the frother’s body, the power button, and the base. Avoid letting water seep into the electrical compartment.
3. Clean the Frothing Nozzle
If your model has a removable nozzle, pull it out and rinse it under warm water. Use a small brush to scrub inside the nozzle’s tiny openings. A quick brush‑stroke prevents clogging.
4. Dry Thoroughly
Turn the frothing jug upside down on a clean towel and let it air‑dry for a minute or two. Pat the exterior dry with another towel. This step stops moisture from becoming a breeding ground for bacteria.
Why Daily Rinsing Works
Milk proteins coagulate quickly when heated. By rinsing right away, you stop them from forming a stubborn film. Daily care also means you won’t need a heavy‑duty deep clean as often.
Weekly Deep Cleaning Routine
1. Disassemble the Frother
Unplug the device. Remove the frothing jug, the lid, and any detachable parts such as the steam nozzle or whisk. Most Nespresso models snap on, so you won’t need tools.
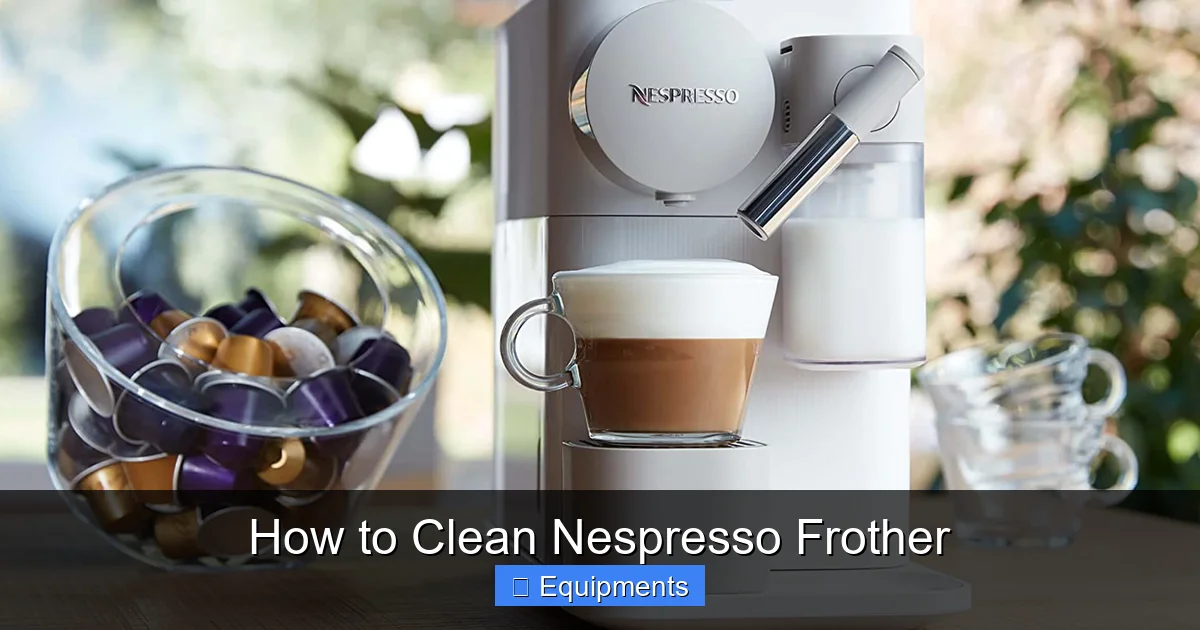
Visual guide about How to Clean Nespresso Frother
Image source: cdn.mos.cms.futurecdn.net
2. Soak in Warm Soapy Water
Fill a sink or large bowl with warm water and a few drops of mild dish soap. Submerge the jug, lid, and nozzle for 5‑10 minutes. This softens any dried milk residue.
3. Scrub Gently
Take the soft brush and gently scrub the interior of the jug, paying special attention to the corners and the heating element’s guard (if visible). For the nozzle, run the brush through the tip to clear any blockage.
4. Rinse and Inspect
Rinse every part under clean running water. Hold each component up to the light; look for any lingering film. If you see streaks, repeat the gentle scrub.
5. Clean the Base
Wipe the base of the frother with a damp cloth. Do not submerge the base; only the outer surface should get wet. Use a cotton swab dipped in a little soapy water to clean around the power button if needed.
6. Dry and Reassemble
Pat dry with a clean towel, then leave all parts on a rack for a few minutes to ensure no moisture remains. Reassemble the frother, plug it in, and you’re ready for the next foam session.
Descaling: Removing Mineral Buildup
When to Descale
If you live in an area with hard water, mineral deposits (limescale) can accumulate on the heating element within 2‑3 months. Signs include a slower frothing time, a faint “chalky” taste, or occasional sputtering noises.
Descaling with White Vinegar (DIY Method)
- Mix equal parts white vinegar and water (e.g., 250 ml each).
- Pour the solution into the frothing jug, filling it to the maximum line.
- Run the frother on the “Steam” or “Froth” setting for 2‑3 minutes, allowing the solution to circulate.
- Discard the solution and rinse the jug thoroughly with clean water.
- Repeat the frothing cycle with plain water twice to remove any vinegar residue.
Using Nespresso Descaling Solution (Recommended)
Follow the manufacturer’s instructions on the packet. Typically you’ll dilute the solution in a specific amount of water, run the frother, and then rinse three times with fresh water. This method is gentler on seals and guarantees no after‑taste.
Tips to Minimize Limescale
- Use filtered or bottled water for frothing.
- Wipe the steaming nozzle after each use to avoid water droplets drying on the metal.
- Run a short “steam only” cycle with clean water once a week if you have very hard water.
Maintaining Seals, Gaskets, and Other Wear Parts
Why Seals Matter
The frother’s gasket creates a tight seal between the jug and the base. Over time, heat and repeated removal can cause cracks or flattening, leading to leaks and reduced pressure.
Inspection Routine
- Every month, remove the gasket (most models have a snap‑on ring).
- Look for discoloration, tears, or hardening.
- Run a finger along the edge; it should feel smooth, not rough.
Replacing the Gasket
If you spot damage, order a replacement part from Nespresso or a reputable third‑party supplier. Installation is usually a simple snap‑fit: press the new gasket into place, ensuring it sits evenly around the opening.
Other Parts to Watch
- Steam nozzle tip: Can become clogged with milk fat. Clean with a pin or needle weekly.
- Whisk (if applicable): Remove and wash in warm soapy water; watch for bent wires.
- Power cord: Check for fraying; replace only with an approved Nespresso cord.
Best Practices for Everyday Use
Choose the Right Milk
Low‑fat or skim milk creates more stable foam and leaves less residue. Whole milk gives richer foam but coats the interior more heavily. If you love the richness, be extra diligent with rinsing.
Temperature Tips
Never use boiling water in the frothing jug; it can scorch the milk and increase the chance of film formation. Aim for water around 70‑80 °C (158‑176 °F) for optimal froth.
Storage Hacks
When the frother is not in use, keep the lid on to prevent dust from settling. Store it upright on a dry countertop rather than lying flat; this helps any remaining moisture drain away from the nozzle.
Quick Troubleshooting
- No foam: Clean the nozzle, ensure the jug is not overfilled, and check the power connection.
- Strange odor: Perform a deep clean and a full descaling cycle.
- Leaking water: Inspect the gasket and tighten the jug onto the base.
Conclusion: A Little Care Goes a Long Way
Keeping your Nespresso frother in top shape is simple when you turn cleaning into a habit. A quick rinse after each use, a weekly deep clean, and periodic descaling will keep the foam silky, the machine quiet, and your kitchen smelling fresh. By checking seals and using the right milk, you’ll enjoy café‑quality drinks at home for years to come. Treat your frother like a friend—give it a little love, and it will return the favor with perfect foam every single morning.
Frequently Asked Questions
How often should I clean the Nespresso frother?
Rinse the jug after each use, do a thorough deep clean weekly, and descale every 2‑3 months or when you notice mineral buildup.
Can I put the frother in the dishwasher?
No. Most Nespresso frothers are not dishwasher‑safe. The high heat and harsh detergents can damage seals and the heating element.
What if my frother still smells after cleaning?
Run an additional descaling cycle with white vinegar or a Nespresso descaling solution, then rinse twice with fresh water. Ensure all parts are completely dry before reassembly.
Is it safe to use regular dish soap?
Yes, a mild, fragrance‑free dish soap works fine for the weekly deep clean. Rinse thoroughly to avoid any soap residue affecting the taste of your milk.
Do I need to replace the gasket regularly?
Inspect the gasket monthly. Replace it if you see cracks, hardening, or if the frother begins to leak.
Can I use almond or oat milk in the frother?
Absolutely. Plant‑based milks foam well but may leave a thin film. Rinse the jug promptly and consider a short extra rinse with warm water to keep the interior clean.