Keeping your Ninja blender sparkling clean is easier than you think. Follow these simple, friend‑to‑friend steps—from a fast daily rinse to a deep‑clean routine—to prevent odors, stains, and wear. Enjoy smoother blends and a longer‑lasting appliance with our expert cleaning guide.
Key Takeaways
- Daily rinse saves time: A quick rinse right after use prevents residue buildup.
- Use warm, soapy water: Gentle dish soap and warm water dissolve most food particles without harming parts.
- Deep‑clean monthly: A vinegar‑baking‑soda soak removes stubborn stains and eliminates odors.
- Separate components: Disassemble the pitcher, blades, and gasket for thorough cleaning.
- Motor base care: Wipe the base with a damp cloth; never submerge it in water.
- Check for wear: Inspect seals and blades regularly; replace when needed.
- Store properly: Keep the blender dry and assembled to avoid dust and mold.
📑 Table of Contents
- Introduction: Why Cleaning Your Ninja Blender Matters
- 1. Quick Daily Clean: The 2‑Minute Rinse
- 2. Deep Clean: Tackling Stubborn Stains and Odors
- 3. Cleaning the Pitcher: Plastic vs. Glass
- 4. Caring for the Motor Base: The Heart of Your Ninja
- 5. Troubleshooting Stubborn Issues
- 6. Pro Tips for a Spotless Ninja All Year Long
- Conclusion: A Clean Ninja Is a Happy Ninja
Introduction: Why Cleaning Your Ninja Blender Matters
We all love the convenience of a Ninja blender. One push of a button and breakfast smoothies, creamy soups, or protein shakes are ready in seconds. But that convenience can turn into a hassle if you let food particles sit inside the jar. Residue not only creates unpleasant smells, it can also affect the flavor of your next blend and, over time, wear out the motor.
Knowing how to clean a Ninja blender properly protects your investment and keeps every drink tasting fresh. Whether you’re a busy parent, a fitness enthusiast, or just someone who enjoys experimenting in the kitchen, a clean blender is essential. This guide walks you through quick daily cleans, a thorough monthly deep‑clean, and maintenance tricks that even a beginner can master.
1. Quick Daily Clean: The 2‑Minute Rinse
Most of us use the blender daily, so a fast clean after each use is the best habit to develop. Here’s the simplest routine:
Visual guide about How to Clean a Ninja Blender
Image source: cdn.apartmenttherapy.info
Step‑by‑Step
- Step 1 – Fill with warm water: Immediately after blending, fill the pitcher about three‑quarters full with warm water.
- Step 2 – Add a drop of dish soap: A tiny squirt of mild dish soap is enough.
- Step 3 – Blend for 30 seconds: Put the lid on and run the blender on low speed. The swirling action loosens stuck bits.
- Step 4 – Rinse: Pour out the soapy water and rinse the pitcher under warm running water.
- Step 5 – Dry: Shake out excess water and place the pitcher upside down on a dish rack.
This routine takes less than two minutes and prevents the buildup that leads to stubborn stains. If you’re in a rush, you can even skip the soap and rely on the water‑only spin; the high‑speed vortex still loosens most residues.
2. Deep Clean: Tackling Stubborn Stains and Odors
Even with daily rinses, some ingredients—like beet juice, coffee grounds, or oil‑rich smoothies—can leave lingering colors and smells. A deep clean once a month (or whenever you notice a change in taste or odor) restores the pitcher to its original clarity.
Visual guide about How to Clean a Ninja Blender
Image source: homeartguide.com
What You’ll Need
- Warm water
- Mild dish soap
- White vinegar
- Baking soda
- Soft sponge or non‑abrasive scrub pad
- Dishwasher‑safe brush (optional)
Deep‑Clean Procedure
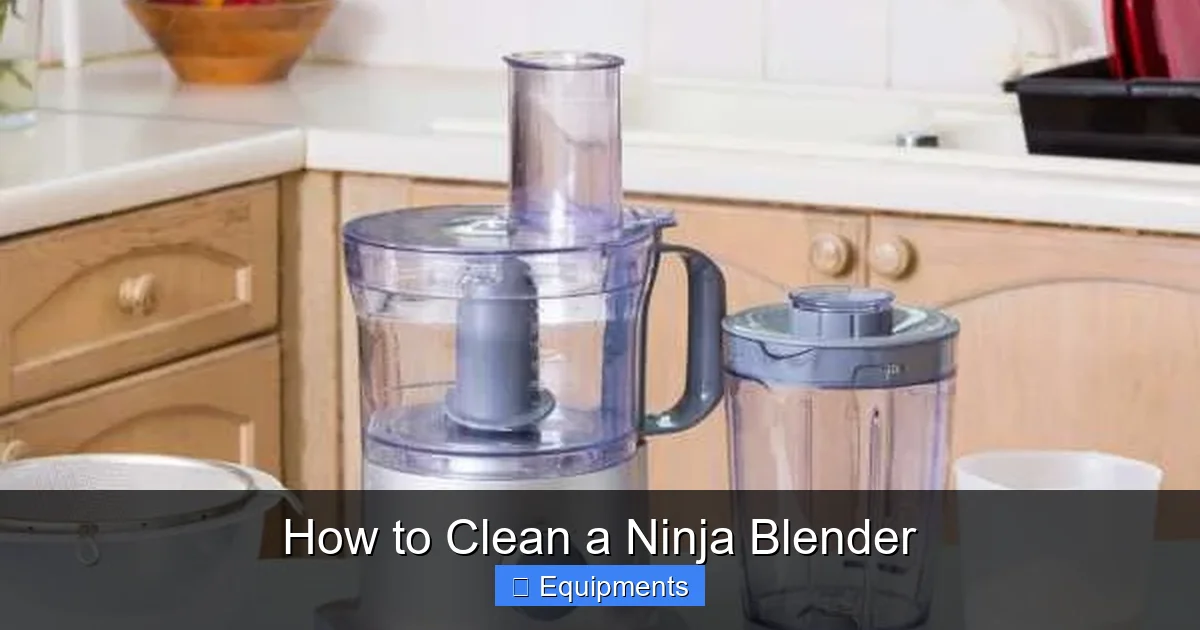
- Disassemble the blender: Unplug the unit. Remove the pitcher, lid, gasket (the rubber ring around the lid), and blade assembly if your model allows.
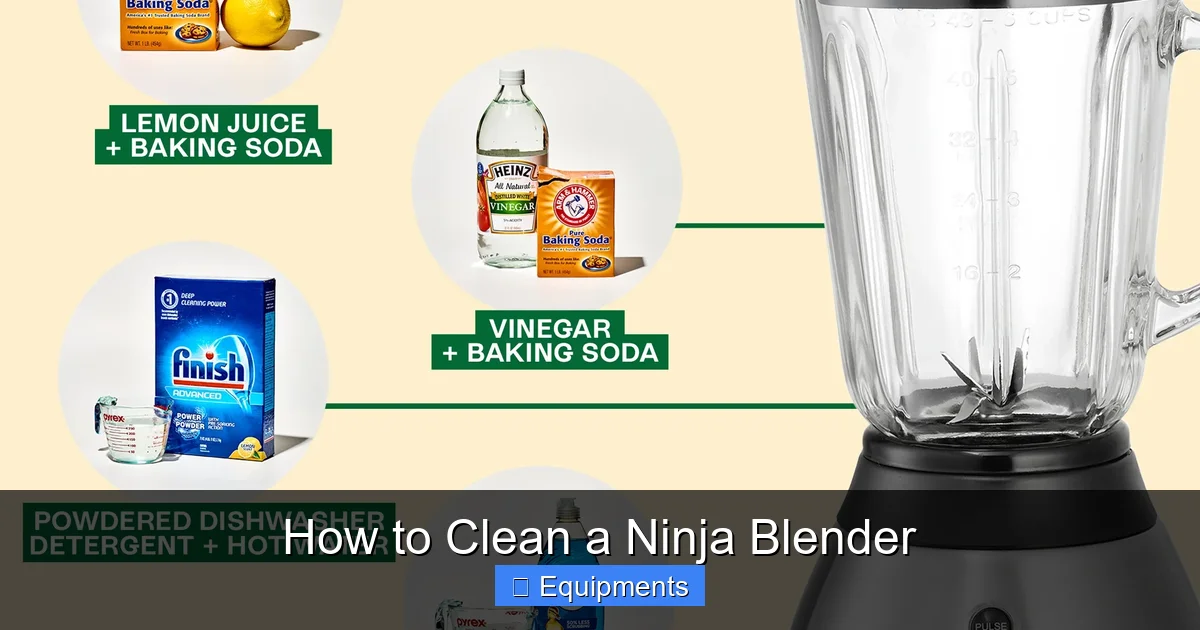
- Soak the pitcher: Fill the pitcher with equal parts warm water and white vinegar. Let it sit for 10‑15 minutes. The acidity breaks down mineral deposits and neutralizes odors.
- Scrub the interior: After soaking, sprinkle a tablespoon of baking soda onto a damp sponge. Gently scrub the walls, focusing on stained areas. Baking soda acts as a mild abrasive without scratching the plastic.
- Clean the blades and gasket: Place the blades in a bowl of warm, soapy water. Use a brush to reach the tiny crevices. Rinse thoroughly. The gasket can be washed in the same solution; gently rub it to remove any trapped particles.
- Rinse everything: Rinse the pitcher, blades, and gasket under running water until no soap or vinegar scent remains.
- Dry and reassemble: Shake off excess water, let each part air‑dry on a clean towel, then reassemble the blender.
Tip: For especially stubborn stains, repeat the vinegar‑baking soda soak a second time, or run a “clean cycle” with a blend of 1 cup of water and 2 tablespoons of lemon juice.
3. Cleaning the Pitcher: Plastic vs. Glass
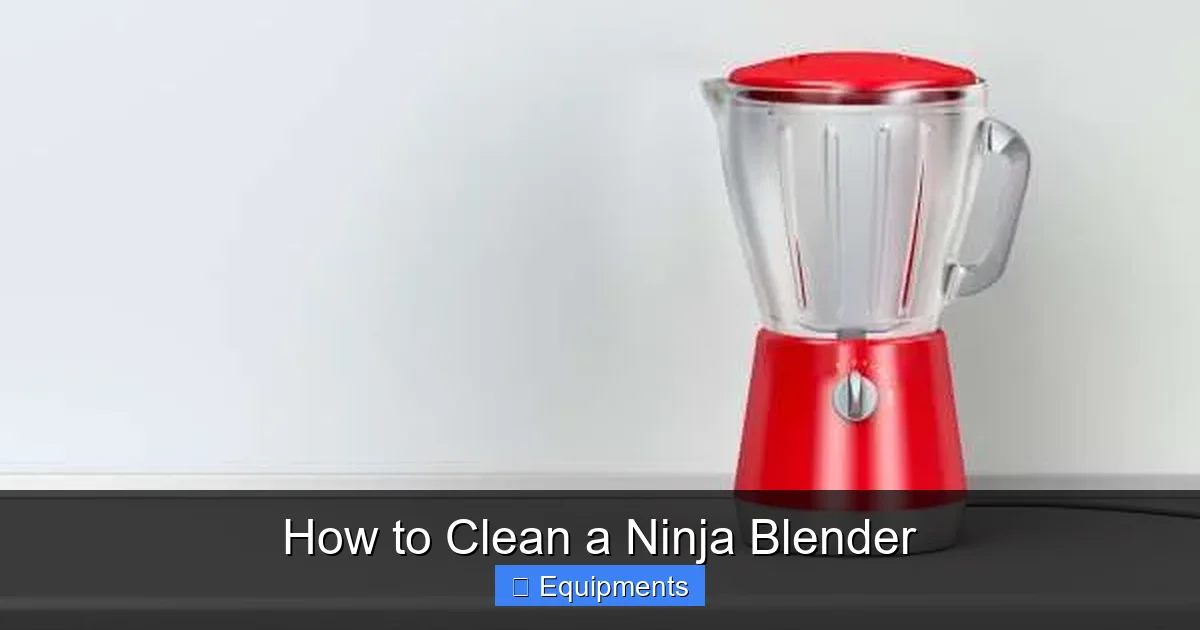
Most Ninja blenders come with either a BPA‑free plastic pitcher or a tempered glass jar. Both have unique cleaning considerations.
Visual guide about How to Clean a Ninja Blender
Image source: homeartguide.com
Plastic Pitchers
- Avoid harsh abrasives: Scratches can harbor bacteria and become permanent discoloration spots.
- Check for cracks: Small cracks can trap food; replace the pitcher if you spot any.
- Use a dishwasher‑safe label: Many plastic pitchers are top‑rack dishwasher safe, but verify the manufacturer’s guide.
Glass Jars
- Stain resistance: Glass is less prone to staining, but it can develop a cloudy film from hard water. A vinegar soak helps.
- Handle with care: Glass can chip if you hit it against the base. Always place it on a soft surface when cleaning.
- Dishwasher friendly: Most glass jars are safe on any rack; however, the lid and gasket should still be hand‑washed.
4. Caring for the Motor Base: The Heart of Your Ninja
The motor base houses the powerful engine that makes your smoothies silky. While you never submerge it in water, regular care keeps it dust‑free and safe.
Wiping the Exterior
- Unplug the blender.
- Dip a soft cloth in warm, soapy water; wring out excess liquid.
- Wipe the base, paying special attention to the control panel and vent openings.
- Dry with a clean, lint‑free cloth.
Cleaning the Vent Slots
Dust can clog the cooling vents, causing the motor to overheat. Use a small, soft brush (like a paintbrush) or a vacuum with a brush attachment to clear any debris. Do this once a month or whenever you notice the blender getting unusually warm.
Avoiding Common Mistakes
- Never submerge: Water inside the motor can cause electrical failure.
- Don’t use abrasive cleaners: They can scratch the plastic housing and affect button responsiveness.
- Keep liquids away from the power cord: A dry cord reduces the risk of short circuits.
5. Troubleshooting Stubborn Issues
Even with regular cleaning, you might encounter a few hiccups. Here’s how to handle them.
Persistent Odor
If the blender still smells after a deep clean, try a “lemon‑power” rinse. Blend 1 cup of warm water with the juice of one lemon and a tablespoon of baking soda for 30 seconds. The citrus neutralizes odors, and the baking soda lifts any remaining residue.
Blade Sticking or Vibration
Sometimes food particles can lodge between the blades and the pitcher wall, causing wobble. Disassemble the blade assembly, clean thoroughly, and re‑tighten according to the user manual. If the wobble continues, inspect the blade’s mounting nut for wear.
Gasket Leakage
A cracked or stretched gasket lets liquid escape during blending. Replace it with an OEM part—most retailers sell them for under $10. To prolong gasket life, avoid using the blender with hot liquids above 120°F (49°C) unless the gasket is marked as heat‑resistant.
6. Pro Tips for a Spotless Ninja All Year Long
Now that you know the basics, these extra tips will keep your Ninja blender looking and performing like new.
1. Use the “Self‑Clean” Feature (If Available)
Many newer Ninja models have a self‑clean button. Fill the pitcher with warm water and a drop of dish soap, then press the button. The cycle runs at high speed for 30‑45 seconds, flushing out residue. Follow with a plain water rinse.
2. Freeze the Pitcher for Stubborn Stains
Place the pitcher in the freezer for 30 minutes. The cold contracts the plastic, making it easier to scrape off dried sauce or fruit pulp with a soft spatula.
3. Use a Mesh Strainer for Thick Mixtures
Before cleaning, pour out any thick puree through a fine mesh strainer. This removes large chunks that could cling to the blades.
4. Schedule a Cleaning Day
Mark your calendar for the first Saturday of each month as “Blender Maintenance Day.” A reminder helps you stay consistent.
5. Keep a Cleaning Kit Nearby
Store a small bottle of dish soap, a sponge, and a brush in the same cabinet as your Ninja. When the blender is out of sight, you’re more likely to clean it.
Conclusion: A Clean Ninja Is a Happy Ninja
Cleaning your Ninja blender doesn’t have to be a chore. By adopting a quick daily rinse, performing a thorough monthly deep‑clean, and caring for each component, you’ll extend the life of your appliance and enjoy consistently great-tasting drinks. Remember, a clean blender is safer, more efficient, and less likely to develop off‑flavors that ruin your recipes.
Now that you know how to clean a Ninja blender from top to bottom, you can blend with confidence, knowing every sip is as fresh as the first. Happy blending!
Frequently Asked Questions
How often should I deep‑clean my Ninja blender?
Ideally once a month, or sooner if you notice lingering smells or stubborn stains after daily rinses.
Can I put the Ninja blender pitcher in the dishwasher?
Most Ninja pitchers are dishwasher‑safe on the top rack, but always check the manual. Hand‑washing the lid and gasket is recommended.
Is it safe to use bleach to clean the blender?
Bleach can damage plastic and affect the taste of future blends. Stick with mild dish soap, vinegar, and baking soda for safe, effective cleaning.
What do I do if the motor base gets wet?
Unplug the blender immediately, wipe the base with a dry cloth, and let it air‑dry for at least an hour before using it again.
How can I prevent the gasket from cracking?
Avoid exposing the gasket to boiling water or harsh chemicals. Replace it every 6‑12 months, or sooner if you see signs of wear.
Why does my blender make a rattling noise?
A rattling sound often means food particles are trapped between the blades and pitcher. Disassemble the blade assembly, clean thoroughly, and reassemble tightly.
Pingback: How to Clean a Blender - kitchenandhouseware.com
Pingback: How to Clean a Blender - kitchenandhouseware.com
Pingback: Is a Cordless Handstick Blender Powerful for Thick Soups? - kitchenandhouseware.com