Cleaning your deep fryer with vinegar is a safe, cost-effective, and eco-friendly method that powerfully cuts through grease and eliminates odors without harsh chemicals. The acetic acid in vinegar dissolves built-up food residue and carbonized oil, leaving your appliance hygienic and ready for use. Follow our detailed, step-by-step process to maintain your fryer’s performance and longevity.
Let’s be honest: cleaning a deep fryer is often the least favorite part of frying up delicious meals. That vat of hot, bubbly oil is a joy to cook with, but the greasy, crusty aftermath can seem daunting. You might have a collection of specialized, expensive commercial cleaners under your sink, but what if the most powerful cleaning agent was already in your pantry? Learning how to clean a deep fryer with vinegar is a game-changer. It’s a method that taps into simple chemistry, using the natural power of acetic acid to dissolve grease and grime without introducing harsh fumes or toxic residues into your kitchen. This guide will walk you through every single step, from the crucial safety prep to the final gleaming rinse, ensuring your fryer is not just clean, but sanitized and ready for its next culinary adventure.
Key Takeaways
- Vinegar is a powerful, natural degreaser: Its acetic acid chemically breaks down stubborn, baked-on grease and food particles that soap alone often cannot handle.
- Safety is the first step: Always allow the fryer to cool completely, unplug it, and wear protective gloves and eyewear before beginning any cleaning process.
- Proper dilution is crucial: A 1:1 ratio of white vinegar to water creates an effective cleaning solution that is strong yet safe for most fryer materials.
- Patience yields the best results: Allowing the vinegar solution to soak and bubble for 30-60 minutes loosens debris, minimizing the need for aggressive scrubbing that can scratch surfaces.
- Thorough rinsing is non-negotiable: Any vinegar residue must be completely rinsed away with clean water multiple times to prevent off-flavors in future fried foods and potential corrosion.
- Drying prevents water spots and rust: Meticulously drying all components with a clean cloth, especially the heating element housing, prevents mineral deposits and rust formation.
- Regular maintenance simplifies deep cleans: Filtering oil after each use and performing a light vinegar wipe-down weekly dramatically reduces the effort required for major cleanings.
📑 Table of Contents
Why Vinegar Works Best for Deep Fryer Cleaning
Before we dive into the “how,” understanding the “why” makes the process more intuitive and effective. Vinegar, specifically white distilled vinegar, is an acid—acetic acid to be precise. This mild acid is a fantastic chelating agent. Don’t let the science term scare you; it simply means it binds to and breaks down mineral deposits and organic molecules. The greasy film inside your fryer isn’t just oil; it’s oil that has undergone a chemical reaction called polymerization when heated repeatedly. This creates a hard, carbonized layer that sticks to the metal. Vinegar’s acidity penetrates and softens this polymerized gunk, lifting it away. It also neutralizes alkaline soap residues and eliminates lingering food odors by breaking down the volatile organic compounds that carry the smell.
The Triple Threat: Efficacy, Safety, and Cost
What makes vinegar the standout choice is its combination of power, safety, and economy. Unlike commercial degreasers, which often contain caustic chemicals like sodium hydroxide (lye) or potent solvents, vinegar is non-toxic. You don’t need a gas mask to use it, and any accidental splashes on your skin are merely irritating, not corrosive. It’s safe for food-contact surfaces when rinsed properly. From a cost perspective, a gallon of white vinegar costs pennies compared to a small bottle of specialty fryer clean-out. You’re using a product that’s readily available, multi-purpose, and stored in almost every home. This method cleans a deep fryer with vinegar in a way that’s accessible to everyone, from the home cook to the small food truck operator watching their bottom line.
Essential Preparation: Setting the Stage for Success
Rushing into cleaning a hot, oily appliance is a recipe for disaster. Proper preparation is 50% of the battle and ensures the process is safe and efficient. This phase is about creating a controlled, safe workspace and gathering your tools.
Visual guide about How to Clean a Deep Fryer with Vinegar
Image source: kitchenseer.com
Safety First: Cool, Unplug, and Gear Up
The absolute golden rule: the fryer must be 100% cool to the touch. This means after use, turn it off, unplug it from the wall, and let it sit for several hours, ideally overnight. Never, ever add water or any liquid to a hot fryer—the result can be a violent steam explosion, sending boiling oil and water flying. Once cool, unplug the unit. If it’s a fixed vat model, ensure the power supply is disconnected at the breaker if possible. Now, gear up. Put on a pair of sturdy rubber gloves (like dishwashing or gardening gloves) to protect your hands from hot spots and the vinegar solution. Safety goggles are a smart addition, especially if you’re dealing with a lot of baked-on grime that might flake. Open a window or turn on your kitchen exhaust fan for ventilation.
Gather Your Supplies
You need very little. Assemble these items before you start:
- White Distilled Vinegar: The star of the show. Avoid apple cider or flavored vinegars, as their sugars and residues can create more mess.
- Water: For dilution and rinsing. Hot water helps, but not boiling.
- Soft-bristled brushes: A dedicated bottle brush for the interior, a soft scrub brush for the basket and sides, and an old toothbrush for crevices. Never use steel wool or metal scrubbers; they will scratch the stainless steel or enamel coating.
- Non-abrasive scrubber: A green Scotch-Brite™ pad (non-scratch variety) or a cloth-backed scrubber.
- Plastic or silicone spatula: For gently scraping off loosened debris without scratching.
- Large bucket, basin, or the fryer pot itself: For soaking smaller parts.
- Clean, lint-free cloths or microfiber towels: For drying.
- Dish soap: For a final wash after the vinegar step (optional but recommended).
- Baking soda (optional): For extra scrubbing power on tough spots.
The Step-by-Step Vinegar Cleaning Process
With your cooled, unplugged fryer and your supplies at the ready, it’s time for the main event. This process is methodical: drain, soak, scrub, and rinse.
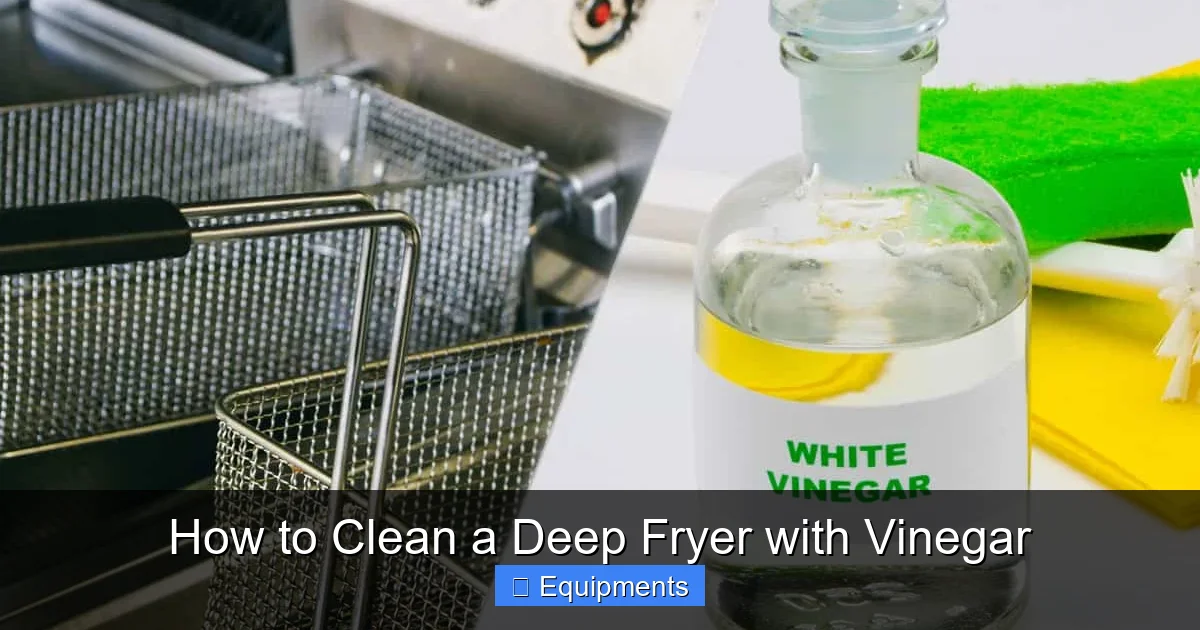
Visual guide about How to Clean a Deep Fryer with Vinegar
Image source: kitchenseer.com
Step 1: Remove and Dispose of Old Oil
Carefully pour the used cooking oil into a sealed, disposable container. Never pour oil down the drain. It will solidify and cause major plumbing issues. Once the bulk oil is removed, use paper towels or an old cloth to wipe out as much of the remaining thin film and loose food particles as possible from the fryer pot and basket. This initial wipe makes the vinegar solution work much more effectively on the stuck-on grime.
Step 2: Create and Apply the Vinegar Solution
The standard, highly effective ratio is 1 part white vinegar to 1 part hot water. For a standard home deep fryer (3-5 liters capacity), you’ll likely need about 4-6 cups of each. Mix it in a separate container or directly in the cooled fryer pot if it’s removable. If your fryer has a heating element that is permanently attached, you must be extremely careful not to pour liquid directly onto or into the electrical components. In this case, apply the solution with a large sponge, brush, or spray bottle directly to the interior walls and bottom, avoiding the element housing. The goal is to saturate all the greasy surfaces. You should see the solution start to bubble and fizz slightly as it reacts with the baked-on grease—that’s a great visual cue that it’s working!
Step 3: The Soak and Agitate Phase
This is where patience pays off. Let the vinegar-water solution sit in the fryer pot for at least 30 to 60 minutes. For severely neglected fryers, you can let it sit for several hours or even overnight. The acid needs time to penetrate and soften the polymerized grease. After the soak, use your soft-bristled bottle brush to vigorously scrub the walls and bottom. The grime should now be soft and come away easily. For the heating element (if removable and cool), submerge it in a separate bucket of the vinegar solution and let it soak, then scrub gently with a soft brush. Pay special attention to the underside of the element where oil spatter collects. Use your old toothbrush for the tiny holes in the fryer basket and any crevices around the thermostat or control panel housing (never immerse the control panel!).
Step 4: Tackling Stubborn, Carbonized Buildup
If, after soaking and scrubbing, you still have patches of hard, blackened carbon, make a paste. Take a handful of baking soda and add just enough vinegar to create a thick paste. Apply this paste directly to the stubborn spot. The combination of vinegar’s acid and baking soda’s mild abrasive action creates a fizzy reaction that helps lift the grime. Let it sit for 10-15 minutes, then scrub with your non-abrasive pad. The paste provides a bit more scrubbing power without damaging the surface. A plastic spatula can also be used to gently chip away at loosened, flaky carbon once it’s been softened by the vinegar.
The Critical Rinse and Complete Dry
You’ve done the hard work, but the final steps are critical for food safety and appliance longevity. Improper rinsing or drying can ruin all your effort.
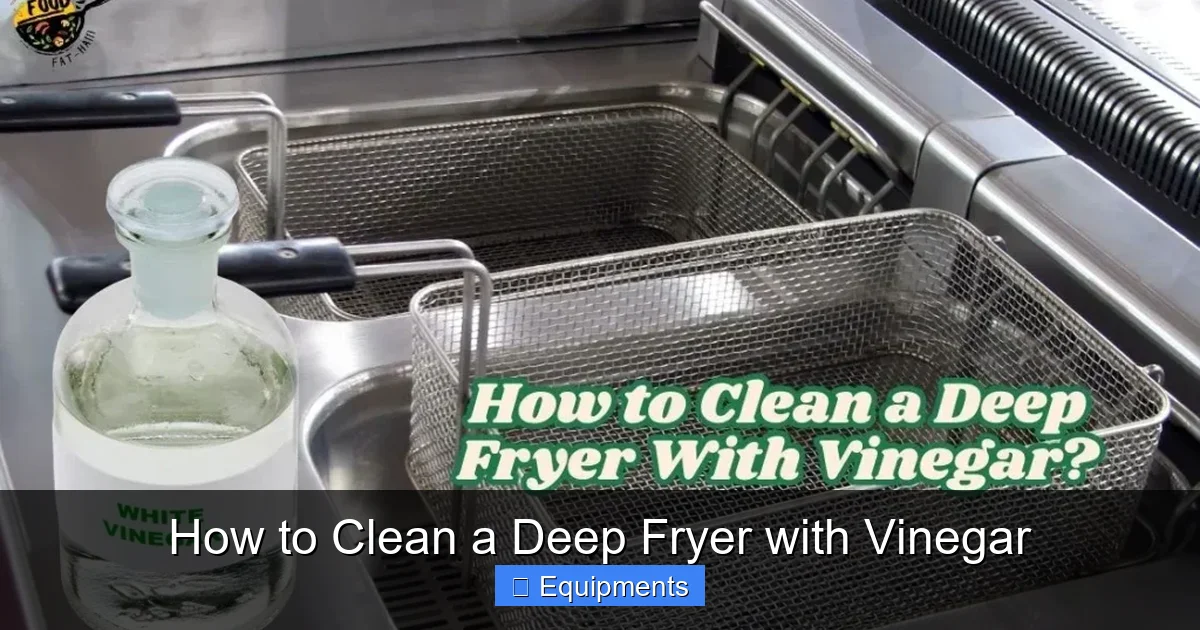
Visual guide about How to Clean a Deep Fryer with Vinegar
Image source: fat-ham.com
Rinse, Rinse, and Rinse Again
Drain the dirty vinegar solution. Now, you must rinse thoroughly. Using clean, warm water, rinse every single surface multiple times. Swish the water around, use your brush, and change the rinse water if necessary. Vinegar is an acid, and any leftover residue will affect the taste of your food—imagine your fries tasting like salad dressing! It can also potentially accelerate corrosion on metal parts over time. Be meticulous. Ensure no soapy water or vinegar scent remains. A final rinse with a little diluted lemon juice can help neutralize any last vinegar trace and leave a fresh scent, but this is optional.
Meticulous Drying is Non-Negotiable
Water is the enemy of metal appliances. Lingering moisture leads to mineral deposits (hard water spots) and, worse, rust. Use your clean, dry microfiber cloths to completely dry every nook and cranny. Pay extreme attention to the area around the temperature control probe, the threads of the basket, and especially the heating element housing. If your fryer has a removable lid, dry its underside and seal. Air-drying is not sufficient; it will leave water rings. For absolute certainty, you can place the completely dry components in a warm oven (200°F/95°C) for 10-15 minutes to evaporate any invisible moisture, but a thorough towel dry is usually sufficient.
Proactive Maintenance: Making Future Cleans Easier
Cleaning a deep fryer with vinegar is for deep cleans, but with a few simple habits, you can stretch the time between these major efforts and keep your fryer in top shape with minimal hassle.
Daily and Weekly Habits
After every frying session, while the oil is still warm (but not hot!), filter it through a fine-mesh sieve or cheesecloth into a clean storage container. This removes food particles that break down and turn to sludge. Store the oil in a cool, dark place. Once a week, even if you haven’t done a major clean, do a “wipe-down.” With the fryer cool and empty, spray the interior with a 1:1 vinegar-water solution from a spray bottle. Let it sit for 5 minutes, then wipe down all surfaces with a damp cloth and dry. This quick step prevents buildup from ever getting a foothold.
Filter and Basket Care
The fryer basket and its filter (if it has one) are the first lines of defense. Clean these after every use. Wash them with hot, soapy water, using your brush to get into the mesh. The vinegar soak is perfect for these parts weekly to remove any oily film. Ensure they are bone dry before storing to prevent rust.
Knowing When Vinegar Isn’t Enough
For most home use, vinegar is a powerhouse. However, if your fryer has been neglected for years and has a thick, rock-hard layer of carbon that vinegar cannot soften, you may need a commercial oven cleaner or a dedicated fryer boil-out product. Always follow the manufacturer’s instructions if you use a stronger chemical, and never mix vinegar with bleach or commercial cleaners, as dangerous gases can form. But for the vast majority of regular maintenance, vinegar is all you’ll ever need.
Conclusion: A Simple, Powerful Routine
Mastering how to clean a deep fryer with vinegar transforms a dreaded chore into a simple, affordable, and safe routine. It’s a return to basic, effective cleaning principles that rely on chemistry, not toxicity. By respecting the process—allowing proper cooling, using the correct vinegar-to-water ratio, being patient with soak times, and committing to thorough rinsing and drying—you protect your investment, ensure the purity of your food’s flavor, and extend the life of your appliance. The satisfying sizzle of a clean fryer heating up, free of old grease odors, is a testament to a job well done. Embrace this natural method, incorporate the weekly wipe-down habit, and you’ll keep your deep fryer performing like new for years to come, all without ever needing to open a bottle of harsh, chemical-laden cleaner.
Frequently Asked Questions
Can I use apple cider vinegar or cleaning vinegar instead of white distilled vinegar?
White distilled vinegar is the best choice because it is clear, inexpensive, and has a consistent 5% acetic acid level. Apple cider vinegar contains sugars and can leave a slight residue or color. “Cleaning vinegar” has a higher acidity (6-10%) and is more effective on heavy buildup but requires more careful rinsing and should be diluted more. For standard deep fryer cleaning, white vinegar is perfectly sufficient and safest.
Is it safe to use vinegar on the heating element of my deep fryer?
It is safe only if the heating element is completely cool and you avoid pouring liquid directly into its electrical housing. For removable heating elements, soaking them in the vinegar solution is fine. For fixed elements, you must apply the vinegar solution with a brush or sponge directly to the metal coils and housing, being extremely careful to keep liquid away from any wiring, plugs, or the thermostat connection point. Always consult your appliance’s manual first.
How often should I perform a full vinegar clean on my deep fryer?
A full deep clean with the soaking method should be done every 3-5 uses for a home fryer used regularly, or at least once a month. This frequency prevents heavy carbonization. If you fry foods with strong flavors (like fish) or heavily breaded items, you may need to clean more often. The weekly vinegar wipe-down is a crucial habit that makes these deeper cleans much easier.
Will the vinegar smell affect the taste of my next batch of fried food?
Not if you rinse thoroughly. Any vinegar odor or taste is a sign of residual vinegar solution. After your final rinse, you can do a quick “test rinse” with plain water and smell the vapor. If no vinegar scent is detectable, you’re safe. Some people do a final quick rinse with just plain hot water after the vinegar rinse to provide absolute peace of mind.
What should I do for burnt-on, carbonized grease that vinegar doesn’t seem to touch?
For extremely stubborn, rock-hard carbon, create a thick paste of baking soda and vinegar. Apply it liberally to the spot, let it sit for 15-20 minutes, and then scrub with a non-abrasive pad. The fizzing action helps penetrate. You can also try heating a small amount of the vinegar solution in the fryer (on low, if your model allows) to just below a simmer for 10 minutes, then letting it soak hot (but not scalding) for an hour. If these methods fail, a commercial fryer boil-out product may be necessary, but always follow safety instructions and rinse impeccably afterward.
Is this vinegar cleaning method suitable for all types of deep fryers (stainless steel, enamel-coated, etc.)?
Yes, the vinegar-water solution is generally safe for stainless steel, enamel-coated steel, and aluminum fryer pots. It is non-corrosive to these materials when used correctly and rinsed well. However, always check your manufacturer’s manual. Do not use vinegar on fryers with delicate non-stick coatings, as the acid could degrade the surface over time. For those, stick to gentle soap and water.