Boiling in an Instant Pot is a fast, energy-efficient way to cook foods in a controlled, moist-heat environment. Unlike a stovetop, it uses pressure to raise the boiling point of water, cooking food quicker while retaining nutrients. Mastering the simple steps for adding liquid, setting the correct time, and managing pressure release ensures perfect results for everything from eggs to grains every time.
So, you’ve unboxed your shiny new Instant Pot, and you’re ready to tackle everything from ribs to rice. But before you dive into complex pressure-cooked feasts, there’s one fundamental skill to master: how to boil in an Instant Pot. It sounds almost too simple—after all, we all know how to boil water on the stove. Yet, boiling under pressure is a different beast entirely, and getting it right is the absolute key to unlocking your pot’s potential. This isn’t just about making bubbles; it’s about harnessing controlled, high-temperature steam to cook food faster, more evenly, and with incredible flavor retention. Whether you want perfectly hard-boiled eggs, tender-crisp green beans, or a pot of fluffy quinoa, it all starts with understanding this core process. Let’s break it down, step by step, and turn you from a hesitant beginner into a confident Instant Pot boiler.
Key Takeaways
- Instant Pot boils faster: Pressure raises water’s boiling point above 212°F (100°C), significantly reducing cooking times for foods like potatoes, beans, and eggs.
- Minimal liquid is required: You only need the minimum liquid specified in your manual (usually 1-2 cups) to generate steam and pressure, not enough to submerge most foods.
- Safety is built-in: The sealed lid and pressure mechanisms prevent boil-overs and steam burns, making it safer than an open pot on the stove.
- Natural vs. Quick Release matters: Use Natural Release (NR) for delicate foods or to prevent foaming (like beans), and Quick Release (QR) for vegetables or when stopping cooking immediately.
- Not all “boiling” is the same: The “Boil” or “Manual” setting cooks under pressure; the “Slow Cook” function simmers at low pressure, and “Saute” boils openly on the base.
- Altitude adjusts times: At high altitudes, increase cooking time by 5-10% as the pressure cooker’s absolute pressure takes longer to reach the set point.
- Flavor infuses during the process: Adding aromatics, salt, or acids (like vinegar) to the boiling liquid seasons food from the inside out during the pressure cycle.
📑 Table of Contents
- Why Boil in an Instant Pot? The Stovetop vs. Pressure Cooker Showdown
- The Instant Pot “Boil”: Decoding Settings and Functions
- Step-by-Step: How to Boil Water (and Cook Food) in Your Instant Pot
- What Can You Boil? A Guide to Common Foods
- Troubleshooting: Why Isn’t My Instant Pot Boiling/Coming to Pressure?
- Advanced Tips and Flavor Boosting
- Conclusion: Your Instant Pot is a Boiling Powerhouse
Why Boil in an Instant Pot? The Stovetop vs. Pressure Cooker Showdown
Before we get our hands dirty (or steamy), let’s address the obvious question: why would I boil something in an Instant Pot when my stove has worked perfectly for years? The answer lies in three magical words: pressure, time, and efficiency.
The Science of Speed: Higher Temperature, Shorter Time
On your stovetop, water boils at 212°F (100°C) at sea level. That’s its maximum temperature in an open pot. In an Instant Pot, the sealed environment traps steam, which builds pressure. This increased pressure raises the boiling point of the liquid inside to around 240°F (115°C) or higher, depending on the model and setting. Food is essentially cooked in superheated steam and water. This higher temperature means molecules break down much faster. A pot of beans that takes 2 hours on the stove might be perfectly tender in 25 minutes under pressure. That’s not a typo. The time savings are monumental, especially for tough cuts of meat, dried legumes, and root vegetables.
Energy and Nutrient Efficiency
Because the cooking time is so drastically reduced, you use far less energy—electric or gas—compared to a long stovetop simmer. It’s a greener, cheaper way to cook. More importantly for food lovers, the shorter cook time and the sealed environment help retain water-soluble vitamins (like vitamin C and B vitamins) that would typically leach into a large pot of boiling water. Your food isn’t just cooked faster; it’s often more nutritious.
Hands-Off Convenience and Safety
Set it and forget it. Once you lock the lid and press start, there’s no stirring, no watching for boils-over, and no adjusting the heat. The Instant Pot regulates its own temperature and pressure. Furthermore, it’s inherently safer. There’s no open flame or exposed hot pot handle. The lid locks securely during operation, and the pressure release valves are designed to prevent dangerous steam bursts. You can boil water or cook a soup and walk into another room without that nagging worry.
The Instant Pot “Boil”: Decoding Settings and Functions
Here’s where confusion often sets in. The Instant Pot doesn’t have a simple “BOIL” button like your kettle. Instead, you use its pressure-cooking functions to achieve a boil. Understanding which button to press is crucial.
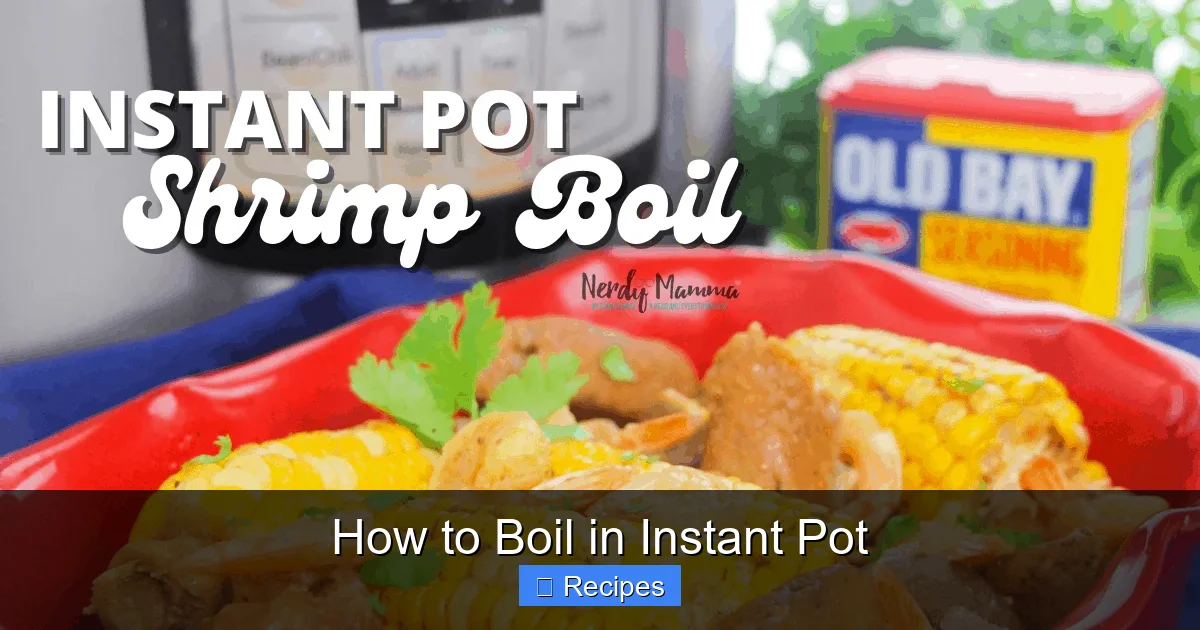
Visual guide about How to Boil in Instant Pot
Image source: nerdymamma.com
Pressure Cook / Manual: Your Primary Boiling Workhorse
This is the function you’ll use 90% of the time when you want to “boil” something. Whether your model calls it “Pressure Cook,” “Manual,” or shows a pressure icon, this setting brings the contents to a boil under pressure and maintains a specific pressure level (Low or High) for the set time. This is for cooking food. You add your liquid and ingredients, set the time, and let the pot come to pressure (which involves a vigorous boil to generate steam) before the cook timer begins.
Saute/Searing: The Open-Pot Boil
The Saute function operates like a stovetop burner on the pot’s base. It does not pressurize. You can use it to bring a liquid to a rolling boil without the lid on, perfect for reducing sauces, simmering a gravy after pressure cooking, or par-cooking pasta. The heat is adjustable (usually Low, Medium, High), but it won’t get as hot as a pressure-cook boil because it’s not sealed. Think of it as your open-pot simmering and boiling station.
Slow Cook: The Gentle, Unpressurized Simmer
Don’t confuse this with boiling. The Slow Cook function on most Instant Pots mimics a traditional slow cooker: low, steady heat (around 190-200°F on High setting) with the lid on, but without building pressure. It’s for recipes that need long, gentle cooking. It will bring a liquid to a very gentle simmer, but never a true, rolling boil.
Key takeaway: When a recipe says “bring to a boil in the Instant Pot,” it almost always means using the Pressure Cook/Manual function. The boiling happens automatically as the pot pressurizes.
Step-by-Step: How to Boil Water (and Cook Food) in Your Instant Pot
Let’s walk through the universal process. We’ll use boiling water as our baseline, but the same steps apply to boiling vegetables, eggs, or grains.
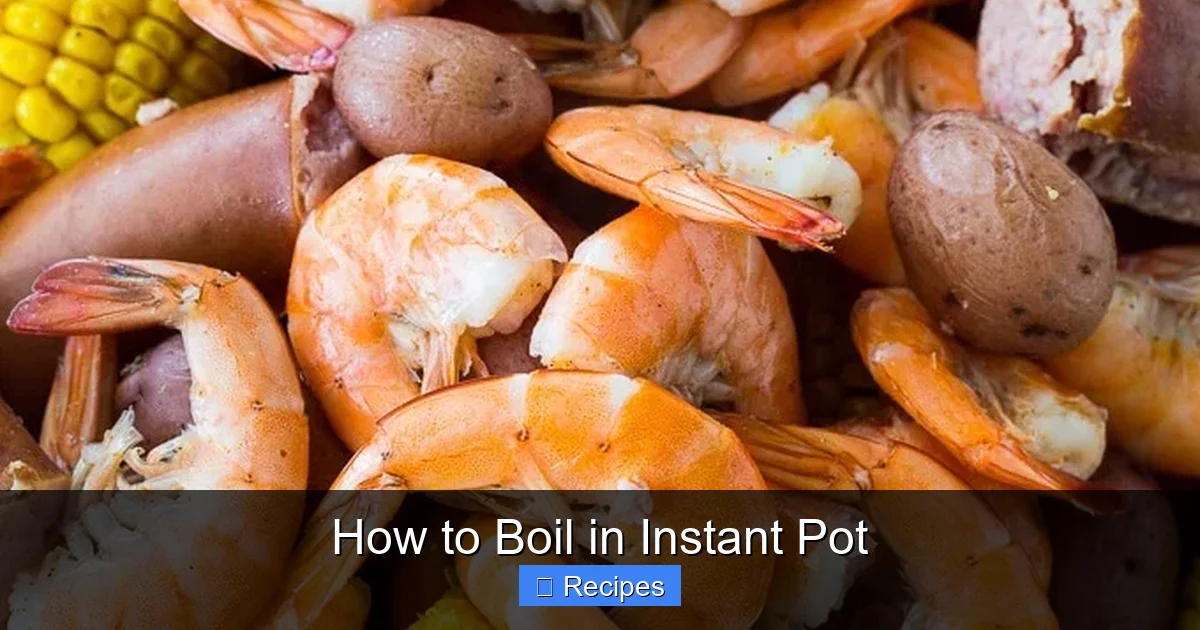
Visual guide about How to Boil in Instant Pot
Image source: spicysouthernkitchen.com
Step 1: The Liquid Foundation – How Much and What Kind?
This is the #1 rule: You must add liquid. The Instant Pot needs liquid to create steam and build pressure. Your user manual will state the minimum amount (typically 1 cup or 500ml for a 6-quart, 1.5 cups for an 8-quart). For “boiling” foods that release their own liquid (like tomatoes or leafy greens), you might need less, but never go below the minimum. Use water, stock, broth, juice, or a combination. The liquid is your cooking medium and flavor carrier.
Step 2: Assemble and Seal
Place the stainless steel inner pot into the housing. Add your liquid and any ingredients. Crucially, for pressure cooking, the food does NOT need to be submerged in liquid. The steam and pressurized liquid will bathe and cook it. However, for very dry foods (like a whole chicken or dense potatoes), you may want at least 1/3 of the food covered to ensure even cooking and prevent scorching. Place the lid on, aligning the arrow on the lid with the arrow on the housing. Turn the lid clockwise until it locks with a click. Ensure the pressure release valve (the little knob on top) is set to Sealing (not Venting).
Step 3: Select Your Time and Pressure
Press the Pressure Cook (or Manual) button. Use the +/- buttons to set your cook time. For simply boiling water to use elsewhere (like for pasta), you might set it for just 1-2 minutes just to get it hot and pressurized. For cooking, consult recipe times. Next, press the Pressure button to toggle between Low and High pressure. High pressure cooks faster and is standard for most foods. Low pressure is gentler, good for very delicate items like custards or some seafood.
Step 4: The Wait – Coming to Pressure
After you press Start, the display will show “On.” This means the pot is heating up and building pressure. During this phase (which can take 5-15 minutes depending on the amount of liquid and food), you will hear a hissing/steaming sound and see steam escape from the release valve. This is normal. Once the correct pressure is reached, the float valve (the metal pin next to the release valve) will pop up, the hissing will stop, and the cook timer will begin counting down. This “coming to pressure” time is NOT part of your cook time.
Step 5: Pressure Release – The Final Critical Step
When the timer beeps, the cooking phase is over. Now you must release the pressure. You have two methods:
- Natural Pressure Release (NPR or NR): Simply let the pot sit, untouched. The pressure will slowly drop on its own as the pot cools. The float valve will eventually drop. This can take 10-30 minutes. This is best for foods that are prone to foaming or bursting (beans, grains, tough meats) and for foods that benefit from additional carry-over cooking.
- Quick Release (QR): Carefully turn the pressure release valve from Sealing to Venting using a long spoon or oven mitt to avoid the hot steam jet. Steam will rush out loudly until the float valve drops. This is for foods where you want to stop cooking immediately (vegetables, seafood, eggs) to prevent overcooking.
Step 6: Open and Enjoy
Once the float valve has dropped, it is safe to open the lid. Turn the lid counter-clockwise to unlock and lift it off, tilting it away from you to avoid any residual steam. Your boiled food is ready!
What Can You Boil? A Guide to Common Foods
Now for the fun part. Let’s apply this process to everyday ingredients. The key variables are cook time and pressure release method.
Visual guide about How to Boil in Instant Pot
Image source: thekitchenix.com
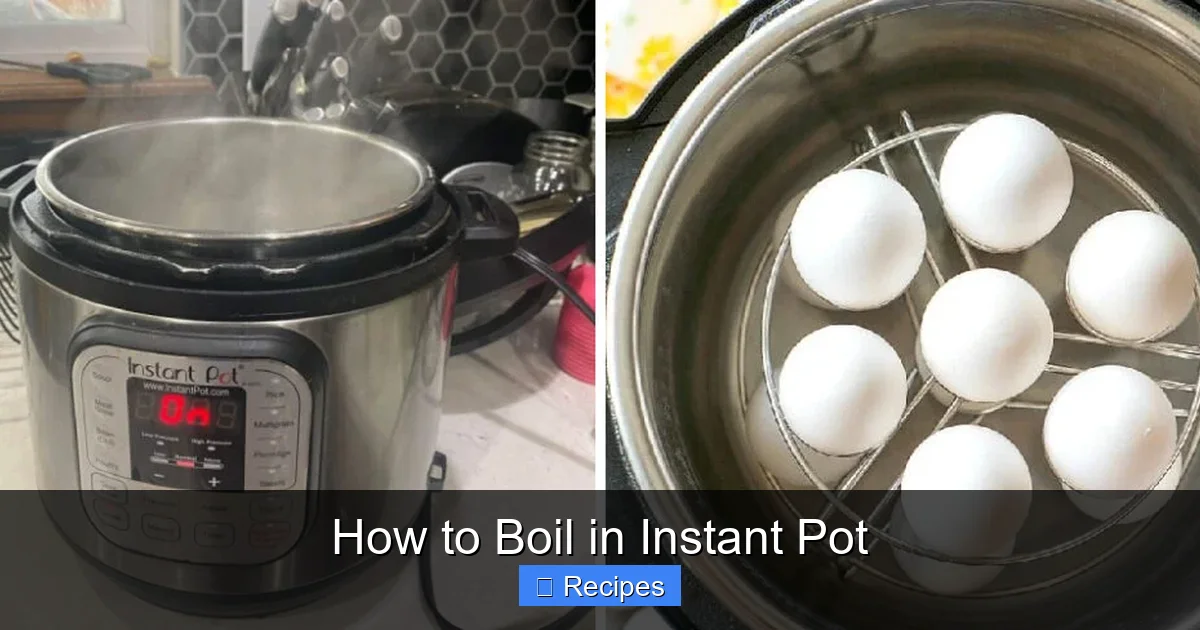
Perfect Hard-Boiled Eggs
This is the Instant Pot’s flagship trick. The result is consistently easy-to-peel eggs with no green sulfur ring.
- Method: Add 1 cup of cold water to the pot. Place a trivet/steam rack inside. Place up to 12 large eggs on the trivet. Lock lid, set valve to Sealing.
- Cook: Pressure Cook on High for 5 minutes.
- Release: Immediately do a Quick Release for 5 minutes. Then, carefully open the lid and transfer the eggs to an ice bath for at least 5 minutes to stop cooking and chill.
Vegetables: From Frozen to Fresh
Pressure-cooked vegetables are a revelation—tender but still vibrant.
- Green Beans (fresh): 1 cup water. Add 1 lb beans to pot (no trivet needed). Cook on High for 1 minute. Quick Release.
- Broccoli Florets: 1 cup water. Place florets on trivet. Cook on High for 0 (ZERO) minutes! Yes, you read that right. The pot coming to pressure cooks them perfectly. Quick Release immediately.
- Frozen Mixed Vegetables: 1 cup water. Add veggies directly. Cook on High for 2-3 minutes. Quick Release.
Grains and Pasta
Fluffy grains are effortless. Use a 1:1 or 1:1.5 (grain:liquid) ratio, but always check your manual for specific grains.
- Quinoa: 1 cup quinoa, 1 cup water or broth. Rinse quinoa first. Cook on High for 1 minute. Natural Release for 10 minutes, then Quick Release any remaining pressure. Fluff with a fork.
- Rice (all types): Use the dedicated Rice button or cook on High: White rice 3-4 mins, brown rice 20-22 mins, wild rice 25-28 mins. Always use Natural Release for 10 minutes for rice to finish steaming and absorb liquid.
- Pasta: You can cook pasta directly in a sauce/water mixture. For 1 lb pasta, use 4 cups liquid (water + sauce). Cook on High for half the stovetop time listed on the box. Quick Release, then stir—the sauce will thicken as it sits.
Potatoes and Root Vegetables
Get perfectly cooked potatoes for salads or mash in minutes.
- Cubed Potatoes (for salad): 1 cup water. Add 1.5 lbs peeled, cubed potatoes. Cook on High for 3 minutes. Quick Release, then check for doneness with a fork.
- Whole Small Potatoes: 1 cup water. Add up to 2 lbs. Cook on High for 5 minutes. Quick Release.
- Beets: 1 cup water. Place scrubbed, trimmed beets on trivet. Cook on High: small beets 12 mins, medium 20 mins, large 30 mins. Natural Release 10 mins.
Troubleshooting: Why Isn’t My Instant Pot Boiling/Coming to Pressure?
Even with the right steps, things can go wrong. Here are the most common “boiling” issues and fixes.
“Burn” Message or No Hissing/Steam
Symptom: The pot beeps and displays “BURN” or you never hear the hissing sound during the “On” phase. Cause: There is not enough liquid, or food is stuck to the bottom preventing steam generation. Fix: Release pressure immediately. Open the pot, stir the contents thoroughly to release any stuck bits, and ensure there is at least the minimum required liquid. You may need to add 1/2 cup more. For tomato-based or sugary sauces, always add a bit of broth or water and never use the Saute function to thicken them initially—it can scorch.
It’s Hissing Loudly but Not Coming to Pressure
Symptom: Steam escapes continuously from the valve, the float valve doesn’t rise, and the timer never starts. Cause: The pressure release valve is set to Venting instead of Sealing. Or, the sealing ring is damaged, misaligned, or has food debris. Fix: Turn the valve to Sealing. Inspect and clean the sealing ring. Ensure the lid is locked properly.
Liquid Doesn’t Seem to Reduce/Boil During Cooking
Symptom: You open the pot after cooking and there’s way more liquid than expected. Cause: Underpressure cooking. The pot didn’t actually reach full pressure, often due to a minor steam leak (bad seal, lid not locked) or insufficient heat (on some models, the “Keep Warm” function can interfere). Fix: Check your seal and lock. Ensure the “Keep Warm” light is OFF when you start. You may need to cook for a few extra minutes to reduce liquid after pressure cooking using the Saute function.
Food is Undercooked
Symptom: After the full cook time, food is still hard. Cause: The pot took an exceptionally long time to come to pressure (e.g., you loaded it with a huge, cold block of food), so the actual cooking time at pressure was less than intended. Fix: For large, cold items, add a few minutes to the cook time. Always try to use room-temperature or thawed ingredients for more predictable results.
Advanced Tips and Flavor Boosting
Once you’ve mastered the basics, level up your boiling game.
Layering Flavors with Aromatics
Don’t just boil in plain water. Toss in smashed garlic cloves, a sprig of thyme, a bay leaf, peppercorns, or a slice of lemon into the liquid before pressurizing. The high-pressure steam and liquid will infuse your food with deep, subtle flavor from the inside out. For grains like rice or quinoa, substituting all or part of the water with broth makes an immediate difference.
The Acid/Alkaline Rule
Adding acidic ingredients (vinegar, lemon juice, tomatoes, wine) to the cooking liquid can slightly increase the time needed for beans and grains to soften because acids strengthen pectin and protein bonds. If cooking beans with tomatoes, add them in the last 10-15 minutes of cooking, or use a pinch of baking soda (just 1/8 tsp) to neutralize the acid and speed up softening.
Multi-Layer Boiling: The Pot-in-Pot (PIP) Method
This is a game-changer. You can boil one item in the main pot (like rice) while steaming another on a trivet above it (like broccoli). Place 1 cup of water in the inner pot. Set a trivet/steam rack inside. Place a heat-proof, oven-safe bowl or another smaller metal pan with your second food item on the trivet. The steam from the boiling water below will cook the food in the upper bowl. This allows you to cook a complete meal with one pot and one cook cycle.
Storing and Reusing Boiling Liquid (Broth)
The liquid left after boiling vegetables, meats, or bones is a fantastic, nutrient-rich homemade broth. Strain it and use it immediately for soups, or cool it completely and store in the fridge for 4-5 days or freeze for months. It’s a zero-waste way to build flavor in future meals.
Conclusion: Your Instant Pot is a Boiling Powerhouse
Learning how to boil in your Instant Pot isn’t a separate skill—it’s the foundation upon which all other pressure-cooking skills are built. By understanding that you’re not just making bubbles, but creating a superheated, pressurized steam environment, you unlock a world of speed, flavor, and consistency. Remember the core tenets: always use the minimum liquid, set the valve to Sealing, respect the Natural vs. Quick Release difference, and don’t be afraid to experiment with aromatics in the boiling liquid. That stovetop pot of water simmering for an hour? You can now do it in 15 minutes, with better results and zero babysitting. So go ahead, boil some eggs, steam some veggies, and cook a pot of grains. Master this, and the rest of your Instant Pot journey will be smooth, efficient, and delicious.
Frequently Asked Questions
Can I add food to the Instant Pot after the water is already boiling under pressure?
No. You must add all ingredients and liquid to the pot before locking the lid and starting the pressure-cook cycle. Adding food once pressurized is extremely dangerous and will cause a violent release of steam.
Do I need to add salt when boiling in the Instant Pot?
Yes, you can and should. Salt dissolves in the liquid and seasons the food from the inside during pressure cooking. Add it to the cooking liquid at the beginning. Unlike stovetop boiling, you don’t need a massive amount of salt because the sealed environment retains flavor better.
Why is my boiled egg hard to peel even though I used the Instant Pot?
This is usually due to egg freshness. Very fresh eggs (less than 7-10 days old) have a strong bond between the shell and membrane, making them hard to peel regardless of cooking method. For easiest peeling, use eggs that are at least 2 weeks old, or ensure you plunge them into an ice bath immediately after cooking to shock the membrane.
Can I boil pasta in the Instant Pot without it sticking?
Yes. Always use enough liquid (at least 4 cups for 1 lb pasta) and a mild acid like 1 tbsp of oil or a pinch of salt in the water. For long pasta like spaghetti, lay it in a cross shape on the surface of the liquid; it will soften and submerge as it cooks. A Quick Release followed by a quick stir prevents sticking.
Is the “Boil” setting on some Instant Pots different from “Pressure Cook”?
On some newer models, there is a “Boil” setting under the “Steam” or “Pressure Cook” menu. This is simply a pre-programmed time (usually 0-2 minutes) for bringing liquid to a boil under pressure, often used for pre-heating liquid for other recipes. For cooking food, you still select your own custom time on the Pressure Cook/Manual setting.
My recipe says to boil for 10 minutes. Does that include the time to come to pressure?
No. Recipe times for pressure cooking are only the time at pressure. The 5-15 minutes it takes to come to pressure and any Natural Release time are additional. Always factor in the “come to pressure” time when planning your meal, as it can be significant for large quantities.
Pingback: How to Boil Eggs So They Peel Easy - kitchenandhouseware.com
Pingback: How to Boil Eggs Perfectly Every Time - kitchenandhouseware.com
Pingback: How Long Do I Boil Eggs - kitchenandhouseware.com
Pingback: How Long to Boil Chicken Livers - kitchenandhouseware.com
Pingback: How to Boil Small Potatoes - kitchenandhouseware.com
Pingback: How to Boil Chicken Breast - kitchenandhouseware.com
Pingback: How Long to Par Boil Small Red Potatoes to Remove Jackets - kitchenandhouseware.com
Pingback: How Long to Boil Potatoes for Mashed - kitchenandhouseware.com