Adjusting the flame on your gas stove is a crucial skill for safe, efficient, and precise cooking. An incorrectly adjusted flame—too high or too low—wastes gas, creates soot, and can be a safety hazard. This guide provides clear, step-by-step instructions for adjusting the air shutter on most standard gas stoves, troubleshooting common issues like a yellow or noisy flame, and knowing when to call a professional. Mastering this simple maintenance task improves cooking performance and extends your appliance’s life.
That little blue cone of fire on your gas stove burners is more than just heat—it’s a finely tuned instrument. When it’s right, you get instant, responsive heat and efficient fuel use. When it’s wrong, you get wasted gas, blackened cookware, soot on your ceiling, and a potential safety risk. Learning how to adjust the flame on a gas stove isn’t just a handy DIY trick; it’s an essential part of responsible home ownership and kitchen maintenance. Think of it as tuning up your car, but for your cooking. The good news? For the vast majority of standard gas ranges, the process is straightforward, requires minimal tools, and can be done in under 15 minutes per burner. This guide will walk you through everything, from identifying a problem flame to making the precise adjustments for a perfect, clean-burning blue flame.
Key Takeaways
- Safety First: Always work with the stove off and cool, in a well-ventilated area, with no flammable materials nearby.
- Correct Flame is Blue: A properly adjusted flame is primarily blue with a possible small, crisp yellow tip. Yellow, sputtering, or sooty flames indicate a problem.
- Tool is Simple: You typically only need a screwdriver (flathead or Phillips, depending on your model) to adjust the air shutter screw.
- Adjustment is Per Burner: Each burner has its own air shutter and must be adjusted individually, especially if one behaves differently.
- Clean First: Always clean burner ports, caps, and grates thoroughly before attempting any flame adjustment to remove debris causing blockages.
- Don’t Force It: If adjusting the screw has no effect, or if you smell continuous gas, stop and contact a qualified appliance technician immediately.
📑 Table of Contents
Understanding Your Gas Stove’s Flame: The Basics
Before we touch a screwdriver, we need to understand what we’re looking at. A gas stove burner works by mixing gas fuel with air (oxygen) before ignition. This mixture is critical. The air-to-fuel ratio determines the flame’s color, shape, temperature, and cleanliness. The component responsible for this mix is the air shutter (also called an air mixer or venturi), a small adjustable collar or plate with a slot or screw, located at the base of the burner tube where the gas enters.
The Anatomy of a Perfect Flame
A correctly adjusted burner produces a flame that is:
- Primarily Blue: Blue indicates complete combustion, meaning the gas is burning efficiently with enough oxygen. You should see a well-defined inner cone of darker blue or even purple, surrounded by a lighter blue outer envelope.
- Stable and Quiet: The flame should be steady, not roaring, sputtering, or lifting off the burner ports. It might make a soft, gentle hiss, but no loud whooshing or popping.
- Firmly Attached: The flame should sit directly on the burner ports, not lifting away from them.
- Small Yellow Tip (Sometimes): A tiny, crisp yellow tip at the very peak of the inner cone is often acceptable, especially on older burners or at very low simmer settings. It’s the larger, fluffy, yellow-orange flames that are problematic.
Signs of a Poorly Adjusted Flame
You’ll know your flame needs adjustment if you see or hear:
- Yellow or Orange Flames: This is the most common sign of incomplete combustion. It means there’s not enough air mixing with the gas. The flame is cooler, produces soot (carbon), and is a clear efficiency and safety issue.
- Excessive Noise: A loud roaring, whistling, or rumbling sound means too much air is being mixed, or the gas pressure is off.
- Flame Lifting: The flame pulls away from the burner ports and may even travel up into the burner tube. This is usually due to too much air.
- Soot Buildup: Black residue on your pots, the stove’s underside, or nearby walls is a direct result of a yellow, sooty flame.
- Flame Too Short or Weak: Even on high, the flame seems anemic and doesn’t cover the burner properly. This can be from a partial blockage or incorrect adjustment.
Essential Tools and Preliminary Steps
You don’t need a toolbox full of specialized equipment. This is a simple task, but preparation is key to doing it safely and effectively.
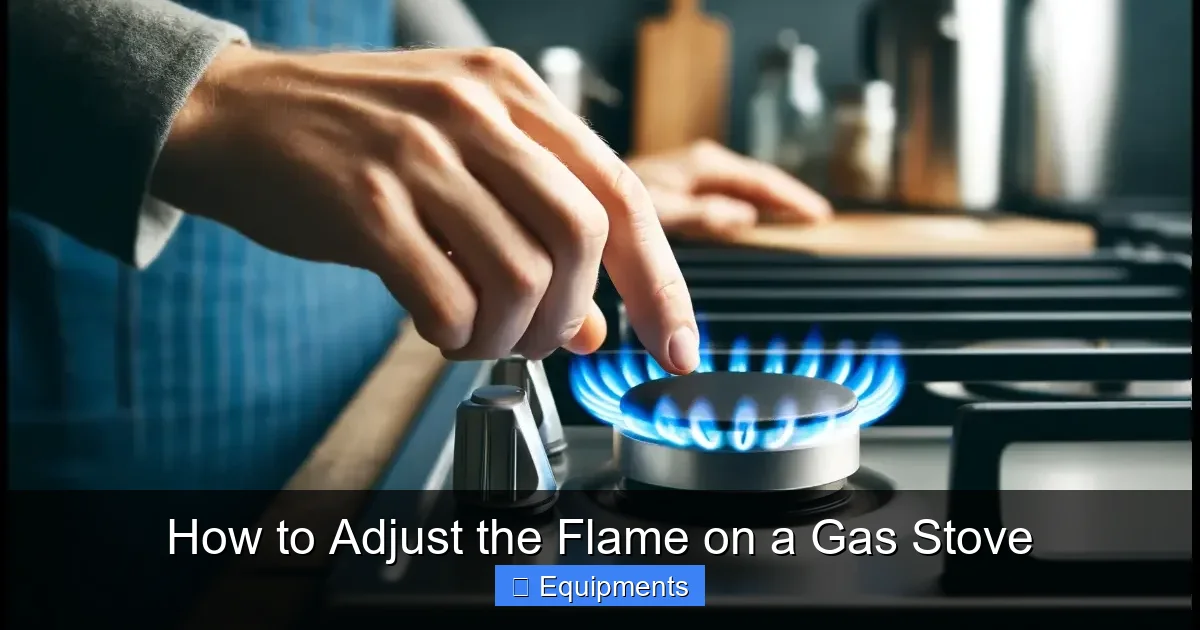
Visual guide about How to Adjust the Flame on a Gas Stove
Image source: stovemastery.com
Tools You’ll Need
- Screwdriver: Most common are flathead or Phillips. Check your specific burner’s air shutter. Some have a slotted screw head, others a Phillips. A set of small screwdrivers is best.
- Flashlight: To see the flame clearly and locate the air shutter screw in a dimly lit kitchen.
- Needle-nose pliers or a straightened paperclip: For gently clearing debris from burner ports if needed.
- Old toothbrush and mild degreaser: For cleaning burner parts.
- Gloves: Optional, but good for grip and keeping hands clean.
Critical Safety Precautions
Working with gas requires caution. Follow these steps before you begin:
- Turn Off the Gas Supply: Locate the shut-off valve for your stove (usually behind the stove or at the wall connection) and turn it to the “off” position. This is the most important safety step.
- Let the Stove Cool Completely: Never attempt to adjust burners that are hot or have been recently used.
- Work in a Ventilated Area: Open windows to ensure any residual gas dissipates.
- No Flames or Sparks: Ensure all pilot lights (if applicable) are out and there are no open flames, matches, or lighters nearby. Do not use your phone in the area if you smell strong gas.
- Remove Grates and Burner Caps: Take off all removable parts—the heavy grates and the burner caps (the metal discs with holes). This gives you full access and visibility.
Clean Before You Adjust
This is non-negotiable. A blocked burner port is the most common cause of a bad flame and will render your adjustment useless. With the stove off and cool:
- Inspect each burner head (the part with the ports) and the burner cap. Look for food debris, grease, or spilled liquid that has hardened and is blocking the small holes.
- Use your toothbrush and degreaser (or a baking soda paste) to scrub the burner head and cap thoroughly. Pay special attention to the tiny ports.
- Use the needle-nose pliers or paperclip to gently poke through each port from the top to dislodge any stubborn particles. Do not enlarge the ports.
- Wipe everything clean and dry. Ensure all parts are completely reassembled correctly before proceeding. A misaligned burner cap can cause uneven flames.
Step-by-Step: Adjusting the Air Shutter
Now for the main event. The process is remarkably similar for most standard gas ranges (natural gas or propane). The goal is to find the “sweet spot” where you get a strong, blue, quiet flame.
Visual guide about How to Adjust the Flame on a Gas Stove
Image source: stovemastery.com
Locating the Air Shutter
With the grates and burner caps off, look at the base of each burner. You’ll see a metal tube (the burner tube) that the gas enters. At the bottom of this tube, where it connects to the stove’s gas valve, there is usually a small, round or oval collar with a visible slot or screw head. This is the air shutter. On some models, it might be on the side of the tube. It’s often held in place by a screw or a locking nut. You may need to gently rotate or slide it to access the adjustment screw.
The Adjustment Process: Turn, Light, Observe
WARNING: At this point, you will need to turn the gas back on to test the flame. Have your screwdriver ready and proceed with caution.
- Light the Burner: Turn the corresponding burner knob to the “high” or “light” position and ignite it (using the stove’s ignition or a long lighter if the piezo is broken). Let it burn for 30-60 seconds to stabilize.
- Observe the Flame: Get down to eye level and look at the flame’s color, shape, and stability. Is it yellow? Is it lifting? Is it roaring? This is your starting point.
- Make a Small Adjustment: While the burner is on, carefully insert your screwdriver into the air shutter screw. Turn it SLOWLY, a quarter-turn at a time. The general rule is:
- For a Yellow Flame (Too Little Air): Turn the screw counter-clockwise (outward/opening the vent) to allow more air into the mixture.
- For a Loud, Roaring Flame or Flame Lifting (Too Much Air): Turn the screw clockwise (inward/closing the vent) to allow less air into the mixture.
- Wait and Re-observe: After each small turn, wait 10-15 seconds for the flame to stabilize. Observe the change. It may take several small adjustments to see a noticeable difference.
- Aim for the Blue: Continue adjusting until you achieve that steady, primarily blue flame with a possible small yellow tip. The flame should be crisp and firmly attached to the ports.
- Test Across Settings: Once you have a good flame on “high,” turn the knob down to a medium and low setting. A well-adjusted burner should maintain a stable, proportional blue flame at all settings. If it sputters or goes yellow at low simmer, that’s a separate issue often related to the gas valve or a very dirty burner, not the air shutter.
Special Considerations for Simmer Burners and Dual Burners
Many modern stoves have a dedicated “simmer” burner or a dual-ring burner (inner and outer rings). These often have more complex air/fuel mixing systems and may not have an accessible air shutter for user adjustment. The simmer burner’s primary goal is to maintain a very low, stable flame. If your simmer burner is yellow or unstable, the issue is more likely a faulty burner valve, a clogged port specific to the simmer orifice, or requires professional service. Always consult your owner’s manual first. For dual burners, you typically adjust the air shutter for the outer (main) burner ring; the inner ring’s performance is dependent on that main adjustment and its own ports.
Troubleshooting Common Flame Problems
Sometimes, adjusting the air shutter doesn’t fix the issue. Here’s how to diagnose other likely culprits.
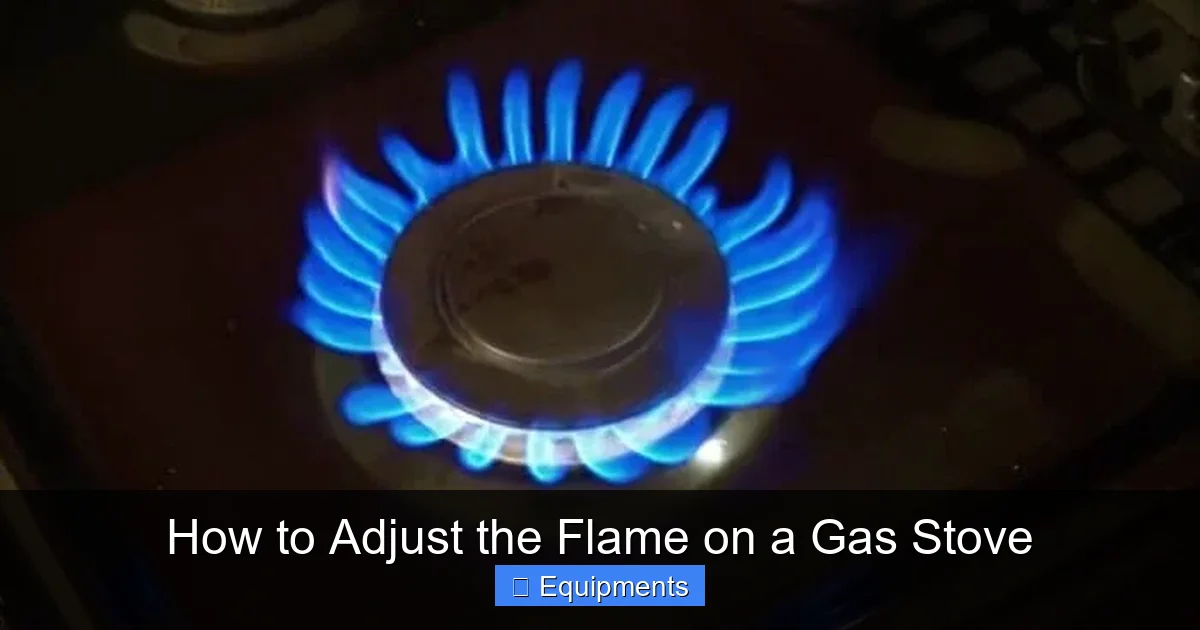
Visual guide about How to Adjust the Flame on a Gas Stove
Image source: warmmass.com
“I Adjusted the Screw, But Nothing Changed.”
This points to a different problem. First, double-check that you are turning the correct screw on the correct burner. If you are, the likely causes are:
- Severely Clogged Burner Ports: Even after cleaning, a port could be blocked deep within the burner head. This requires a more thorough disassembly and cleaning, or replacement of the burner head.
- Incorrect Gas Type/Orifice: If your stove was converted from natural gas to propane (or vice versa) incorrectly, the orifice (the tiny hole that meters gas) is the wrong size. This requires a technician to replace it with the correct orifice.
- Faulty Gas Valve or Pressure Issue: Problems with the stove’s internal gas valve or your home’s gas line pressure require professional diagnosis.
The Flame is Still Yellow After Adjustment
A persistent yellow flame is the most serious common issue, as it produces carbon monoxide and soot. Beyond a clogged port, check for:
- Drafty Environment: Is there a strong draft from a window, vent, or fan blowing on the flame? This can disturb the air/gas mix. Ensure the area around the stove is calm.
- Improper Installation: If this is a new stove or recent repair, the gas line connection might be incorrect, or the stove might not be level.
- Low Gas Pressure: This is a supply issue that needs your gas company or a plumber.
The Flame is Noisy or Whistling
A whistling sound is usually air rushing through a too-wide opening or a restriction.
- Air Shutter Too Open: Try turning the air shutter screw slightly clockwise (reducing air).
- Debris in Gas Line/Burner: A small particle can create a whistle as gas rushes past it. This may require disassembling and blowing out the burner tube with compressed air (carefully) or a service call.
When to Call a Professional: Don’t Guess with Gas
Your safety is paramount. There are clear boundaries for DIY. Call a licensed appliance technician if:
- You smell continuous gas (rotten egg smell) at any time, even when burners are off. Evacuate and call your gas company from a safe location.
- Adjusting the air shutter has no effect whatsoever on the flame.
- The problem returns immediately after adjustment, or you cannot achieve a stable blue flame after several careful tries.
- You suspect issues with the internal gas valves, regulator, or manifold pressure. These are not user-serviceable components.
- Your stove has a sealed burner design (common on smooth-top/glass cooktops) where the burner head is not removable or adjustable by the user.
- You are uncomfortable with any step of the process. There is no shame in calling an expert.
Pro Maintenance Tips for Long-Term Flame Health
Preventive care is easier than repair. Incorporate these habits:
Regular Cleaning Schedule
Once a month, remove grates and burner caps. Soak them in warm, soapy water. Use a soft brush to clean burner ports. Wipe down the stove top and the area under the burners where grease accumulates. This prevents blockages before they start.
Mind Your Cookware
Using pots and pans that are the right size for the burner prevents heat from escaping around the edges and warping burner components over time. Oversized pots can cause heat damage; undersized pots cause inefficient heating and can blacken the burner grate.
Gentle Cleaning Agents
Avoid abrasive scrubbers, steel wool, or harsh chemicals on burner ports and caps. They can damage the finish and leave residues that clog ports. Stick to soft brushes, non-scratch pads, and mild detergents.
Annual Check-Up
Even if everything seems fine, consider having your gas stove inspected annually by a professional. They can check for proper gas pressure, wear on valves, and ensure all connections are secure. It’s a small investment for peace of mind and optimal performance.
By understanding the principles of gas combustion and following these careful steps, you can confidently adjust the flame on your gas stove. You’ll be rewarded with a safer kitchen, lower energy bills, spotless cookware, and precise cooking control—the true mark of a home chef who knows their tools.
Frequently Asked Questions
Can a yellow gas flame make me sick?
Yes. A persistent yellow or orange flame indicates incomplete combustion, which produces carbon monoxide (CO), a dangerous, odorless gas, and soot. You should never ignore a yellow flame and must address it immediately by cleaning the burner and adjusting the air shutter or calling a professional.
My burner clicks but won’t light after adjusting the air shutter. What happened?
This is likely unrelated to the air shutter adjustment. The most common cause is a wet or clogged burner after cleaning. Ensure all burner ports are completely dry and clear. If the problem persists, the spark electrode might be misaligned, or there could be an issue with the igniter module.
Do I need special tools to adjust the air shutter?
No. In almost all cases, a simple flathead or Phillips screwdriver is all you need. The exact type depends on the screw head on your specific model’s air shutter. Always check your owner’s manual for the recommended tool.
Is it normal for the flame to be yellow at the lowest simmer setting?
A very small, crisp yellow tip at the *absolute lowest* simmer setting can be normal on some older burners. However, if the flame is predominantly yellow, large, or sooty even on low, it is still incorrect and needs adjustment or cleaning. A properly adjusted burner should maintain a blue flame at all usable settings.
What if I turn the air shutter screw and it just spins freely?
This means the screw has come out of its threads or the shutter mechanism is broken. Do not attempt to force it. Turn the gas off. You will need to disassemble the burner base (consult your manual) to reseat the screw or replace the broken air shutter assembly, which may require a service technician.
Can I adjust the flame on a glass-top (sealed burner) stove?
Usually no. Sealed burners on glass-cooktops are not designed for user adjustment of the air shutter. Their burners are factory-set and often have no accessible adjustment screw. If you have a flame problem on this type of stove, the solution is almost always thorough cleaning or a call to a professional for diagnosis and repair.