Master the meat cleaver in minutes. This guide walks you through choosing the right cleaver, gripping it correctly, mastering cutting techniques, and keeping it sharp. Follow our simple tips for safe, precise, and effortless meat prep.
Key Takeaways
- Understanding How To Use Meat Cleaver: Provides essential knowledge
📑 Table of Contents
- Introduction: Why a Meat Cleaver Belongs in Your Kitchen
- 1. Picking the Right Meat Cleaver for You
- 2. Safety First: Preparing Your Workspace
- 3. Mastering the Grip and Stance
- 4. Cutting Techniques: From Simple Slices to Bone‑Breaking
- 5. Maintaining Your Cleaver: Sharpening, Honing, and Storage
- 6. Expanding Your Skills: Creative Uses for a Meat Cleaver
- Conclusion: Your New Confidence with the Meat Cleaver
Introduction: Why a Meat Cleaver Belongs in Your Kitchen
If you’ve ever struggled to break down a chicken carcass or slice through a thick steak, you know the frustration of a dull knife or a flimsy kitchen tool. A meat cleaver solves those problems with one powerful swing. It’s not just a butcher’s weapon; it’s a versatile piece of equipment that can make home cooking faster, safer, and more enjoyable.
In this article we’ll walk you through everything you need to know to use a meat cleaver like a pro. From picking the perfect model to mastering the grip, from basic cuts to advanced techniques, and finally to caring for your cleaver so it stays sharp for years. Think of it as a friendly chat over coffee—simple, clear, and full of practical advice.
1. Picking the Right Meat Cleaver for You
1.1 Blade material and thickness
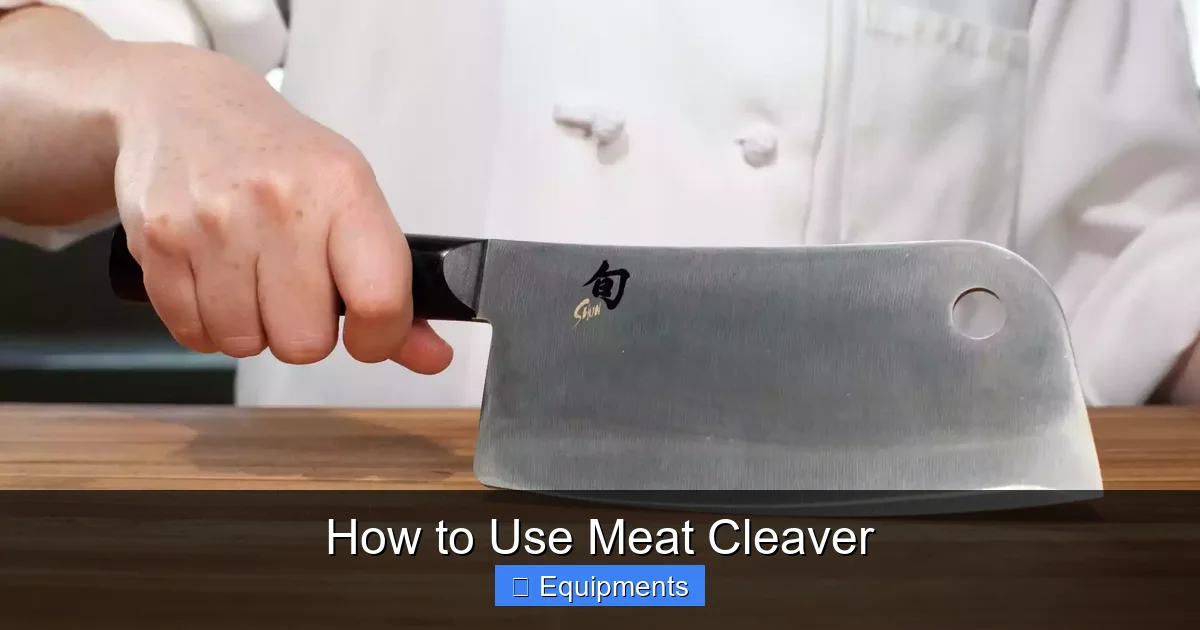
The most common cleavers are forged from high‑carbon stainless steel. This combo offers a sharp edge, good corrosion resistance, and durability. Look for a blade thickness of 3‑4 mm; thinner blades are great for precision, while thicker ones handle bone with ease.
Visual guide about How to Use Meat Cleaver
Image source: res.cloudinary.com
1.2 Weight and balance
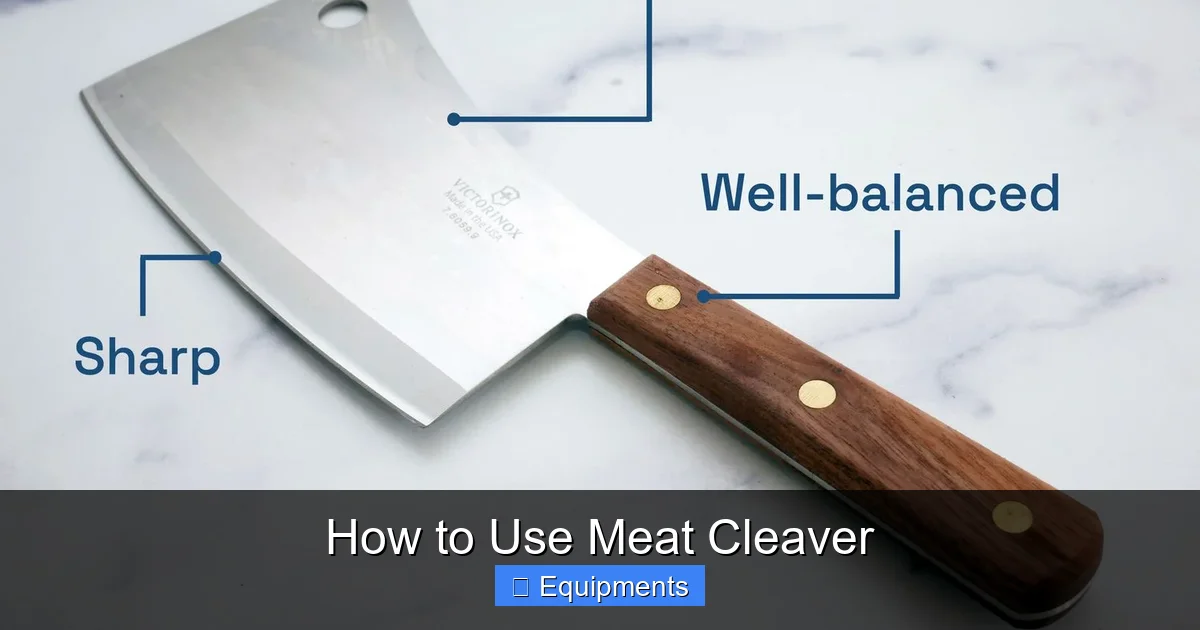
Weight matters more than size. A 2‑3 lb cleaver gives enough momentum to cut through bone without you having to press hard. Hold the cleaver by the handle; the center of gravity should sit just behind your palm, giving a natural swing.
1.3 Handle style
Wood, polymer, or composite handles each have pros. Wood feels warm and absorbs shock, but needs oiling. Polymer stays dry and is slip‑resistant. Choose a handle that feels comfortable in your hand size and matches your kitchen aesthetic.
1.4 Size matters
Typical lengths range from 7 inches (compact, good for poultry) to 12 inches (full‑size, ideal for large roasts). If you have limited storage, a 9‑inch cleaver offers a good balance of versatility and space.
2. Safety First: Preparing Your Workspace
2.1 Choose a stable cutting board
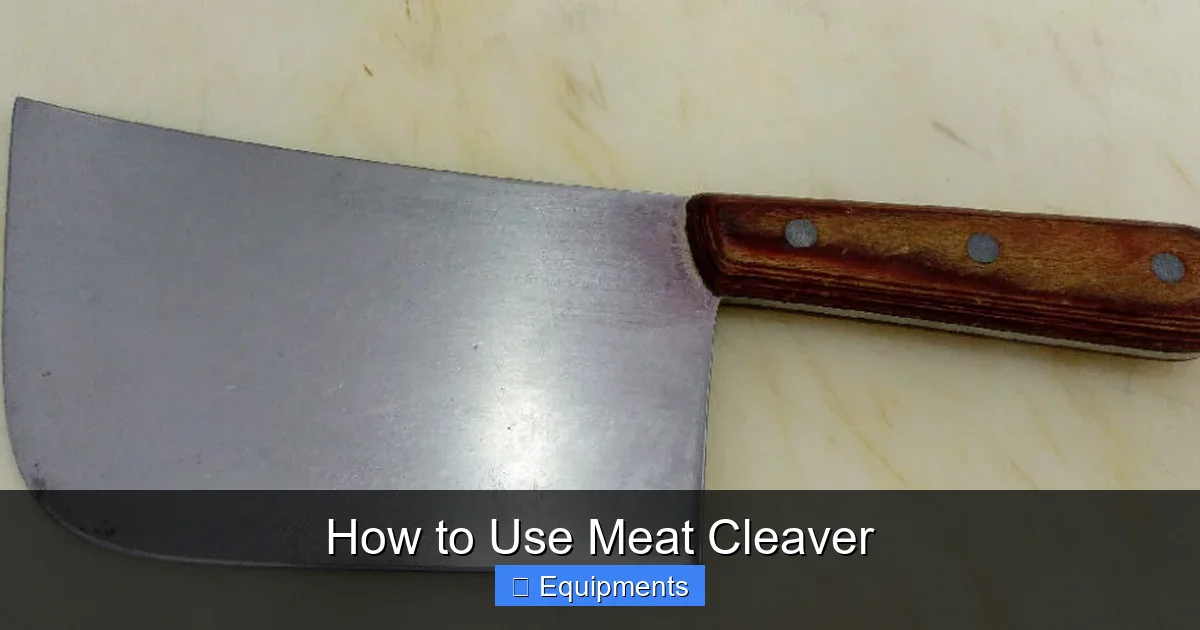
A thick, non‑slipping board (wood or dense plastic) prevents the cleaver from sliding. Place a damp towel underneath the board if you’re extra cautious.
Visual guide about How to Use Meat Cleaver
Image source: thekitchenix.com
2.2 Keep your fingers out of the way
When chopping, tuck your fingertips behind the knuckles, forming a “finger guard.” This keeps the blade from ever touching your skin.
2.3 Use a protective guard
Many cleavers come with a sheath or blade guard. Keep it on when the tool is not in use, and consider a thumb guard for extra protection during heavy cuts.
2.4 Clear the area
Remove loose items, dishcloths, and other utensils from the countertop. A clutter‑free zone reduces the chance of accidental slips.
3. Mastering the Grip and Stance
3.1 The two‑handed grip
Place your dominant hand on the handle, thumb wrapped around for control. Slide your other hand onto the top of the blade, near the heel, to guide the swing. This “hammer grip” gives you power and precision.
Visual guide about How to Use Meat Cleaver
Image source: seriouseats.com
3.2 Proper stance
Stand with feet shoulder‑width apart. Your front foot should point toward the cutting board, while the back foot provides balance. Bend slightly at the knees; this stance lets you use body weight rather than arm strength.
3.3 Practice the motion
Start with a soft vegetable, like a tomato. Raise the cleaver a few inches, then bring it down in a controlled rocking motion, letting the blade’s weight do the work. Repeat until the movement feels natural.
4. Cutting Techniques: From Simple Slices to Bone‑Breaking
4.1 The rocking chop
For boneless meat, place the blade flat on the board, then rock the cleaver forward, using the heel to start the cut and the tip to finish. This technique creates clean, even slices without crushing the fibers.
4.2 The vertical cleave
When you need to break through bone, raise the cleaver high and bring it straight down onto the target. Let gravity and the blade’s weight drive the cut. Keep the board stable and your arms relaxed.
4.3 The “slice‑and‑dice” combo
First, use the vertical cleave to separate large sections (e.g., breaking a chicken into halves). Then switch to the rocking chop for finer slices like steak strips or pork medallions.
4.4 Using the edge for crushing
The flat side of a cleaver is perfect for crushing garlic cloves, ginger, or nuts. Place the ingredient under the blade, press down firmly, and give a quick tap—no need for a separate mortar.
4.5 Practical example: Preparing a whole chicken
- Place the chicken breast‑side down on the board.
- Make a vertical cleave through the backbone using the heel of the blade.
- Flip the bird, then cut through the breastbone with another vertical chop.
- Separate the legs and wings with rocking chops.
- Finally, slice the breast meat into ½‑inch pieces using the rocking motion.
Follow these steps and you’ll have perfectly portioned chicken in under five minutes.
5. Maintaining Your Cleaver: Sharpening, Honing, and Storage
5.1 Honing vs. sharpening
Honing realigns the blade’s edge and should be done after every few uses. Use a fine‑grit honing steel at a 20° angle, sliding the blade away from you on each side.
5.2 When to sharpen
If the cleaver no longer slices cleanly, it’s time to sharpen. A whetstone (800‑grit for grinding, 3000‑grit for polishing) works well. Keep the stone wet, maintain a 20° angle, and move the blade in a sweeping motion.
5.3 Professional sharpening services
For heavy‑duty cleavers, a professional sharpening once a year keeps the edge true and prevents accidental nicking.
5.4 Cleaning and drying
Wash the cleaver by hand with warm, soapy water. Avoid the dishwasher; the heat and detergent can damage the handle and dull the edge. Dry immediately with a clean towel.
5.5 Safe storage
Store the cleaver in a magnetic strip, a dedicated knife block, or its sheath. Keep it separate from other knives to avoid cross‑damage.
6. Expanding Your Skills: Creative Uses for a Meat Cleaver
6.1 Cutting dense vegetables
Root vegetables like carrots, beets, and squash respond well to the cleaver’s weight. Slice them into uniform sticks for roasting.
6.2 Making homemade sausages
Use the cleaver to finely chop meat and fat before grinding. The blade’s thickness ensures an even texture.
6.3 Preparing fish and shellfish
A cleaver can break through crab shells or split large fish heads with minimal effort.
6.4 Kitchen hacks
- Nut butter: Crush roasted peanuts on the board, then blend with a food processor.
- Butter block: Slice a cold butter block into thin sheets for easy portioning.
- Ice crushing: Tap a bag of ice with the flat side for quick cocktail ice.
Conclusion: Your New Confidence with the Meat Cleaver
Learning how to use a meat cleaver is less about brute force and more about technique, safety, and care. With the right tool, a proper grip, and the cutting methods described above, you’ll tackle poultry, beef, pork, and even tough vegetables with confidence. Remember to keep the blade sharp, store it safely, and practice regularly. Soon, the cleaver will feel like an extension of your hand, turning daunting prep work into a smooth, enjoyable part of cooking.
So grab your cleaver, set up a safe workspace, and start experimenting. Your kitchen adventures just got a whole lot sharper!
Frequently Asked Questions
What size meat cleaver should I buy for home cooking?
A 9‑inch cleaver offers the best balance of power and storage space for most home cooks. It handles poultry, roasts, and even some bone work without being too bulky.
Can I use a meat cleaver on vegetables?
Yes. The cleaver’s weight makes short work of dense veggies like carrots, squash, and potatoes. Use a rocking motion for clean slices.
How often should I hone my cleaver?
Hone the edge after every few uses or whenever you notice the cut becoming less smooth. This simple step keeps the blade aligned and extends the time between sharpenings.
Is a wooden handle better than a polymer one?
Both have merits. Wood feels warm and absorbs shock but needs occasional oiling. Polymer stays dry and is slip‑resistant. Choose whichever feels most comfortable in your hand.
Can I put my meat cleaver in the dishwasher?
No. Dishwasher heat and detergents can damage the handle and dull the blade. Hand‑wash with warm, soapy water and dry immediately.
What safety gear should I wear when using a cleaver?
A cut‑ resistant glove on your guiding hand adds extra protection, especially when working with bone. An apron and sturdy shoes complete the safety outfit.