Polishing a knife blade restores its shine and improves cutting performance without compromising the edge. Follow these simple, friend‑to‑friend steps using everyday tools, and you’ll keep your knives looking professional for years.
Key Takeaways
- Safety first: Always protect hands and eyes with gloves and goggles before polishing.
- Choose the right abrasive: Start coarse, then move to finer grits to avoid scratches.
- Maintain blade angle: Consistent angles keep the edge even and prevent damage.
- Use proper lubrication: Oil or water reduces friction and heat during polishing.
- Finish with a polish: A final buff with a polishing compound gives a mirror shine.
- Regular maintenance: Light polishing after each use extends the life of the blade.
- Store correctly: Keep knives dry and protected to retain the polished finish.
📑 Table of Contents
- Introduction: Why Polish Your Knife Blade?
- 1. Gather the Right Tools and Materials
- 2. Prepare the Blade and Your Workspace
- 3. Choose the Correct Grit Sequence
- 4. Polishing the Edge: Technique and Tips
- 5. Final Cleaning and Maintenance
- 6. Storing Your Polished Knives Properly
- Conclusion: Keep Your Blade Shining for Years
Introduction: Why Polish Your Knife Blade?
Every home cook, hunter, or chef knows the joy of a sharp, gleaming knife. A blade that cuts like butter not only makes food prep faster, it also feels safer because you don’t have to force the knife through tough material. Over time, however, even the best knives develop dull spots, micro‑scratches, and a dull gray finish. That’s where polishing comes in.
Polishing a knife blade is more than just making it look pretty. A well‑polished edge removes microscopic burrs, reduces friction, and helps maintain a consistent bevel. The result is smoother cuts, less wear on the steel, and a longer lifespan for your favorite tool. In this guide we’ll walk through every step of the process, from gathering tools to the final buff, so you can keep your knives in showroom condition.
1. Gather the Right Tools and Materials
Before you start, make sure you have everything you need. Using the correct tools not only speeds up the job, it also protects the blade from accidental damage.
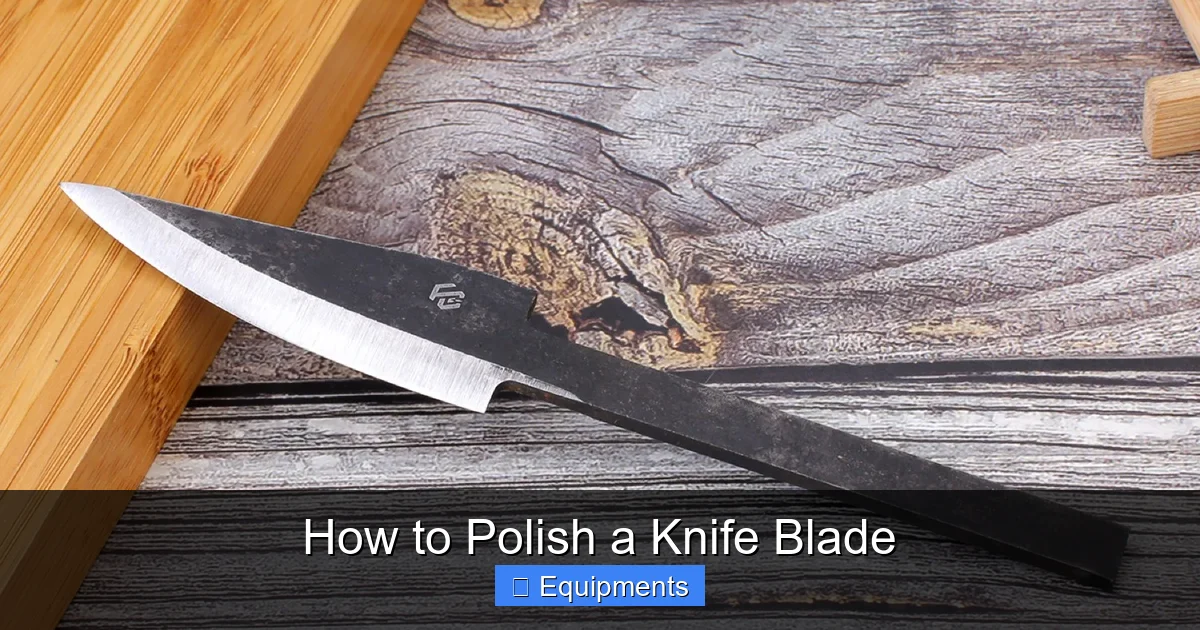
Visual guide about How to Polish a Knife Blade
Image source: thespooncrank.com
Essential items
- Safety gear: Cut‑resistant gloves, safety glasses, and a dust mask.
- Abrasive sticks or sandpaper: Grits ranging from 400 (coarse) to 2000 (fine).
- Polishing compound: Metal polish or jeweler’s rouge for the final shine.
- Lubricant: Light machine oil, mineral oil, or water with a few drops of dish soap.
- Cloth: Clean, lint‑free microfiber or cotton rags.
- Work surface: A flat, non‑slip board or a dedicated polishing bench.
Optional upgrades
- Leather strop with polishing compound – great for a razor‑sharp finish.
- Bench grinder with variable speed – useful for very dull or damaged blades.
- Fine‑grit polishing pads – for a professional mirror effect.
2. Prepare the Blade and Your Workspace
Safety and cleanliness are the foundation of a good polishing routine. A dirty blade can scratch itself, and a cluttered bench can lead to accidents.

Visual guide about How to Polish a Knife Blade
Image source: knifevibe.com
Step‑by‑step preparation
- Clean the blade: Wash with warm, soapy water and a soft sponge. Rinse thoroughly and dry with a lint‑free cloth.
- Inspect for damage: Look for chips, deep nicks, or rust. If you find serious damage, consider professional sharpening before polishing.
- Secure the knife: Place the blade on a stable surface, edge up, or use a magnetic holder to keep it steady.
- Wear protection: Slip on gloves and goggles. Even a small slip can cause a cut.
3. Choose the Correct Grit Sequence
The key to a smooth polish is moving gradually from coarse to fine abrasives. Skipping steps can leave swirl marks or uneven edges.
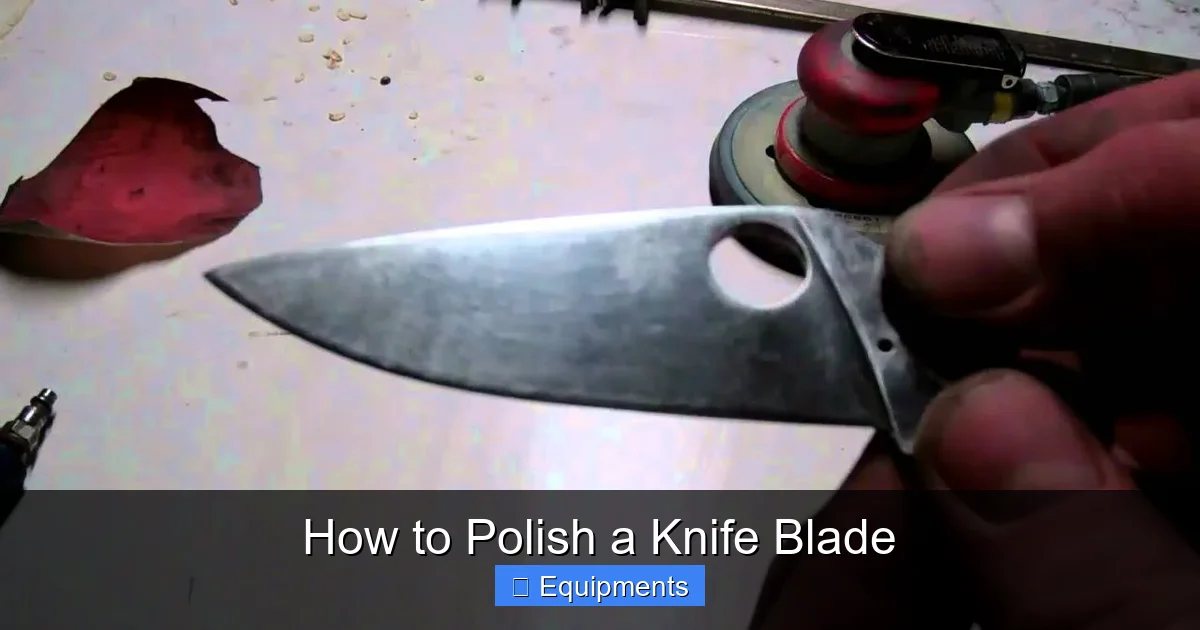
Visual guide about How to Polish a Knife Blade
Image source: i.ytimg.com
Typical grit progression
- 400‑600 grit: Removes heavy oxidation, surface rust, and deep scratches.
- 800‑1000 grit: Refines the surface, smoothing out the marks left by the coarse grit.
- 1500‑2000 grit: Produces a near‑mirror finish and prepares the blade for polishing compound.
How to apply each grit
Wet the abrasive with a few drops of water or oil. Hold the blade at a 20‑30° angle (the same angle you would use for sharpening) and move it back and forth in long, even strokes. Keep the abrasive surface wet throughout to avoid heat buildup.
4. Polishing the Edge: Technique and Tips
Now that the surface is even, it’s time to give the edge its final polish. This step requires patience and a light touch.
Using a polishing compound
- Apply a small amount: Dab a pea‑size dab of compound onto a clean cloth or polishing pad.
- Buff the edge: With the blade edge‑up, glide the pad along the bevel in short, controlled strokes. Keep the angle consistent.
- Check progress: Wipe away excess compound and inspect the edge under a bright light. You should see a uniform, reflective surface.
Alternative: Leather strop
If you own a leather strop, load it with a thin layer of compound. Pull the blade away from the edge (spine first) along the strop, maintaining the same angle. This method can produce a razor‑sharp finish in just a few passes.
Common mistakes to avoid
- Pressing too hard – excessive pressure creates heat and can melt the steel’s temper.
- Skipping grit levels – leads to uneven polish and may damage the edge.
- Neglecting lubrication – dry polishing causes scratches and reduces control.
5. Final Cleaning and Maintenance
After polishing, a clean blade is essential to preserve the work you just did.
Cleaning steps
- Wipe the blade with a fresh, damp cloth to remove any remaining compound.
- Dry thoroughly with a second lint‑free cloth.
- Apply a thin film of food‑grade oil to the entire blade to prevent corrosion.
Routine upkeep
Polish your knives lightly after every few uses. A quick wipe with a soft cloth and a light oil coat keeps the surface bright and the edge ready for the next meal.
6. Storing Your Polished Knives Properly
Even the best polishing job can be undone by improper storage. Follow these simple habits to keep your knives gleaming.
Storage options
- Knife block: Place blades with the edge facing up to avoid accidental contact.
- Magnetic strip: Secure the spine, not the edge, to keep the polish intact.
- Drawer inserts: Use individual slots lined with soft material.
Environmental considerations
Store knives in a dry area. High humidity encourages rust, which will quickly dull a polished finish. If you live in a humid climate, consider a dehumidifier in the kitchen or a silica‑gel pack in the drawer.
Conclusion: Keep Your Blade Shining for Years
Polishing a knife blade is a rewarding skill that blends safety, technique, and a little patience. By following the steps above—preparing your workspace, moving through the proper grit sequence, applying a polishing compound, and finishing with proper care—you’ll enjoy a razor‑sharp edge and a mirror‑like surface that lasts. Treat each knife with respect, and it will reward you with countless meals prepared with precision and confidence.
Remember, the secret isn’t in fancy equipment; it’s in consistency and attention to detail. Keep a small polishing kit in your kitchen, polish regularly, and you’ll never have to worry about dull, lackluster blades again.
Frequently Asked Questions
How often should I polish a kitchen knife?
For most home cooks, a light polish after every 5‑10 uses keeps the blade bright. Full polishing with abrasives is needed only a few times a year, or when the blade shows visible dullness.
Can I use regular sandpaper on my knife?
Yes, but choose water‑proof silicon carbide sandpaper and start at a low grit (400). Always keep the paper wet and use a consistent angle to avoid scratching.
Is polishing the same as sharpening?
No. Polishing refines the surface and restores shine, while sharpening removes metal to create a new edge geometry. You can polish a sharp knife to improve its look, but a dull knife still needs sharpening.
What if my knife has rust spots?
Light rust can be removed with a fine‑grit abrasive and a little elbow grease. For heavier rust, use a rust remover or a mixture of baking soda and water, then polish as usual.
Do I need a special oil after polishing?
Use a food‑grade mineral oil or a light vegetable oil. A thin coating prevents moisture from reaching the steel and maintains the polished finish.
Can I polish ceramic knives?
Ceramic blades are extremely hard and should not be polished with metal abrasives. Use a ceramic‑safe polishing paste and a very fine pad, or send them to a professional service.