Keeping your meat slicer blade sharp is essential for safety, precision, and longer blade life. This guide walks you through the tools, preparation, sharpening techniques, and maintenance habits you need to keep your slicer performing like new. Follow our simple steps and pro tips to achieve a clean, effortless cut every time.
Key Takeaways
- Safety first: Always disconnect power and wear protective gear before handling the blade.
- Right tools matter: A fine‑grit whetstone or diamond sharpening system yields the best edge.
- Consistent angle: Maintaining a 15‑20° angle is crucial for a uniform, long‑lasting edge.
- Proper cleaning: Remove debris and lubricate the blade after sharpening to prevent corrosion.
- Regular maintenance: Light honing after each use extends the time between full sharpenings.
- Blade inspection: Check for nicks or bends; replace the blade if damage is severe.
- Store correctly: Keep the slicer covered and dry to preserve blade sharpness.
📑 Table of Contents
- Introduction: Why a Sharp Meat Slicer Blade Matters
- 1. Understanding Your Meat Slicer Blade
- 2. Gathering the Right Tools
- 3. Preparing the Slicer for Sharpening
- 4. Sharpening the Blade – Step by Step
- 5. Re‑Installing and Adjusting the Slicer
- 6. Ongoing Maintenance for Long‑Lasting Sharpness
- Conclusion
Introduction: Why a Sharp Meat Slicer Blade Matters
Imagine slicing a roast and feeling the blade tug, chew, or even crack the meat. Not only does this ruin presentation, it can also be dangerous. A dull slicer blade pushes harder, increasing the risk of slipping and causing injuries. Moreover, a blunt edge creates uneven slices, which affects cooking times and portion control—big problems for home chefs and commercial kitchens alike.
Keeping your meat slicer blade sharp is more than a maintenance chore; it’s a safety habit, a quality guarantee, and a cost‑saving practice. In this article we’ll walk you through everything you need to know—from the tools you’ll need, to the exact sharpening steps, to ongoing care that keeps the blade razor‑sharp for years.
1. Understanding Your Meat Slicer Blade
Blade Types and Materials
Most meat slicers use stainless‑steel blades because they resist rust and are easy to clean. Within stainless steel there are two common grades:
Visual guide about How to Sharpen Meat Slicer Blade
Image source: grillguru.org
- 304 stainless: Good for light‑to‑moderate use, offers decent corrosion resistance.
- 440C stainless: Higher carbon content, holds an edge longer, ideal for heavy‑duty slicers.
Some premium models feature ceramic or diamond‑coated edges. These stay sharp longer but require specialized sharpening kits.
Blade Geometry
The cutting angle—usually 15‑20 degrees per side—determines how sharp the edge feels. A smaller angle gives a finer edge but can be more fragile; a larger angle is tougher but may not slice as cleanly. Knowing the original angle helps you maintain consistency when you sharpen.
2. Gathering the Right Tools
Essential Sharpening Tools
While you can buy a dedicated meat slicer sharpening system, many users achieve excellent results with the following basic kit:
Visual guide about How to Sharpen Meat Slicer Blade
Image source: grillguru.org
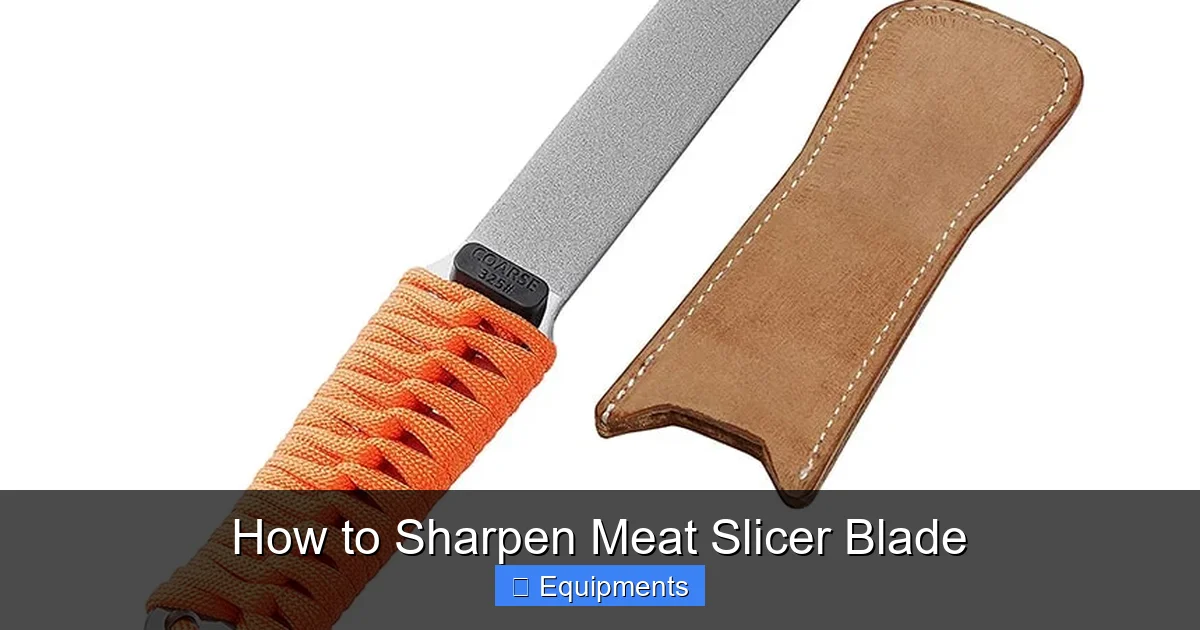
- Fine‑grit whetstone (400‑800 grit): Removes nicks and restores the edge.
- Fine polishing stone (2000‑3000 grit): Refines the edge for a mirror finish.
- Diamond sharpening pad: An alternative to whetstones; works faster on hard stainless steel.
- Blade holder or jig: Keeps the blade at the correct angle during sharpening.
- Safety gloves and goggles: Protect hands and eyes from metal shards.
- Cleaning brush and food‑safe lubricant: For post‑sharpen cleaning.
Choosing Between Stone and Diamond
If you sharpen often, a diamond pad is less messy and works quickly on hardened steel. For occasional use or when you want a traditional feel, a water‑soaked whetstone gives you more control over the edge geometry.
3. Preparing the Slicer for Sharpening
Safety First
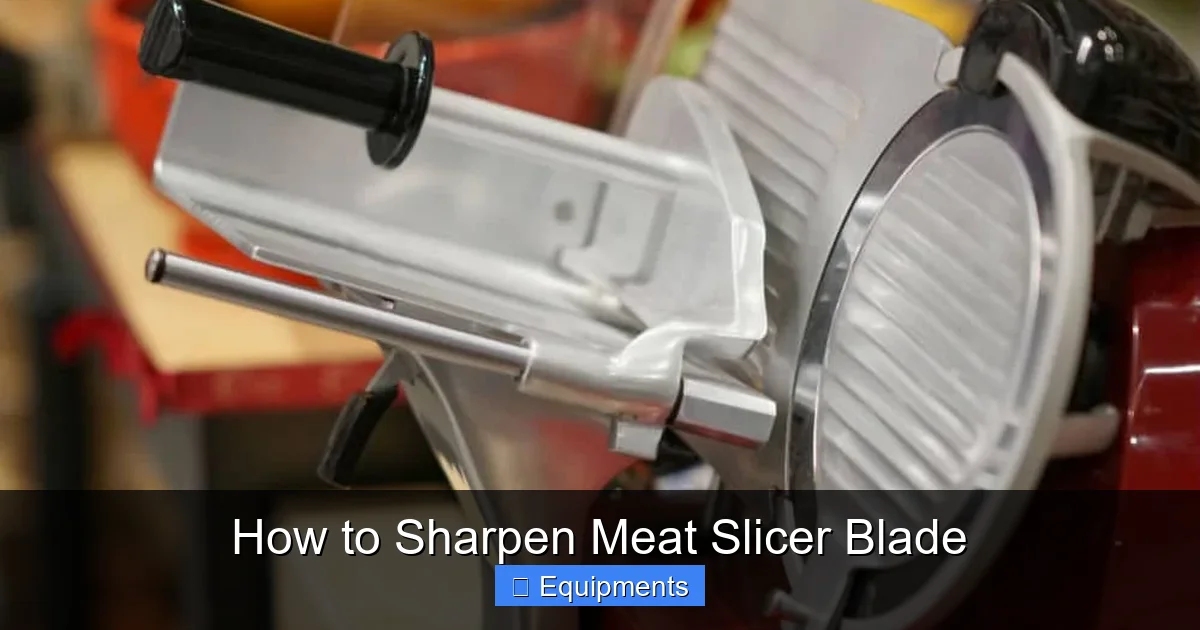
1. Unplug the slicer. Even if the blade is removable, power can cause accidental movement.
Visual guide about How to Sharpen Meat Slicer Blade
Image source: grillguru.org
2. Wear gloves. Cut‑resistant gloves (Level A5 or higher) protect your fingers.
3. Secure the work area. Place the slicer on a stable surface and use a non‑slip mat.
Blade Removal
Most slicers have a quick‑release lever or a set of bolts. Follow the manufacturer’s manual, but the general steps are:
- Loosen the blade guard.
- Release the retaining pin or screw.
- Slide the blade out, supporting it with both hands.
Set the blade on a clean, flat surface with the cutting edge facing up.
Cleaning Before Sharpening
Wipe away any meat residue, fat, or dust using a soft brush and warm, soapy water. Rinse and dry thoroughly. A clean blade prevents grit from scratching the stone and ensures an even edge.
4. Sharpening the Blade – Step by Step
Step 1: Set the Angle
Attach the blade holder or jig to maintain a consistent 15‑20° angle. If you’re using a stone without a jig, visualize a 1‑inch rise over a 3‑inch run (about 15°).
Step 2: Coarse Grinding (If Needed)
If the blade has visible nicks or is very dull, start with the 400‑800 grit stone:
- Dip the stone in water (or apply a few drops of oil for a diamond pad) until it no longer sprays.
- Place the stone on a stable surface.
- With light, even pressure, push the blade across the stone from heel to tip, maintaining the angle.
- Do 10‑15 strokes per side, checking the edge after each set.
You’ll see a slight burr (a tiny raised edge) on the opposite side—this means material is being removed correctly.
Step 3: Fine Honing
Switch to the 2000‑3000 grit stone or polishing pad:
- Repeat the same motion, but use even lighter pressure.
- Perform 20‑30 strokes per side.
- The burr should become smaller; the edge will feel noticeably sharper.
Step 4: Deburring
Turn the blade over and gently run the opposite side of the stone across the edge at a lower angle (about 5°). This removes the burr without dulling the new edge.
Step 5: Testing Sharpness
There are three quick tests:
- Paper test: Slice a piece of parchment or newspaper. A sharp blade glides cleanly.
- Finger test: Lightly run the edge across the tip of your index finger (use caution). A sharp edge will feel like a fine slice, not a nick.
- Meat test: Slice a thin piece of raw meat. The cut should be smooth, with no tearing.
Step 6: Lubricate and Protect
Apply a thin coat of food‑safe mineral oil to the blade. This prevents rust and keeps the edge slick for the next use.
5. Re‑Installing and Adjusting the Slicer
Mounting the Blade
Slide the blade back into the slicer, ensuring the teeth align with the guard slots. Re‑tighten bolts or engage the retaining pin. Double‑check that the blade spins freely without wobble.
Alignment Check
Turn the slicer on at low speed and watch the blade. It should run smoothly, without vibration. If you hear grinding, re‑tighten the blade or adjust the guard.
First Cut After Sharpening
Start with a soft item like a cucumber or a thin piece of cheese to confirm the edge cuts cleanly. Adjust the slicer thickness setting as needed.
6. Ongoing Maintenance for Long‑Lasting Sharpness
Daily Light Honing
After each use, run a fine honing rod (often included with the slicer) across the edge. This removes microscopic burrs and keeps the blade ready for the next cut.
Weekly Deep Clean
Disassemble the blade, soak it in a mild degreaser, scrub with a soft brush, rinse, dry, and re‑oil. This routine prevents buildup that dulls the edge.
Monthly Full Sharpen
Even with daily honing, schedule a full sharpening session once a month (or after 30‑40 hours of use). This maintains the blade geometry and extends its lifespan.
Storage Tips
When the slicer is not in use, cover the blade with a protective sheath or store it in a dry cabinet. Avoid stacking heavy objects on the slicer, which can bend the blade.
Conclusion
Sharpening a meat slicer blade is a straightforward process once you have the right tools, a safe workspace, and a clear step‑by‑step plan. By following the methods outlined above, you’ll enjoy smoother cuts, safer operation, and a blade that lasts years instead of months. Remember: safety first, maintain a consistent angle, and give the blade a little love after every use. Your slicer—and anyone you’re serving—will thank you.
Frequently Asked Questions
How often should I sharpen my meat slicer blade?
For light home use, a full sharpen every 2–3 months is sufficient. Heavy commercial use may require sharpening after every 30–40 hours of operation.
Can I use a regular kitchen knife sharpener on a slicer blade?
No. Slicer blades are longer and thicker than kitchen knives, and they need a flat, consistent angle that most knife sharpeners cannot provide.
What if I notice a nick in the blade?
If the nick is shallow, you can grind it out with the coarse stone. Deep cracks or bends mean the blade should be replaced for safety.
Is it safe to sharpen a blade while it’s still attached to the slicer?
Never sharpen a blade that is still mounted. Always unplug the machine and remove the blade to avoid accidental injury.
Do I need to oil the blade after every use?
Lightly oiling after each sharpening session is recommended. After daily use, a quick wipe with a dry cloth is enough unless the blade gets wet.
Can I sharpen a ceramic or diamond‑coated blade?
These blades require special diamond‑coated pads or professional service. Attempting to use a standard whetstone can damage the coating.