Keeping a charcuterie board cold is critical for both food safety and maintaining the ideal texture and flavor of cured meats and cheeses. The core strategy involves a multi-layered approach: pre-chilling all components, using physical cooling methods like ice packs or frozen bowls, and strategically arranging items to minimize heat exposure. Mastering these techniques ensures your board stays fresh, safe, and impressive from setup until the last bite.
Key Takeaways
- The Danger Zone is Real: Perishable foods must not sit in the 40°F – 140°F (4°C – 60°C) “danger zone” for more than 2 hours (1 hour if ambient temp is above 90°F/32°C) to prevent bacterial growth.
- Pre-Chilling is Non-Negotiable: Chill the serving board, all utensils, and every single ingredient (meats, cheeses, garnishes) in the refrigerator before assembly.
- Ice is Your Best Friend: Use reusable ice packs, frozen water bottles, or bowls filled with ice as a cooling foundation hidden beneath the board or in a secondary tray.
- Strategic Layout Matters: Place the most perishable items (soft cheeses, delicate prosciutto) closest to the cold source and group similar items to reduce board exposure.
- Separate to Perpetuate: Keep creamy dips, mustards, and jams in individual chilled bowls on the board to prevent them from warming the surrounding items.
- Timing is Everything: Assemble the board as close to serving time as possible, ideally within 30-60 minutes of guests arriving.
- Shade and Shelter are Essential: For outdoor events, position the board in full shade, under an umbrella, or even inside a tent to block direct sunlight, the #1 enemy of a cold board.
📑 Table of Contents
- Why Temperature is the Unsung Hero of Your Charcuterie Board
- The Foundation: Pre-Chilling Everything, Absolutely Everything
- On-Site Cooling Tactics: Engineering a Cold Zone
- Food Safety Protocols: The Non-Negotiable Rules
- Advanced & Creative Cooling Hacks for Any Situation
- Common Mistakes That Ruin a Cold Board (And How to Avoid Them)
- Conclusion: Confidence in Every Bite
Why Temperature is the Unsung Hero of Your Charcuterie Board
You’ve spent time selecting the perfect salumi, aged cheeses, and sweet accompaniments. You’ve artfully arranged everything on a beautiful slab of wood or marble. But if that board sits out on a warm patio table or a bustling kitchen counter for too long, all that effort—and your investment in high-quality ingredients—can quickly go to waste. The silent, invisible battle against warmth is arguably the most important factor in a successful charcuterie spread. It’s not just about aesthetics; it’s a fundamental food safety issue. Cured meats and soft cheeses are particularly vulnerable. When they rise into the “danger zone” (that 40°F to 140°F range), harmful bacteria can multiply rapidly, turning your gourmet gathering into a potential health hazard. Beyond safety, texture suffers immensely. A beautifully soft brie turns into a greasy, weeping puddle. Prosciutto can become tough and sticky. Even hard cheeses can get unpleasantly soft. The goal isn’t just to keep things “cool”—it’s to keep them consistently cold, ideally below 40°F, from the moment you place the first piece until the final guest has had their fill. This guide will move you from hoping your board stays cool to confidently engineering a system that keeps it perfectly chilled for hours.
The Foundation: Pre-Chilling Everything, Absolutely Everything
Before you even think about arranging, you must create a cold foundation. This step is your single greatest defense. Rushing this phase is the most common mistake home entertainers make.
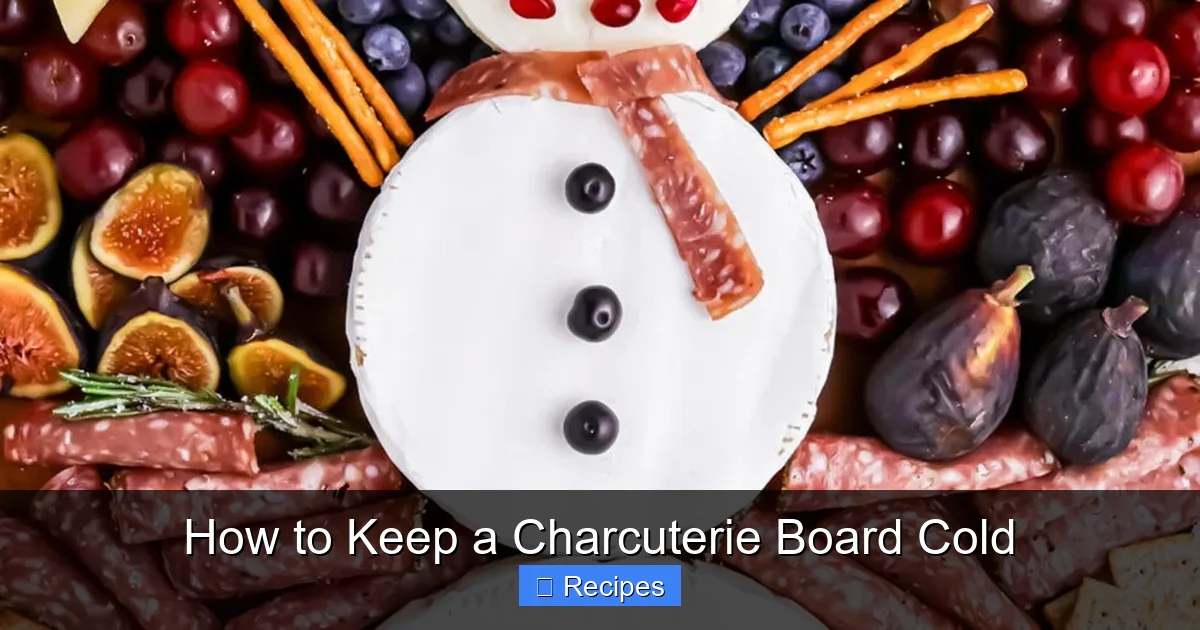
Visual guide about How to Keep a Charcuterie Board Cold
Image source: wonkywonderful.com
The Board Itself: A Cold Canvas
Whether you’re using a slate, marble, wood, or ceramic board, treat it like a perishable item. Place it in the refrigerator for at least 2 hours, or overnight if you can. A cold board immediately begins drawing heat away from the ingredients you place on it. For wood boards, be mindful of excessive moisture; a quick wipe with a damp cloth before chilling is fine, but never soak a wooden board. Marble and slate are champions here—they retain cold beautifully. If you have a large board that won’t fit, chill a smaller, metal or glass baking sheet to use as a cold base under your main serving board.
Ingredients: From Fridge to Board in Seconds
Every single item must be cold to the core. This means:
- Meats: Take prosciutto, soppressata, and salami directly from their packaging in the fridge. If you’ve pre-sliced or arranged them on a plate, chill that plate first.
- Cheeses: Hard cheeses (cheddar, manchego) can be taken from the fridge and sliced immediately. Soft and semi-soft cheeses (brie, camembert, goat cheese) should sit in their containers in the fridge until the moment you plate them. They are the most susceptible to warming.
- Accompaniments: Mustards, jams, olives, cornichons, and marinated vegetables must all be refrigerator-cold. Never use room-temperature jars.
- Garnishes: Fresh berries, grapes, and herbs should be washed, dried, and chilled in a covered container.
The rule of thumb: if it’s not cold when you pick it up, it doesn’t go on the board. Have all your chilled items ready on a counter in the order you’ll use them, working quickly.
On-Site Cooling Tactics: Engineering a Cold Zone
Pre-chilling gets you started, but to maintain a safe temperature for 2-4 hours, especially in a warm room or outdoors, you need an active cooling system. Think of your charcuterie board as a small ecosystem that needs a constant cold source.
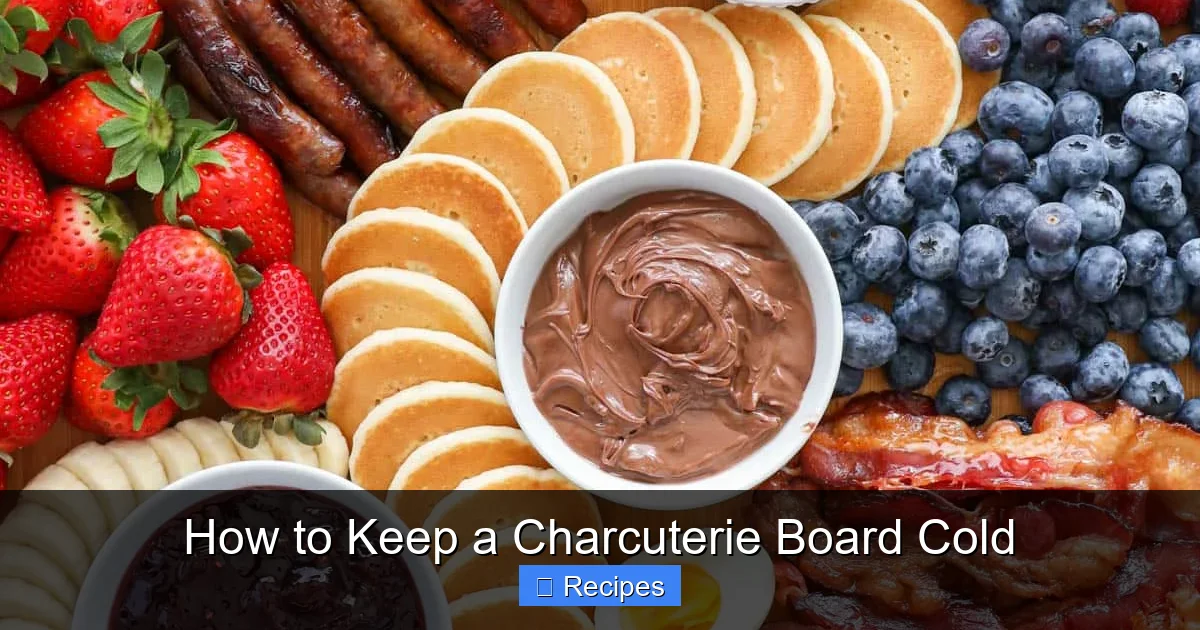
Visual guide about How to Keep a Charcuterie Board Cold
Image source: simplyhomecooked.com
The Ice Pack Insulation Method
This is the most versatile and effective technique. You create a “cold sandwich” around your board.
- Direct Under-Board: Place a large, reusable ice pack or a bag of frozen peas/corn on your serving surface (a table, a kitchen island). Set your pre-chilled board directly on top. For boards with feet, you may need to prop the board slightly with small spacers to allow air circulation around the ice pack.
- Tray Method (The Gold Standard): Find a large, shallow plastic or metal tray that your board can sit inside. Fill the tray with ice, ice packs, or a layer of frozen water bottles. Nestle your pre-chilled board into this icy bath. The cold will radiate up through the board. You can even sprinkle a thin layer of salt over the ice to lower its temperature further (this is a pro move for very hot environments).
- The Frozen Bottle Base: Freeze several standard water bottles. Arrange them in a rectangle on your table and place your board on top. As they melt, they provide a cooling pool without making the board wet. The bottles can be easily swapped out for fresh frozen ones halfway through your event.
Strategic Item Placement for Maximum Cool
How you arrange food on a cold board matters almost as much as the cooling source itself.
- Create a “Cold Core”: Place the most temperature-sensitive items—soft cheeses, fresh mozzarella, delicate prosciutto—in the center of the board or directly over the area where the ice pack/tray is providing the most intense cold.
- Hard cheeses and cured meats can be on the perimeter: These are more resilient and can withstand slightly warmer temps for longer. Use them to build a border around the delicate center.
- Keep dips separated: Never pour a room-temperature mustard or honey directly onto the board. Always serve them in their own small, chilled bowls. A bowl of warm jam will act like a little heater for the cheese it touches.
- Use the “island” method: Group items that belong together (all the cheeses in one area, all the meats in another) to minimize the number of times the entire board is exposed when guests cut into it.
Food Safety Protocols: The Non-Negotiable Rules
This isn’t scare tactics; it’s responsible hosting. Following these guidelines protects your guests and your reputation.
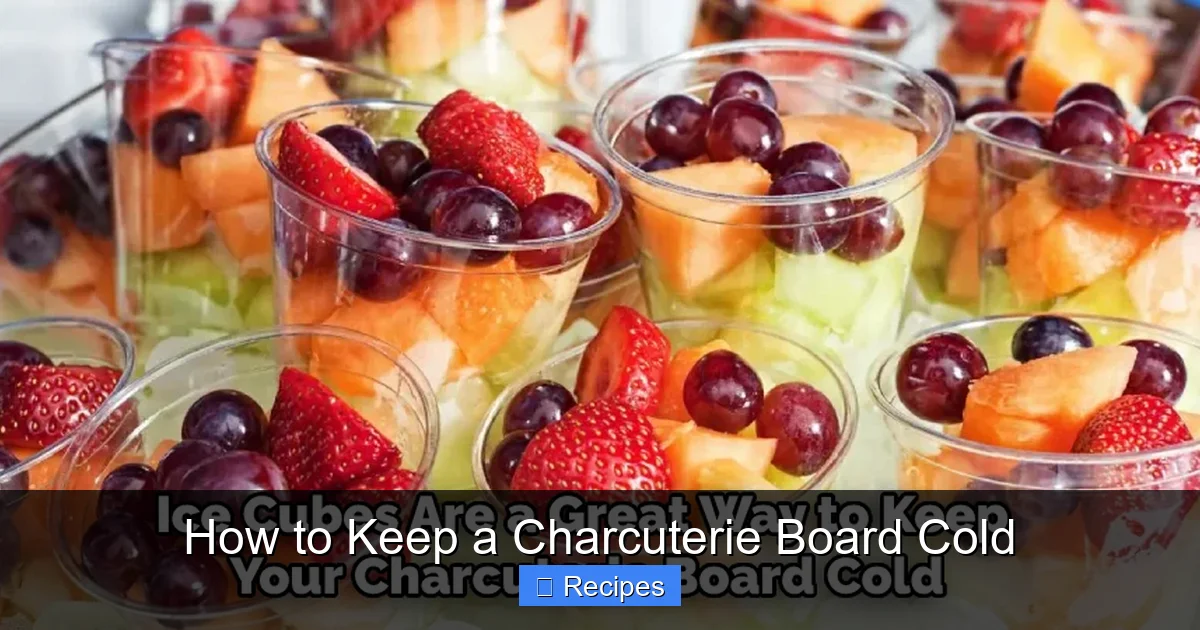
Visual guide about How to Keep a Charcuterie Board Cold
Image source: thekitchenix.com
Know the Two-Hour (or One-Hour) Rule
The USDA is clear: perishable foods should not be left at room temperature for more than two hours. When the ambient temperature is above 90°F (like a hot summer day), that window shrinks to just one hour. This clock starts the moment the food is placed out, not when guests arrive. Set a timer on your phone as soon as the board is set. When the timer goes off, it’s time to either replenish the cold source (swap out ice packs, add more frozen bottles) or, if that’s not possible, to carefully wrap and refrigerate the board and start anew with a fresh batch.
Understanding “Perishable” on a Charcuterie Board
Not all board items are equal in their risk profile.
- High Risk (Need Constant Cold): Soft cheeses (brie, camembert, blue cheese), fresh mozzarella, any cheese with fruit or herbs mixed in, cooked meats (salami, mortadella), pâtés, and any item containing dairy or eggs (like a dairy-based dip).
- Medium Risk (Benefit Greatly from Cold): Hard cheeses (cheddar, parmesan, aged gouda), firm cured meats (prosciutto, coppa), and marinated vegetables.
- Low Risk (More Stable): Dried fruits, nuts, crackers, breadsticks, and honey. These are your board’s “structural” elements and can be replenished from a separate, room-temperature stash without food safety concerns.
Design your cooling strategy around protecting the high-risk items first.
Advanced & Creative Cooling Hacks for Any Situation
When a simple ice pack isn’t enough, or you’re in a tricky location, get creative.
The Double-Tray System for Outdoor Events
For a BBQ or picnic, use two trays. Fill the bottom tray with a generous bed of ice and salt. Place a second, perforated tray (or a cutting board with gaps) on top. Set your charcuterie board on this upper level. The cold air circulates from the ice below, and any melting water drips through the gaps, keeping the board surface dry. This system can last 3-4 hours on a hot day with periodic ice replenishment.
Frozen Garnish Power
Turn your garnishes into cooling agents. Freeze seedless grapes, raspberries, or even large blueberries. Scatter these frozen fruits around the board, especially near soft cheeses. They act as edible ice cubes, keeping things cold and then becoming a tasty snack as they thaw. You can also freeze sprigs of rosemary or thyme; they look beautiful and provide a subtle, cold aroma as they defrost.
The “Chill in Advance” Board
If you have a very large, heavy marble or slate board, you can take extreme measures. The night before, place the board in your coldest part of the fridge (often the bottom drawer). Then, just before the party, fill a clean bathtub or large plastic tub with ice and a bit of water. Submerge the entire board in this ice bath for 15-20 minutes. Wipe it dry and immediately load it with your cold ingredients. This creates a board that is essentially a giant, cold stone, radiating cold for hours.
Common Mistakes That Ruin a Cold Board (And How to Avoid Them)
Even with the best intentions, a few missteps can sabotage your cooling efforts.
Mistake 1: Assembling Too Early
The #1 error is putting the board together an hour or more before guests arrive. The clock starts ticking the moment the last item is placed. Solution: Do all your chopping, slicing, and pre-plating on separate plates in the fridge. Then, in a final 20-30 minute sprint, assemble the board right before you call people to eat.
Mistake 2: Using Warm Utensils & Boards
A knife that’s been sitting in a drawer or a board that’s been on the counter will instantly warm the food it touches. Solution: Keep your serving knives, spreaders, and tongs in the fridge until use. For a large gathering, have two sets so you can swap if one warms up.
Mistake 3: Overcrowding the Board
Piling food high and leaving no space creates insulation. The warm air gets trapped in the center, and the cold source can’t penetrate. Solution: Arrange items in a single, even layer with small gaps. It looks more elegant and functions better. Use multiple smaller boards if needed.
Mistake 4: Forgetting the “Human Factor”
Guests hovering, repeatedly cutting from the same spot, and breathing on the board all add heat. Solution: Place the board away from heat sources (ovens, dishwashers, sunny windows). Provide plenty of small plates so guests take a portion and move away, reducing constant board traffic. Consider having a “refresh” plan: a second, smaller backup board in the fridge ready to swap out after the first hour.
Conclusion: Confidence in Every Bite
Mastering how to keep a charcuterie board cold transforms it from a potentially stressful, food-safety-risk into a showstopping, worry-free centerpiece. It’s a simple equation: start with a frozen foundation, employ a reliable cooling method like an ice pack tray, arrange with the cold source in mind, and respect the two-hour rule. These aren’t complicated tricks; they’re logical, physics-based strategies. By integrating these practices, you guarantee that every slice of prosciutto is silky, every wedge of brie is perfectly creamy, and every guest feels secure knowing they’re enjoying food that’s as safe as it is delicious. The ultimate goal is for your board to be a conversation starter, not a concern. With a cold, stable board, you can relax, mingle, and truly enjoy the beautiful spread you’ve created, confident in the knowledge that it will be just as impressive at the end of the party as it was at the beginning.
Frequently Asked Questions
How long before a party should I chill my charcuterie board?
Place your serving board in the refrigerator for at least 2 hours, or overnight for best results. Assemble the board with all ingredients just 30-60 minutes before guests arrive to start the food safety clock.
Can I use regular ice cubes directly on the board?
No, avoid placing ice cubes directly on the board as they will melt and create a watery mess that will make crackers soggy and dilute flavors. Always use ice packs, frozen bottles, or ice contained within a separate tray underneath the board.
What’s the best cooling method for an outdoor summer picnic?
The double-tray system is ideal: fill a bottom tray with ice and a little salt, place a perforated tray or board on top, and set your charcuterie board on that. Keep it in full shade and replenish the ice every hour. Frozen grapes as garnishes also help.
My soft cheese is sweating. Is the board too warm?
Yes, sweating (beading moisture) is a classic sign a soft cheese is too warm. Ensure it was thoroughly chilled before plating and is placed closest to your cold source (ice pack). Serving it in its own small, chilled dish on the board can also help absorb some of the surface moisture.
Are reusable ice packs better than frozen water bottles?
Both are excellent. Reusable gel packs often stay cold longer and don’t leak. Frozen water bottles are free, provide a cooling bath as they melt, and the water is drinkable. For a large board, a combination—gel packs for consistent cold and a few frozen bottles for volume—works perfectly.
What should I do if the board has been out for over two hours?
For food safety, you should discard any perishable items (soft cheeses, cured meats, dips) that have been above 40°F for more than 2 hours (1 hour in hot weather). Hard cheeses and nuts are likely still safe, but when in doubt, throw it out. Start over with a fresh, properly chilled board for any remaining guests.