Stuck glass bowls are a common kitchen frustration, often caused by vacuum pressure or sugary residue. The key is to use gentle, controlled methods that break the seal or expand the inner bowl. Never use excessive force, as this is the primary cause of dangerous breakage. Effective techniques involve applying temperature differentials (hot water on the outer bowl, ice on the inner), using lubrication, or carefully tapping.
You’re reaching into the cupboard, ready to whip up a batch of your famous chocolate chip cookies, when you find it: two glass bowls, perfectly nested and utterly stuck. That satisfying clink when you stacked them after last week’s batch of cookie dough has turned into a silent, stubborn lock. It’s one of the most common and frustrating kitchen dilemmas. Before you consider that dramatic, risky pull or the dreaded sound of shattering glass, take a breath. Separating glass bowls stuck together is a solvable puzzle that relies on science, patience, and a few clever tricks from your pantry. It’s not about strength; it’s about strategy. This guide will walk you through every safe, effective method, from the simplest warm water technique to more advanced maneuvers, ensuring your bowls—and your fingers—remain intact.
Key Takeaways
- Identify the Cause: Understand why bowls are stuck—usually a vacuum seal from cooling or sticky residue from food—to choose the right method.
- Heat and Cold are Primary Tools: Applying hot water to the outer bowl and ice to the inner bowl uses thermal expansion to break the seal safely.
- Lubrication is Your Friend: A few drops of oil, vinegar, or soapy water can seep into the seal and reduce friction, easing separation.
- Patience Over Power: Gentle, persistent twisting and tapping is always safer and more effective than brute force, which risks shattering.
- Prevent Future Sticking: Always place a paper towel or silicone mat between stacked glass bowls to prevent vacuum seals and residue buildup.
- Safety First: Always wear safety goggles and handle glass carefully. If a method isn’t working after several minutes, stop and try a different approach.
- Not All Glass is Equal: Tempered glass (like Pyrex) is more resistant to thermal shock; use gentler temperature changes than with regular soda-lime glass.
📑 Table of Contents
- Why Do Glass Bowls Stick Together?
- Immediate “First Response” Steps: Stop, Assess, Prepare
- Method 1: The Thermal Expansion Technique (Hot & Cold)
- Method 2: Lubrication to Break the Friction and Residue
- Method 3: Mechanical Assistance (Tapping and Leveraging)
- What NOT To Do: Common Dangerous Mistakes
- Prevention: Keeping Your Bowls Free in the Future
- Conclusion: Patience and Science Win
Why Do Glass Bowls Stick Together?
To solve the problem, you first need to understand the enemy. Glass bowls stick for two primary reasons, and often a combination of both. Knowing which culprit you’re facing helps you select the most efficient solution.
The Vacuum Seal Effect
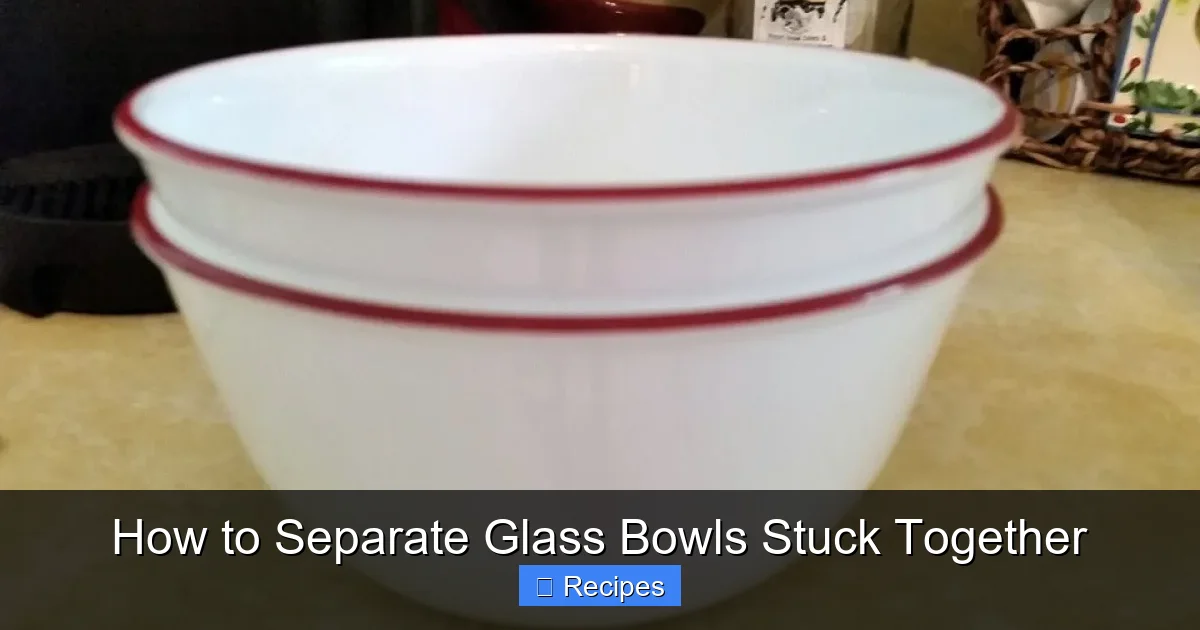
The most frequent offender is atmospheric pressure. When you place one glass bowl inside another, you trap a pocket of air between them. As the bowls and the air inside cool to room temperature, the air contracts, creating a partial vacuum. The pressure of the outside air then pushes the two bowls together with surprising force, holding them like a suction cup. This is especially common with bowls that have very smooth, perfectly mating rims, like many nesting mixing bowls or storage containers. You might hear a faint “pop” when you finally break the seal.
The Sticky Residue Culprit
The second major cause is, quite literally, stickiness. Sugary substances (honey, maple syrup, melted sugar, jam), starches (from dough or batter), or even greasy residues can seep into the tiny gap between the rims of the bowls. As they dry, they form a strong, adhesive bond—essentially acting like a weak glue. This is particularly likely if the bowls weren’t perfectly clean when stacked or if a viscous liquid wicked its way up the side. In this case, the bond is both frictional and adhesive, requiring a solvent to break it down.
Often, you’re dealing with both. A slight vacuum seal allows a thin film of syrup to settle and dry in the gap, creating a double-lock. Your solution, therefore, must address both the pressure differential and any potential residue.
Immediate “First Response” Steps: Stop, Assess, Prepare
Your instinct will be to grab and pull. Do not do this. The first minute you spend preparing is worth more than ten minutes of risky yanking. Here is your non-negotiable starting protocol.

Visual guide about How to Separate Glass Bowls Stuck Together
Image source: thetimes.com
Step 1: Secure a Grip and Protect Yourself
Place a dry towel or a piece of non-slip shelf liner on your countertop. This prevents the entire stack from skating across the surface if it suddenly releases. Put on a pair of safety goggles—glass can shatter unpredictably, and you want to protect your eyes. Hold the bottom bowl firmly with your non-dominant hand, using a towel for extra grip if the glass is slick. Your grip should be stable, not crushing.
Step 2: Do NOT Apply Upward Force
This is the cardinal rule. Pulling the top bowl straight up increases the vacuum seal and puts maximum stress on the rim, the weakest point. Instead, your initial motion should always be a twisting motion. Gently try to rotate the top bowl clockwise and counter-clockwise. Even a tiny degree of movement (a millimeter or two) is a victory. It indicates the seal is beginning to break. If there is absolutely no give, proceed to the next steps without forcing the twist.
Step 3: Inspect the Gap
Using a flashlight, peer into the tiny gap between the bowls at various points around the circumference. Sometimes you can see a film of residue or a speck of food. This visual clue confirms a sticky residue is part of the problem and tells you where the bond might be weakest.
Method 1: The Thermal Expansion Technique (Hot & Cold)
This is the gold standard, first-line defense for most stuck bowls. It directly attacks the vacuum seal by changing the volume of the trapped air and slightly expanding the glass. The principle is simple: heat expands, cold contracts.
Visual guide about How to Separate Glass Bowls Stuck Together
Image source: img.thrfun.com
Applying Heat to the Outer Bowl
Fill your sink or a large basin with very warm tap water—not boiling, but as hot as your tap can comfortably go (120-140°F / 50-60°C). Submerge only the outer (bottom) bowl completely in the water. The goal is to warm the glass of the outer bowl and, crucially, the air trapped inside the cavity between the two bowls. As this air warms, it expands, increasing the pressure inside and pushing against the inner bowl, weakening the vacuum seal. Let it soak for 3-5 minutes.
Applying Cold to the Inner Bowl
While the outer bowl soaks, prepare the inner bowl. Fill a small bowl or glass with ice water. Take a dishcloth, soak it in the ice water, and wring it out so it’s cold and damp but not dripping. Carefully drape this cold, wet cloth over the top (inner) bowl. Alternatively, you can hold an ice cube directly against the rim of the inner bowl for 30 seconds. The cold causes the inner bowl’s glass to contract very slightly, shrinking it minutely and creating more physical space. The combination of a contracting inner bowl and an expanding pocket of air is powerfully effective.
The Twist and Release
After 3-5 minutes of soaking, remove the outer bowl from the water (it will be hot—use a towel or oven mitt). Immediately, while it’s still warm, try the gentle twisting motion again. You should feel a distinct give, often followed by a faint sucking sound as the seal breaks. If it doesn’t release, repeat the process. Sometimes two cycles are needed. Important: Do not use boiling water directly on glass, especially if it’s cold. The sudden, extreme thermal shock can cause thermal fracture, especially in soda-lime glass (common in cheaper bowls). Warm tap water is safe and effective.
Method 2: Lubrication to Break the Friction and Residue
If twisting after the hot/cold method yields no progress, or if you suspect a sticky residue is a major factor, lubrication is your next best tool. The goal is to get a slippery substance into the microscopic gap between the rims.
Visual guide about How to Separate Glass Bowls Stuck Together
Image source: img.thrfun.com
Choosing Your Lubricant
You have several excellent, food-safe options right in your kitchen:
- Vegetable or Olive Oil: A few drops around the rim are highly effective. Oil is viscous enough to stay in place and penetrate a thin film of residue.
- Vinegar: Excellent for cutting through sugar-based residues. Its mild acidity helps dissolve sticky bonds. Use white distilled vinegar.
- Dish Soap: A drop of concentrated dish soap (like Dawn) is a fantastic surfactant. It reduces surface tension, allowing water (and the soap) to wick into the tightest spaces.
- WD-40: Only if the bowls are for decorative or non-food use. It is incredibly effective at penetrating and lubricating, but is toxic and must be washed off thoroughly with hot, soapy water before any food contact.
Application Technique
This is the tricky part: getting the lubricant into the seal. Tilt the stacked bowls slightly. Using a small dropper, the tip of a butter knife, or even a paper towel corner, try to guide 2-3 drops of your chosen lubricant into the gap at several points around the circumference. Don’t flood it; just a little is enough. Let it sit for 5-10 minutes. The lubricant will wick down into the bond via capillary action. After waiting, try the gentle twist again. The combination of a slightly loosened vacuum and reduced friction from the lubricant often does the trick.
Method 3: Mechanical Assistance (Tapping and Leveraging)
When physics and chemistry need a little nudge, careful mechanical methods can provide it. These require more precision and caution.
The Wooden Spoon Tap
A wooden spoon or a rubber-handled utensil is your ideal tool. Hold the bottom bowl securely. With the top bowl, give it a firm, sharp tap on its side (the rim area) with the handle of the wooden spoon. Do not hit the top rim directly, as this can chip the glass. The idea is to use a localized impact to create a tiny shockwave that can help break the adhesive or vacuum bond at one point. Tap gently in one spot, then rotate the bowl a few inches and tap again. After 4-5 taps around the circumference, try the twist. This is often successful after the bowl has been warmed from Method 1.
The Thin, Flat Lever (Last Resort)
This method carries the highest risk of damage and should only be attempted if all else fails and you are willing to accept potential scratching. You need a very thin, strong, non-metal tool to avoid scratching the glass. A sturdy plastic spreader, a wooden paint stirrer, or even the thin edge of a sturdy plastic lid can work.
- Insert the thin edge of your tool into the gap at one point. You may need to wiggle it gently to get it started.
- Once you have a tiny bit of insertion, very gently twist the tool. It acts as a lever, applying a tiny prying force to that one spot, which can break the seal locally.
- Once you hear a pop or feel a give at that spot, immediately stop levering and go back to the gentle twisting motion with your hands. The seal is now broken and should release.
Never use a metal knife or screwdriver. The force required increases the chance of the tool slipping and chipping the glass or, worse, causing the glass to shatter from the point pressure.
What NOT To Do: Common Dangerous Mistakes
As important as knowing what to do is knowing what to avoid. These are the most common errors that lead to broken glass and injury.
The Forced Yank
This is public enemy number one. Grabbing the top bowl and pulling upward with all your strength concentrates all the force on the rim. If the vacuum seal is strong, this force can cause the glass to fracture explosively, sending sharp shards everywhere. It is the #1 cause of injury from this problem. Remember: twist, don’t pull.
Extreme Temperature Shocks
Do not run hot boiling water over a cold glass bowl, and never put a hot glass bowl under cold water. The outer surface will contract or expand much faster than the inner layers, creating immense internal stress that can cause it to crack or shatter without warning. Always use warm (not hot) water and allow for gradual temperature changes.
Using Improper Tools as Levers
A metal butter knife is not a pry bar. Its thin edge can easily slip, and its hardness can concentrate force into a point that chips the glass rim. Once a chip starts, the structural integrity is compromised, and the bowl can fail later under normal use. Stick to wood or thick plastic.
Prevention: Keeping Your Bowls Free in the Future
An ounce of prevention is worth a pound of cure. Once you’ve successfully separated your bowls, implement these simple habits to avoid the whole ordeal again.
The Paper Towel Barrier
This is the simplest and most effective trick. Before nesting any two glass bowls, place a small square of paper towel, a piece of parchment paper, or a thin silicone baking mat between them. This barrier does three things: it prevents a direct, airtight seal from forming; it absorbs any minor moisture or residue; and it provides a tiny bit of friction that actually makes separation easier because you can get a grip on the barrier itself. You can even leave a small tab of the paper towel sticking out to grab.
Clean and Dry Meticulously
Never stack bowls that are even slightly damp or have any film of sugar, oil, or starch. Wash them with hot, soapy water, rinse thoroughly, and dry completely with a towel before storing. Pay special attention to the rims, where residue loves to hide.
Store Strategically
If you have a set of nesting bowls, consider storing the largest one separately. Only nest the smaller ones together. This reduces the number of potential stuck pairs. Alternatively, store bowls of similar size upside down on a shelf, rather than nested, if you have the space.
Conclusion: Patience and Science Win
Separating stuck glass bowls is a test of calm, applied knowledge. It’s a small domestic puzzle where the solution is almost always found in the laws of physics—thermal expansion and atmospheric pressure—and a little chemistry. Start with the gentle twist test. Then, move to the warm water bath for the outer bowl and a cold pack for the inner. If residue is suspected, add a drop of oil or vinegar. Tap, don’t yank. And always, always use a barrier like a paper towel when you put them away again. By respecting the material and using controlled methods, you’ll save your glassware, avoid a dangerous mess, and turn a moment of frustration into a small victory of household ingenuity. Your cookies will be baked, and your bowls will be ready for the next round, unstuck and unscathed.
Frequently Asked Questions
Can I use boiling water to separate my glass bowls?
It is not recommended. Pouring boiling water directly onto cold glass can cause thermal shock, which may make the glass crack or shatter unexpectedly. Always use warm tap water (120-140°F / 50-60°C) for a safe and effective thermal expansion method.
What if I don’t have any oil or vinegar? What else can I use as a lubricant?
Dish soap is an excellent, readily available lubricant. A single drop around the rim will reduce friction. You can also use a small amount of hand lotion or even a bit of cooking spray. The key is to get a slippery substance into the seal to help break the bond.
My bowls are made of Pyrex (tempered glass). Does that change the method?
Yes, slightly. Tempered glass is more resistant to thermal shock than regular glass, so it can handle a wider temperature range, but it’s still not indestructible. You can use slightly warmer water, but the principle remains the same: gentle, even heating of the outer bowl and cooling of the inner bowl. Avoid extreme, sudden temperature changes on any glass.
I tried the hot water method and the bowls are now hot to the touch. Is it safe to handle them?
Use caution. After soaking, the outer bowl will be hot. Use a dry towel or oven mitt to grip it securely. The inner bowl may still be cool. The difference in temperature is what you want, but protect your hands from burns by always using a barrier when handling hot glass.
What should I do if I hear a cracking sound while trying to separate them?
Stop immediately. A cracking or popping sound indicates the glass is under stress and may be fracturing. Carefully set the bowls down on your towel-covered surface and assess. Do not continue trying to force them apart. You may need to accept that one bowl is damaged and needs to be recycled for safety.
Is there ever a situation where I should just give up and take the bowls to a professional?
If you have tried the thermal, lubrication, and gentle tapping methods for several cycles with absolutely no movement, and the bowls are valuable or sentimental, it may be time to stop. Continuing to apply force increases the risk of sudden, catastrophic breakage. For highly valuable antique glassware, consulting a professional glass restorer might be the safest option, though often the cost exceeds the value of the bowls.