Making chicken drumsticks on the stove is a simple, rewarding process that yields incredibly juicy meat and perfectly crispy skin. This method requires no oven or grill, just a heavy pan and a few key techniques. You’ll achieve a beautiful sear, lock in moisture, and can customize flavors endlessly with basic spices. It’s a foolproof, all-in-one-pot meal ready in under 30 minutes, ideal for a quick family dinner or a satisfying solo feast.
Key Takeaways
- Patting the drumsticks completely dry is non-negotiable for achieving crispy, crackling skin. Moisture is the enemy of a good sear.
- Season generously and early. Salt draws out moisture initially, but given time, it seasons the meat deeply. Don’t be shy with your spice blend.
- Control your heat. Start with medium-high to get a sear, then reduce to medium-low and cover to cook through gently without burning.
- Use a lid. Covering the pan traps steam, which cooks the chicken evenly and helps it reach temperature while keeping it moist.
- Finish uncovered if needed. If the skin isn’t crispy enough after cooking, remove the lid and let it cook for the final 2-3 minutes to crisp up.
- Always let them rest. Resting for 5-10 minutes after cooking allows juices to redistribute, ensuring every bite is moist and tender.
- Use a meat thermometer. The only surefire way to know they’re done is to check that the internal temperature reaches 165°F (74°C), avoiding dry, overcooked meat.
📑 Table of Contents
- Why You’ll Love Making Chicken Drumsticks on the Stove
- Essential Tools and Ingredients for Success
- Step-by-Step Guide to Perfect Stovetop Chicken Drumsticks
- Troubleshooting: Common Problems and Fixes
- Beyond the Basics: Flavor Variations and Marinades
- Serving Suggestions and Storage
- Conclusion: Your New Weeknight Hero
Why You’ll Love Making Chicken Drumsticks on the Stove
Let’s be honest, chicken drumsticks are a classic for a reason. They’re affordable, packed with flavor, and just plain fun to eat with your hands. But often, they’re relegated to the oven or the grill. What if I told you the absolute best way to cook them is right on your stovetop? Making chicken drumsticks on the stove is a game-changer for weeknight dinners. It’s fast, it’s easy, and it delivers results that are hard to beat: a shatteringly crispy, well-seasoned skin giving way to succulent, fall-off-the-bone tender meat. There’s no preheating an oven, no firing up a grill in the rain, and no special equipment needed beyond a good, heavy pan.
This method uses a technique called pan-searing followed by a gentle steam-roast (using the pan’s lid). The initial high heat creates that coveted Maillard reaction—the chemical process that gives browned food its deep, savory flavor and gorgeous color. Then, by lowering the heat and covering the pan, you create a mini-oven environment that cooks the chicken through from the outside in, keeping it incredibly juicy. It’s a one-pan wonder that minimizes cleanup and maximizes flavor. Whether you’re a beginner cook or a seasoned pro, mastering this stovetop technique will become a go-to in your recipe arsenal.
Essential Tools and Ingredients for Success
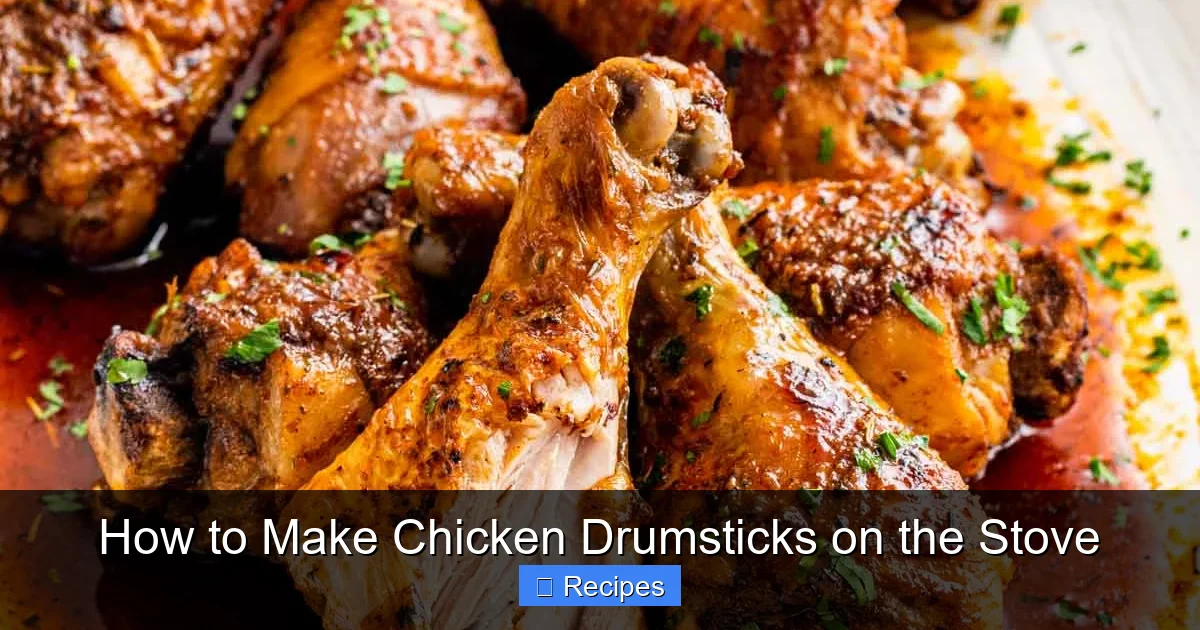
Before we dive into the steps, let’s talk about what you need. Having the right tools makes all the difference between a good result and a great one. The good news? The list is short and everything is likely already in your kitchen.
Visual guide about How to Make Chicken Drumsticks on the Stove
Image source: cravinghomecooked.com
The Perfect Pan: Your Most Important Tool
For this job, you need a pan that holds and distributes heat evenly and can go from stovetop to oven if you choose to finish under a broiler. Your best bets are:
- Cast Iron Skillet: The undisputed champion. It retains heat brilliantly, develops a natural non-stick surface with seasoning, and can withstand very high temperatures. A 10- or 12-inch skillet is perfect for 4-6 drumsticks.
- Heavy Stainless Steel Pan: Look for a pan with an aluminum or copper core. It offers excellent heat control and won’t react with acidic ingredients. It gives a fantastic sear.
- Enameled Dutch Oven or Heavy Sauté Pan with Lid: These are excellent because their high, straight sides and tight-fitting lids are perfect for the covered cooking phase.
Avoid: Thin, non-stick pans. They don’t get hot enough for a proper sear and can release harmful fumes at high temperatures. Save those for eggs and pancakes.
The Drumsticks: What to Buy
For this method, you want bone-in, skin-on chicken drumsticks. The bone adds flavor and helps insulate the meat from direct heat, preventing it from drying out. The skin is essential for that crispy texture. Look for plump, meaty drumsticks with intact, unblemished skin. If you can, buy them from a butcher who sources good quality chicken—it makes a noticeable difference in flavor.
The Seasoning Arsenal
The beauty of this recipe is its versatility. At a minimum, you need:
- Salt: Kosher salt or sea salt is best. It’s less salty by volume than table salt, giving you more control.
- Black Pepper: Freshly cracked is always superior to pre-ground.
From there, the world is your oyster. Here’s a simple, foolproof base blend I adore:
- 1 tablespoon kosher salt
- 1 teaspoon freshly cracked black pepper
- 1 teaspoon garlic powder
- 1 teaspoon onion powder
- 1 teaspoon smoked paprika (this adds a wonderful depth)
- 1/2 teaspoon dried thyme or oregano
Oil: You need a high-smoke-point oil for searing. Avocado oil, grapeseed oil, or refined olive oil are excellent choices. Do not use extra virgin olive oil for the initial sear—it has a low smoke point and will burn.
For Finishing (Optional but Recommended): A final drizzle of a little butter or a squeeze of fresh lemon juice right before serving brightens everything up.
Step-by-Step Guide to Perfect Stovetop Chicken Drumsticks
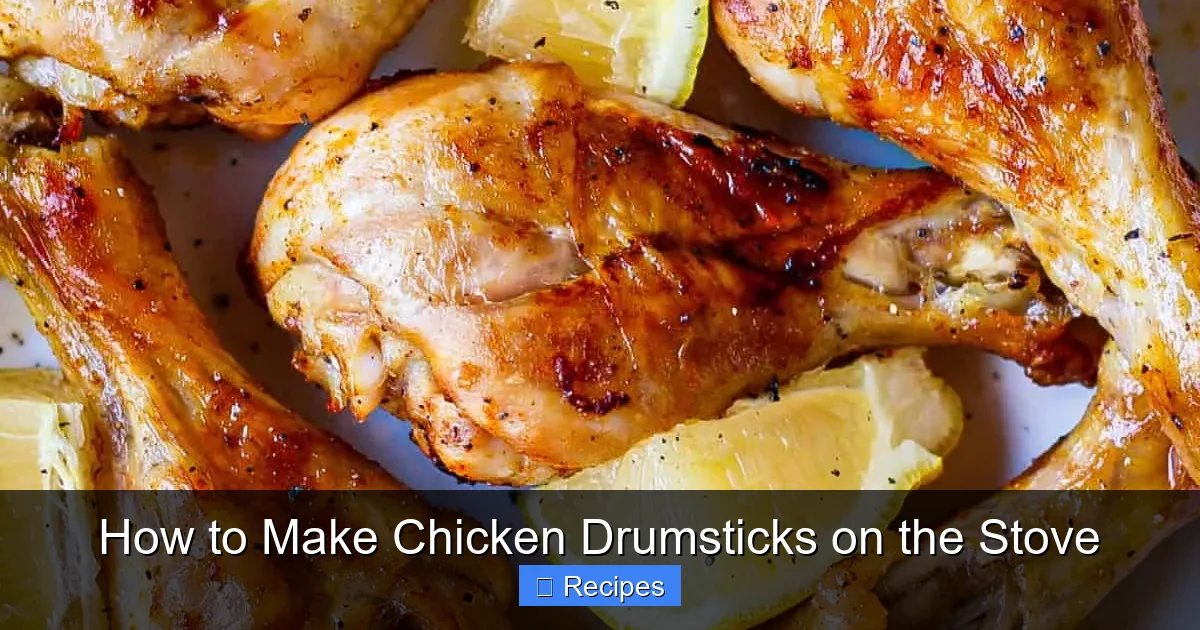
Now, for the main event. Follow these steps precisely, and you will be rewarded with drumsticks that look like they came from a five-star kitchen. The total time is about 25-30 minutes.
Visual guide about How to Make Chicken Drumsticks on the Stove
Image source: savaskitchen.com
Step 1: Prep is Everything (5 Minutes)
Take your chicken drumsticks out of the refrigerator about 20 minutes before cooking. Cooking cold meat directly from the fridge leads to uneven cooking—the outside will be overdone by the time the inside is safe. While they come to temperature, pat them completely dry with paper towels. This is the single most important step for crispy skin. Any surface moisture will steam the skin instead of searing it. Get into every nook and cranny. Then, place them on a wire rack set over a plate or just on a clean cutting board. This keeps them dry while you heat the pan.
Step 2: Season Generously
In a small bowl, mix your dry seasoning blend. Don’t be tentative! Sprinkle it evenly over all sides of the drumsticks, pressing it gently into the meat and skin with your fingers. You want a nice, even coating. If you’re using a wet marinade or a paste (like olive oil mixed with herbs), you can apply that now, but ensure the skin is still as dry as possible beforehand. For a ultra-crispy finish, some cooks even let the seasoned, uncovered drumsticks air-dry in the fridge for 30-60 minutes. This is a pro tip worth trying!
Step 3: Heat the Pan and Sear (5-7 Minutes)
Place your heavy pan over medium-high heat. Let it get nice and hot—you should feel the heat radiating when you hold your hand a few inches above it. This usually takes 2-3 minutes. Add 1-2 tablespoons of your high-smoke-point oil and swirl to coat the pan. It should shimmer immediately. Carefully place the drumsticks in the pan, skin-side down first. Do not overcrowd. If your pan is too small, cook in batches. Overcrowding drops the pan temperature and steams the chicken. You should hear a glorious, loud sizzle as soon as they hit the pan. Let them sear, undisturbed, for 4-5 minutes. You want a deep, golden-brown, almost mahogany color. Resist the urge to move them! Then, using tongs, carefully flip each drumstick and sear the other side for 3-4 minutes. At this point, the skin should be beautifully colored, but the chicken is not cooked through.
Step 4: The Gentle Cook-Through (10-12 Minutes)
Now, reduce the heat to medium-low. If you have any butter, garlic cloves, or herb sprigs (like thyme or rosemary), you can add them to the pan now for extra flavor. Quickly pour in about 1/4 cup of water, chicken broth, or even beer. This liquid is crucial. It will create steam, which helps cook the chicken gently and prevents the pan from getting too hot and burning the fond (the brown bits stuck to the pan). Immediately cover the pan tightly with its lid. Let it cook, undisturbed, for 8-12 minutes. The time depends on the size of your drumsticks. The steam environment cooks the meat through while keeping it moist.
Step 5: Crisp the Skin and Check Doneness (2-3 Minutes)
After the covered cooking time, remove the lid. The chicken should be mostly cooked through. To check, carefully insert an instant-read thermometer into the thickest part, not touching bone. It should read at least 160°F (71°C). If it’s not there yet, cover and cook for another 2-3 minutes. Once it’s close, turn the heat back up to medium-high. Let the drumsticks cook uncovered for the final 2-3 minutes. This will re-crisp the skin and evaporate any remaining liquid. Watch carefully to prevent burning. The skin should be audibly crispy when you press it gently with tongs. The final internal temperature must be 165°F (74°C).
Step 6: The Mandatory Rest (5-10 Minutes)
This is the hardest part: waiting. Transfer the drumsticks to a clean plate or wire rack. Do not slice into them immediately. The juices are bubbling inside, and if you cut now, all that flavorful moisture will run out onto your cutting board. Let them rest for 5-10 minutes. The internal temperature will continue to rise slightly (carryover cooking), and the juices will redistribute throughout the meat. This guarantees every single bite is juicy and delicious.
Troubleshooting: Common Problems and Fixes
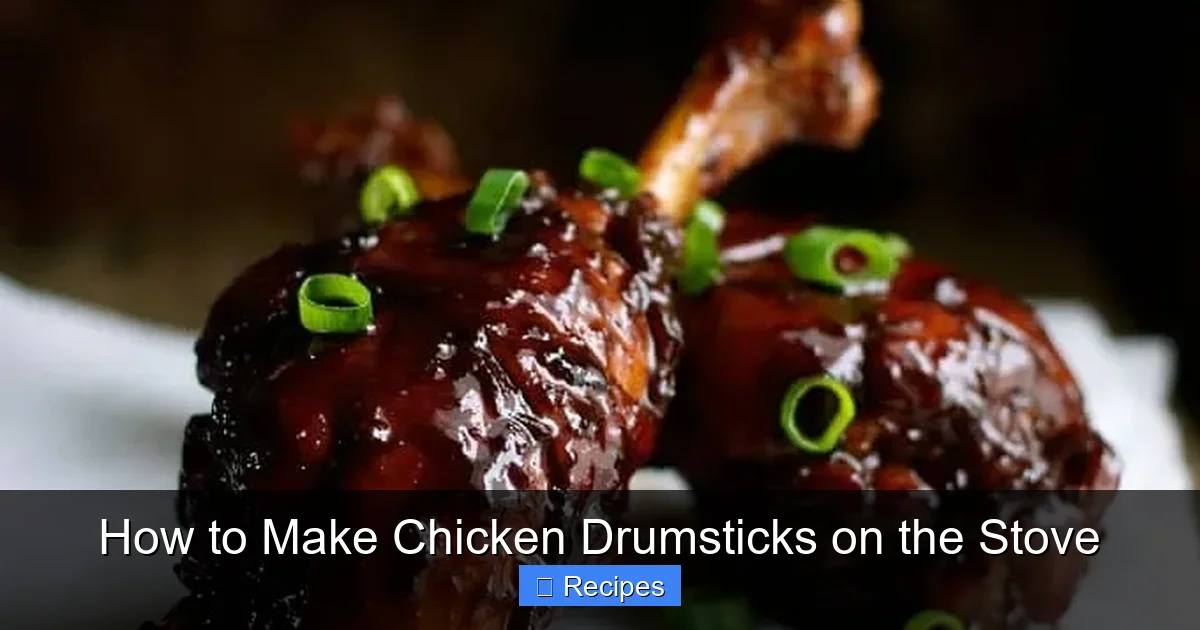
Even with a great recipe, things can go awry. Here’s how to fix the most common issues when making chicken drumsticks on the stove.
Visual guide about How to Make Chicken Drumsticks on the Stove
Image source: recipetineats.com
Problem: The Skin Isn’t Crispy
Cause: The most common reason is moisture on the skin. You didn’t pat them dry enough. The second reason is overcrowding the pan, which steams the chicken instead of searing it. A third reason could be not finishing uncovered or with the heat too low.
Fix: Always pat bone-dry. Use a single layer in the pan with space between each drumstick. After the covered cooking phase, always finish with the lid off on medium-high heat for a few minutes. You can even finish them under a preheated broiler for 1-2 minutes if your pan is oven-safe.
Problem: Chicken is Burning Before It’s Cooked Through
Cause: The heat is too high, or there’s no liquid in the pan during the covered cooking phase. The fond burns and creates bitter flavors.
Fix: Start with a proper sear on medium-high, but then immediately reduce to medium-low before covering. Always add at least a few tablespoons of liquid (water, broth, beer, even juice) when you cover. This creates a humid environment that cooks the chicken gently without burning the bits on the bottom.
Problem: Chicken is Dry or Stringy
Cause: Overcooking is the prime culprit. Not using a meat thermometer and guessing by time or color leads to dry meat. Cooking at too high a heat for the entire duration can also dry it out.
Fix: Use a meat thermometer! Pull the chicken off the heat when it reaches 160°F (71°C) in the thickest part. The residual heat during resting will bring it to the safe 165°F (74°C). The covered cooking phase at medium-low is also key to keeping it moist. Don’t skip the rest period.
Problem: Pan is a Mess to Clean
Cause: The fond (delicious browned bits) has burned and stuck.
Fix: Prevention is best—control your heat and use liquid. If you have a well-seasoned cast iron or carbon steel pan, let it cool slightly, add a little coarse salt and a splash of water, and scrub with a non-metal brush or scrubber. For stainless steel, let it cool, add warm water, and use a non-scratch pad. For a stuck mess, simmer a little water in the pan for 5 minutes, then scrape.
Beyond the Basics: Flavor Variations and Marinades
Once you master the basic technique, the real fun begins. The stovetop method is a fantastic canvas for global flavors. The key is to apply wet marinades or thick pastes before the drying step, or to use dry rubs as described in the basic recipe.
Classic Barbecue Style
Use the basic dry rub. After the chicken is fully cooked and resting, toss the drumsticks in your favorite barbecue sauce in a large bowl. For a sticky, glazed finish, return them to the pan (uncovered) on medium heat for 1-2 minutes per side, basting with more sauce.
Honey Garlic Glaze
During the last 2 minutes of uncovered cooking, add 1/4 cup honey, 2 tablespoons soy sauce, 2 minced garlic cloves, and 1 teaspoon grated ginger to the pan. Stir to combine and let it bubble and thicken slightly. Toss the drumsticks in the glaze to coat.
Lemon Herb Mediterranean
Season with a blend of dried oregano, garlic powder, salt, and pepper. During the covered cooking phase, add the juice of one lemon and a few sprigs of fresh rosemary and thyme to the pan. After resting, garnish with fresh parsley and a final squeeze of lemon.
Spicy Cajun
Make a dry rub with 2 tablespoons paprika, 1 tablespoon garlic powder, 1 tablespoon onion powder, 2 teaspoons cayenne pepper (adjust for heat), 1 teaspoon dried oregano, 1 teaspoon salt, and 1 teaspoon black pepper. Apply generously. For a creamy finish, mix 1/4 cup sour cream with a splash of milk and a pinch of the Cajun seasoning for a dipping sauce.
Marinade Pro-Tip
For deeper flavor, you can marinate the drumsticks for 2-12 hours in your chosen wet marinade (like yogurt-based, buttermilk, or a vinegar/oil blend). Crucially, you must then pat them completely dry before seasoning and searing. A wet surface will never crisp properly.
Serving Suggestions and Storage
These drumsticks are a complete meal in themselves, but they shine alongside simple, fresh sides that complement their rich flavor.
Perfect Sidekicks
- Crispy Potato Wedges or Fries: Tossed in the same seasoning as the chicken and baked or air-fried.
- Simple Green Salad: A bitter, acidic salad with a vinaigrette cuts through the richness perfectly. Think arugula with shaved Parmesan and lemon.
- Coleslaw: The creamy, crunchy texture is a classic pairing with any barbecue-style dish.
- Grilled or Roasted Vegetables: Zucchini, bell peppers, onions, or asparagus.
- Crusty Bread: For mopping up every last drop of delicious pan juices.
Storing and Reheating Leftovers
Leftover chicken drumsticks are a gift. Store them in an airtight container in the refrigerator for up to 4 days. To reheat and regain some crispiness, the best method is in a hot, dry skillet over medium heat for a few minutes per side. You can also reheat them in an air fryer or a 400°F (200°C) oven on a wire rack set in a baking sheet. Microwaving will make the skin rubbery, so avoid it if possible. They are also excellent cold, chopped over a salad or into a hearty chicken soup.
Conclusion: Your New Weeknight Hero
Learning how to make chicken drumsticks on the stove is one of those fundamental cooking skills that pays off in dividends. It’s the perfect blend of simplicity and sophistication. With just a few basic ingredients and a heavy pan, you can create a dish that feels special yet is achievable on the busiest of weeknights. The technique of searing then gently steaming under a lid ensures juicy, flavorful meat every single time, while the final uncovered crisping gives you that restaurant-quality skin that makes you want to lick your fingers. So, grab your favorite skillet, arm yourself with a good seasoning blend, and get cooking. Once you’ve nailed this method, you’ll find yourself making it again and again, maybe with a different flavor twist each time. It’s a versatile, reliable, and deeply satisfying meal that never goes out of style.
Frequently Asked Questions
Can I use boneless, skinless chicken thighs or breasts instead?
You can, but the technique and timing change significantly. Boneless, skinless cuts cook much faster and are prone to drying out. You would skip the long covered “steam-roast” phase. Simply season, sear on both sides until golden (about 3-4 minutes per side), then reduce heat, cover, and cook just until the internal temperature reaches 165°F (74°C), which may take only 5-8 minutes. They will not have crispy skin.
What if I don’t have a lid for my pan?
You can use a baking sheet or a large, heat-proof plate to cover the pan temporarily. The goal is to trap steam. If you absolutely cannot cover it, you can add a bit more liquid (about 1/2 cup) and cook at a slightly lower temperature, but you’ll need to monitor it more closely to ensure the liquid doesn’t all evaporate and cause burning.
What’s the best oil to use for searing the drumsticks?
Use an oil with a high smoke point. Avocado oil is excellent. Refined (light) olive oil, grapeseed oil, or canola oil are also great choices. Avoid extra virgin olive oil or butter for the initial sear, as they will burn at the high temperatures needed.
How do I know when the chicken is cooked through without a thermometer?
While a thermometer is the only surefire method, you can look for these signs: the juices should run clear (not pink) when you pierce the thickest part with a knife, and the meat should no longer be pink near the bone. However, without a thermometer, there’s a higher risk of overcooking and drying them out. Investing in an instant-read thermometer is highly recommended for perfect, safe results every time.
My pan is smoking a lot during the sear. Is that normal?
A little smoke is normal when searing at high heat. However, excessive smoke means your pan is likely too hot or there’s excess moisture on the chicken. Ensure the drumsticks are patted completely dry. Start with medium-high heat, not high. If the oil is smoking violently, remove the pan from the heat for a moment, lower the heat, and then return it before adding the chicken. Opening a window or turning on your exhaust fan is always a good idea.
Can I prepare these ahead of time for a party?
Yes, you can prep them a day ahead. Pat dry and season the drumsticks, then store them uncovered on a rack in the refrigerator overnight. This air-drying in the fridge actually helps the skin crisp up even more. Cook them fresh on the day of your party. You can also fully cook them a few hours ahead. Let them cool, then store in the fridge. Reheat them in a hot, dry skillet or in a 400°F oven on a wire rack until hot and crispy again.
Pingback: What Cooking Methods Do Not Crisp Chicken Wings - kitchenandhouseware.com
Pingback: Kung Pao Chicken - kitchenandhouseware.com