Changing the color of your Corian countertop is possible, but not as simple as painting a wall. The most effective and durable method is professional refacing, where a new thin layer of Corian is bonded over the old. While DIY painting kits exist, they offer a temporary cosmetic fix with significant durability and aesthetic trade-offs. Your best path depends on budget, skill, and how long you want the new color to last.
Key Takeaways
- Corian is a solid-surface material, not a veneer. This means you cannot simply strip and restain it like wood; color change requires adding or bonding a new material to the surface.
- Professional refacing is the gold standard. A certified fabricator bonds a new, thin sheet of Corian in your chosen color directly over the existing countertop, creating a seamless, durable, and warrantied new surface.
- DIY painting is a temporary cosmetic solution. Specialized epoxy or acrylic paints can alter the color, but they are prone to chipping, scratching, and staining, especially in a busy kitchen, and will void any manufacturer warranty.
- Complete replacement is the last resort. If the underlying countertop is damaged or you want a fundamentally new shape/edge profile, full removal and replacement is the only option, though it’s the most expensive and disruptive.
- Thorough preparation is non-negotiable for any method. Whether for refacing or painting, the existing surface must be impeccably clean, degreased, and lightly abraded to ensure proper adhesion and a flawless finish.
- Consider the edge profile. Changing the countertop color will highlight your existing edge profile. For a fully cohesive look, you may need to have the edges rebuilt during a refacing project.
- Always consult your warranty and a professional first. Corian warranties are transferable but can be voided by unauthorized alterations. A professional assessment can reveal if your specific countertop is a good candidate for refacing.
📑 Table of Contents
- Introduction: Why Change Your Corian Color?
- Method 1: Professional Corian Refacing (The Recommended Solution)
- Method 2: DIY Countertop Painting (The Temporary Cosmetic Fix)
- Method 3: Full Replacement (The Nuclear Option)
- Critical Decision Guide: Which Method is Right For You?
- The Unavoidable Importance of Preparation and Aftercare
- Conclusion: Making the Smart, Long-Term Choice
Introduction: Why Change Your Corian Color?
You fell in love with Corian countertops for their seamless beauty, durability, and ease of maintenance. But years later, that once-beloved “Sandrift” or “Rainforest” can start to feel dated. Maybe your kitchen’s style has evolved, or you’re just ready for a fresh look. The big question looms: can you change the color of a Corian countertop without the massive expense and hassle of full replacement? The answer is a qualified yes, but the path you take is critical. This guide will walk you through every viable option, from the professional-grade solution that lasts a lifetime to the DIY methods that offer a temporary fix. We’ll break down costs, steps, durability, and help you decide which route is right for your home, your budget, and your sanity.
First, a crucial understanding: Corian is a solid-surface material. Unlike laminate, which has a printed layer on top, or stone, which is quarried, Corian’s color and pattern run throughout the entire thickness of the slab (typically 1.2 cm or 1/2″). This is its genius for repairability—scratches can be sanded out—but it also means you cannot simply sand down to a different “layer” of color. Changing the color fundamentally means introducing a new material onto the existing surface. Let’s explore how.
Method 1: Professional Corian Refacing (The Recommended Solution)
This is the closest you can get to a “new” countertop while keeping the old one in place. It’s the method manufacturers and professional fabricators endorse for a permanent, high-quality result. Think of it like getting a custom-made skin for your existing countertop skeleton.
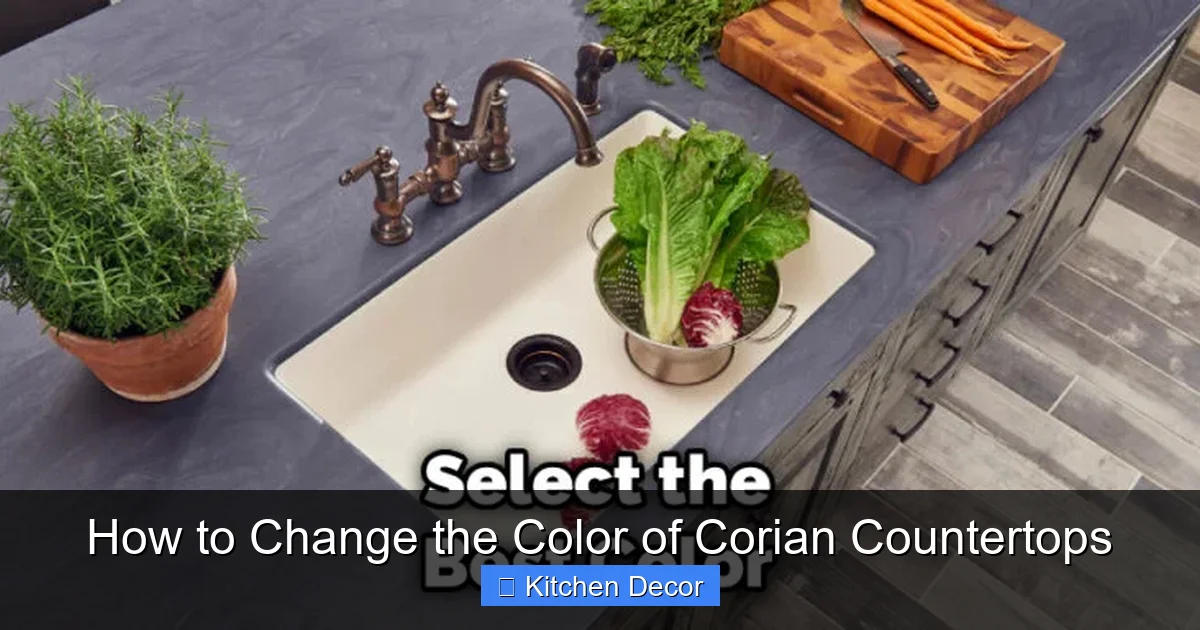
Visual guide about How to Change the Color of Corian Countertops
Image source: thekitchenix.com
What is Corian Refacing?
Professional refacing involves bonding a new, thin sheet of solid-surface Corian (typically 0.6 cm or 1/4″ thick) directly over your existing countertop. The fabricator will select a color from DuPont’s current (or sometimes legacy) palette. Using specialized Corian adhesive and meticulous techniques, the new sheet is applied, seamlessly integrated at the seams, and then the entire surface—including the new layer and the exposed edges—is built up, shaped, and sanded to create a flawless, unified countertop with a brand-new color. The original countertop remains in place as a stable substrate.
The Step-by-Step Refacing Process
This is not a DIY project. It requires the skills, tools, and certification of a Corian professional. Here’s what you can expect:
- Initial Consultation & Template: A technician will visit your home to assess the condition of your existing countertop. They’ll check for levelness, significant damage, or delamination. If approved, they’ll create a precise digital or physical template of your countertop layout.
- Material Selection: You’ll choose your new Corian color from samples. This is a great time to consider if you want to change the edge profile (e.g., from a simple eased edge to a more decorative ogee or bullnose), as this will be part of the rebuild.
- Fabrication Off-Site: In the shop, the fabricator will cut the new thin Corian sheets to match your template. Seam locations are carefully planned. They will also fabricate any new edge pieces if you’re changing the profile.
- On-Site Installation: The team will remove all appliances, sinks, and cooktops. The existing countertop surface is thoroughly cleaned and lightly abraded (sanded) to create a perfect bonding surface. Specialized Corian adhesive is applied, and the new sheets are carefully positioned and bonded. Seams are welded with Corian bonding powder and sanded flush. The new edge profile is built up and shaped. Finally, the entire surface is sanded through a series of grits (from coarse to very fine) and polished to a matte, satin, or gloss finish, just like a new countertop.
- Reinstallation: Sinks and appliances are re-installed, and any necessary plumbing/electrical adjustments are made. The area is cleaned thoroughly.
Pros and Cons of Professional Refacing
Pros:
- Permanent, Durable Result: The new surface is identical in performance to original Corian: non-porous, seamless, repairable, and carries the full DuPont/Corian manufacturer warranty (often 10+ years) when installed by a certified professional.
- Seamless Integration: The new color is one continuous piece (with professionally hidden seams). Sinks can be undermounted seamlessly. There are no telltale lines or edges from a coating.
- Increases Home Value: It’s perceived as a new countertop by appraisers and buyers, not a patch job.
- Less Disruptive & Wasteful: No need to rip out and dispose of the old countertop. Installation is often completed in 1-2 days.
Cons:
- Cost: This is the most expensive DIY-adjacent option, typically ranging from $40 to $80+ per square foot, depending on region, fabricator, and edge complexity. For a 30 sq ft kitchen, that’s $1,200 – $2,400+.
- Requires a Pro: You cannot do this yourself without specialized training, tools, and materials. Finding a certified Corian fabricator who offers refacing services is essential.
- Limited to Existing Structure: The underlying cabinet layout and countertop shape cannot be changed. If you want to add an island or change the configuration, you need full replacement.
Method 2: DIY Countertop Painting (The Temporary Cosmetic Fix)
For the budget-conscious or adventurous DIYer, painting seems like an obvious solution. Several kits and videos promise to transform your Corian. However, this method comes with major caveats and is best considered a temporary refresh for a low-traffic area, like a powder room vanity, rather than a main kitchen workspace.
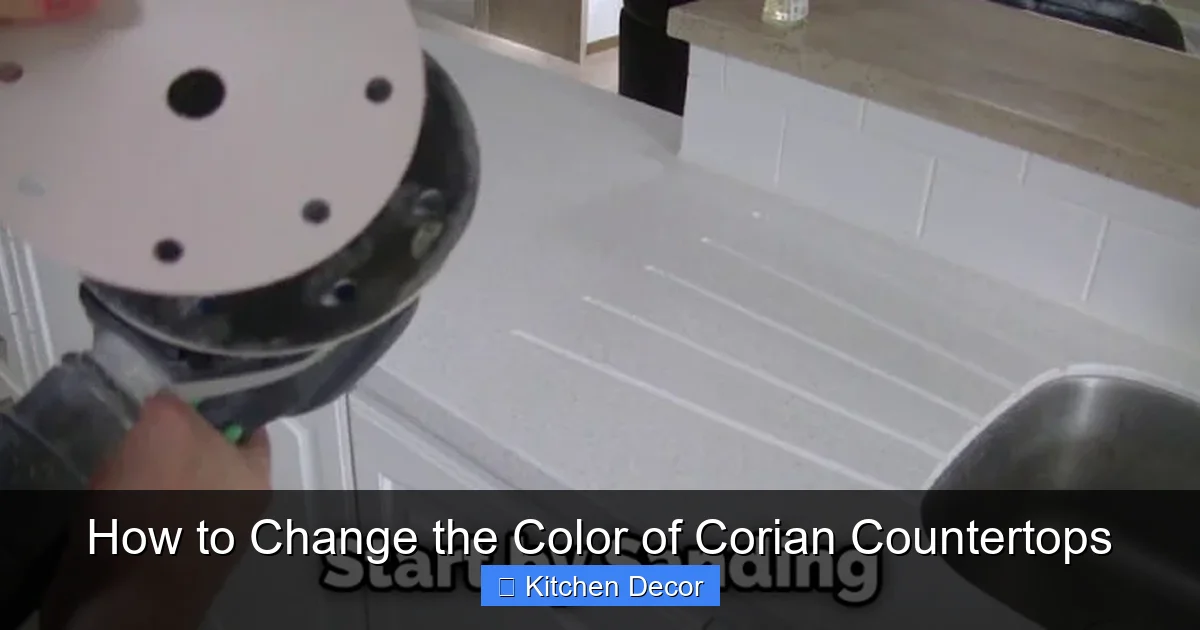
Visual guide about How to Change the Color of Corian Countertops
Image source: thekitchenix.com
Can You Paint Corian Countertops?
Technically, yes, but it is not recommended for permanent results. Corian’s non-porous, slick surface is the antithesis of an ideal painting substrate. Paint will not adhere well without extreme surface preparation, and even then, it will be vulnerable to the daily wear and tear of a kitchen. You are essentially applying a thin, brittle film over a flexible, solid-surface material. Movement, thermal expansion, and impact will cause it to fail.
The DIY Painting Process (If You Proceed)
If you accept the temporary nature and are willing to redo the job in a few years, here is the rigorous process required for the best possible outcome:
- 1. Choose the Right Product: Do not use standard latex or oil-based paints. You need a high-performance, two-part marine-grade or countertop-specific epoxy paint or an acrylic urethane enamel. Brands like Rust-Olele Countertop Coating or similar products designed for laminate are the starting point, but their longevity on Corian is unproven by manufacturers.
- 2. Meticulous Surface Preparation (The Most Important Step): This is 90% of the battle. The surface must be made “tooth” for the paint to grab.
- Clean with a strong degreaser (TSP substitute) to remove all grease, soap scum, and residue. Rinse thoroughly.
- Sand the entire surface thoroughly with 150-220 grit sandpaper by hand or with a orbital sander. The goal is to create a uniform, dull, “satin” finish. Wipe away *all* dust with a tack cloth.
- Some advanced protocols involve applying a specific adhesion-promoting primer for plastics/solids, but this is not standard in DIY kits.
- 3. Application: Follow the paint kit instructions precisely. This usually involves mixing a resin and hardener. Apply in thin, even coats with a high-quality foam roller or spray gun (brushes leave marks). Multiple coats are needed. Full curing (not just drying) can take days.
- 4. Sealing: Once fully cured, a food-safe, clear marine-grade topcoat (like a polyurethane or epoxy) is essential for scratch and stain resistance. This adds another layer that can fail.
- 5. Reinstalling Fixtures: Only after the final coat is 100% cured (often 7-10 days) can you reinstall the sink and reattach faucets. Any premature installation risks cracking the film.
Honest Pros and Cons of DIY Painting
Pros:
- Very Low Cost: Kits range from $100-$300 for materials.
- Complete DIY Control: You can do it on your schedule with basic tools.
- Radical Color Change: You can go from dark to light or vice-versa more easily than with some refacing limitations.
Cons:
- Extremely Poor Durability: This is the biggest issue. The coating will scratch from pots, pans, and cleaning. It will chip at the edges and around the sink. Hot pans will likely damage it. Staining from coffee, wine, or oils is a significant risk.
- Not Seamless: The paint will be visible on the vertical surfaces (the “lip” of the countertop where it meets the cabinet face) and around the sink cutout. These are high-wear areas where failure will start.
- No Warranty: You have no recourse. The Corian warranty is void. The paint manufacturer’s warranty is limited and will not cover kitchen use failures.
- Aesthetic Limitations: You cannot achieve the depth, translucency, or solid feel of real Corian. It will look like paint on plastic, because that’s exactly what it is.
- High Risk of Failure: One mistake in prep or application leads to peeling, bubbling, or poor adhesion, requiring a full, messy stripping and do-over.
Method 3: Full Replacement (The Nuclear Option)
Sometimes, refacing isn’t possible, and painting is a non-starter. This leads to the third option: complete removal and installation of brand-new Corian countertops.
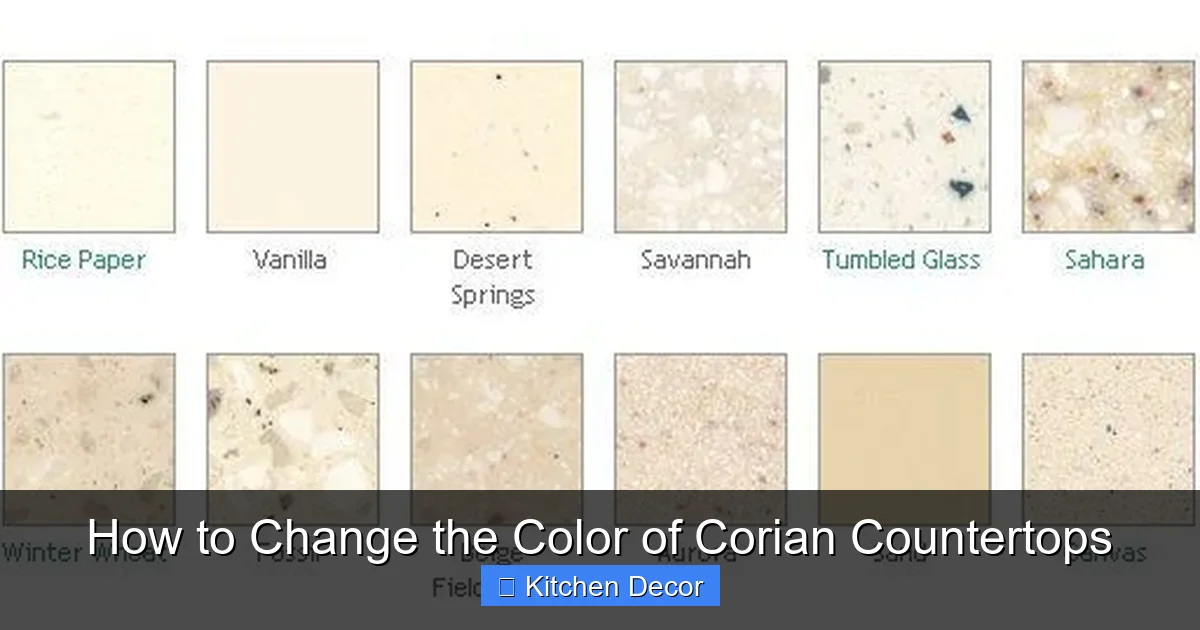
Visual guide about How to Change the Color of Corian Countertops
Image source: i.pinimg.com
When is Full Replacement Necessary?
Consider full replacement if:
- Your existing countertop has significant damage: deep cracks, severe burns, large gouges, or widespread delamination (the layers are separating).
- You want to change the fundamental layout: add a breakfast bar, extend the countertop, change the sink location, or alter the edge profile in a way that refacing cannot accommodate.
- The substrate (the cabinet underneath) is unstable, uneven, or damaged and needs repair/replacement first.
- You want to switch to a completely different material altogether (quartz, granite, butcher block).
The Replacement Process
This is the most disruptive and expensive path but yields a truly brand-new countertop.
- Demolition: The old countertop is carefully cut and removed. All plumbing and electrical (for cooktops) is disconnected. The old countertop is disposed of.
- Cabinet Inspection/Repair: The cabinet boxes are checked for level, squareness, and structural integrity. Any repairs are made.
- templating: A new, precise template is made of the prepared cabinet layout.
- Fabrication: New Corian slabs are cut, seamed (if needed), and edge profiles are created in the fabricator’s shop. Sinks are typically mounted in the shop for a perfect, sealed fit.
- Installation: The new countertop is carefully placed, leveled, and secured to the cabinets. Seams are welded and sanded. Plumbing and electrical are reconnected. A final polish is applied.
Cost and Considerations
Full replacement is the most expensive option, often costing $60 to $120+ per square foot when including demolition, disposal, and installation. The timeline is longer, typically 2-3 weeks from template to final install. The major advantage is a perfect, warrantied, new product with no limitations from the old countertop’s condition or structure. The disadvantages are the high cost, significant mess and disruption, and the environmental impact of sending the old countertop to a landfill (though some materials can sometimes be recycled).
Critical Decision Guide: Which Method is Right For You?
Don’t decide based on cost alone. Use this flowchart in your mind:
- Step 1: Assess Your “Why.”
- “I just hate this color/style.” → Refacing is your best bet.
- “My countertop is scratched/stained/damaged.” → Determine severity. Light scratches can be repaired *in the same color*. Deep damage may require refacing or replacement.
- “I want a different shape or layout.” → You need full replacement.
- Step 2: Assess Your Budget.
- High ($3,000+ for average kitchen): Professional refacing or full replacement.
- Low ($500 or less): DIY painting, with full acceptance of its temporary and low-durability nature.
- Step 3: Assess Your Tolerance for Risk & Disruption.
- Low: Hire a professional for refacing. The process is clean, fast, and the result is guaranteed.
- High: DIY painting is a weekend project with a high likelihood of an imperfect, short-lived result.
- Step 4: Check Your Warranty & Countertop Condition.
- Contact your original installer or Corian directly to see if your countertop is still under warranty and if refacing would affect it.
- Get a professional opinion. A good fabricator will tell you honestly if your countertop is a good candidate for refacing (it must be structurally sound and well-attached to the cabinets).
The Unavoidable Importance of Preparation and Aftercare
No matter which method you choose, success hinges on preparation and ongoing care. This is especially true for the two most common paths: refacing and painting.
Preparation is Everything
For refacing, the professional’s prep work is what makes the bond permanent. This includes a rigorous cleaning and a specific abrasive sanding process to create a “micro-mechanical bond.” You don’t need to do this yourself, but you should ensure the space is clear for the technicians to work efficiently.
For painting, you are 100% responsible for prep. Skipping or rushing this step guarantees failure. The surface must be immaculate and uniformly dull. Any gloss remnant will cause peeling. Any grease will cause bubbling. Spend 80% of your time on prep.
Aftercare for Your New Surface
Once your color change is complete, maintenance is simple but differs slightly:
- For Refaced or New Corian: Clean with mild soap and water or a non-abrasive cleaner. Avoid harsh solvents (acetone, nail polish remover). Minor scratches can be removed with a green abrasive sponge and polish. The surface remains non-porous and hygienic.
- For Painted Surfaces: Use only the gentlest soap and water. Avoid any scrubbing pads, even non-scratch. Do not place hot pots directly on the surface (use trivets). Cut on a cutting board. Treat it like a fragile, painted piece of furniture. Expect to touch up chips and scratches with your paint kit periodically.
Conclusion: Making the Smart, Long-Term Choice
Changing the color of your Corian countertop is a journey of managing expectations against reality. The allure of a cheap, simple DIY paint job is strong, but the reality is a short-lived, high-maintenance finish that will likely leave you disappointed within a year or two. When it comes to a surface you rely on daily in your kitchen, durability and long-term satisfaction are worth the investment.
For a permanent, beautiful, and warrantied transformation, professional Corian refacing is the unequivocal winner. It respects the integrity of the original material, delivers a result indistinguishable from new, and protects your home’s value. While the upfront cost is significant, its lifespan measured in decades makes it a cost-effective choice over time compared to re-doing a paint job every few years.
Your final step? Contact two or three certified Corian fabricators in your area. Explain your desire to change the color and ask specifically about their refacing services. Get detailed quotes that break down labor, material, and edge profile costs. Compare this to the cost of full replacement. With this information in hand, you can make a decision that aligns with your dream kitchen vision and your wallet, ensuring you’ll be happy with your new countertop color for years to come.
Frequently Asked Questions
Can I change the color of my Corian countertop without replacing it?
Yes, the primary permanent method is professional refacing, where a new thin layer of Corian is bonded over the old. DIY painting is also possible but is only a temporary cosmetic solution with poor durability.
How much does it cost to reface Corian countertops?
Professional refacing typically costs between $40 and $80+ per square foot, depending on your location, the fabricator, and the complexity of the edge profile. This is generally 50-70% of the cost of full replacement.
Will painting my Corian countertop last?
No, not in a kitchen. Even with perfect preparation and specialty paints, the coating will scratch, chip, and stain relatively quickly from normal use. It is considered a temporary fix for 1-3 years, not a permanent solution.
Does Corian refacing void the warranty?
No, when performed by a DuPont/Corian certified fabricator using approved methods and materials, the new refaced surface is typically covered by a new manufacturer warranty. DIY painting or unprofessional alterations will void any existing warranty.
Can I reface my Corian countertops myself?
Practically, no. Refacing requires specialized tools, materials (Corian-specific adhesive and bonding powder), and expert skills to create seamless, durable bonds and finishes. It is a professional trade service.
What is the most durable way to change Corian color?
Professional refacing with new Corian is the most durable method, as it creates a new, monolithic solid-surface layer identical in performance to the original. Full replacement is equally durable but more expensive and disruptive.
