Got a stuck or dull can opener? You don’t need to replace it. In this guide we walk you through diagnosing the problem, gathering simple tools, and fixing the most common issues so your opener works like new again. Save money and keep your kitchen running smoothly.
Key Takeaways
- Understanding How To Fix Can Opener: Provides essential knowledge
📑 Table of Contents
Introduction: Why a Working Can Opener Matters
Imagine opening a can of soup and the opener just won’t turn. It’s a small inconvenience that can quickly become a kitchen nightmare, especially when you’re hungry and in a hurry. Can openers are simple tools, but they have moving parts that wear out, rust, or get jammed. The good news? Most problems are easy to fix with a few household tools.
In this article we’ll show you how to fix a can opener step by step. Whether you own a classic hand‑crank model, a modern electric version, or a sleek countertop design, the same basic principles apply. By the end you’ll feel confident tackling blade dullness, gear misalignment, loose handles, and even motor issues.
1. Diagnose the Problem
Before you reach for a screwdriver, take a moment to pinpoint what’s wrong. A clear diagnosis saves effort and prevents unnecessary part swaps.
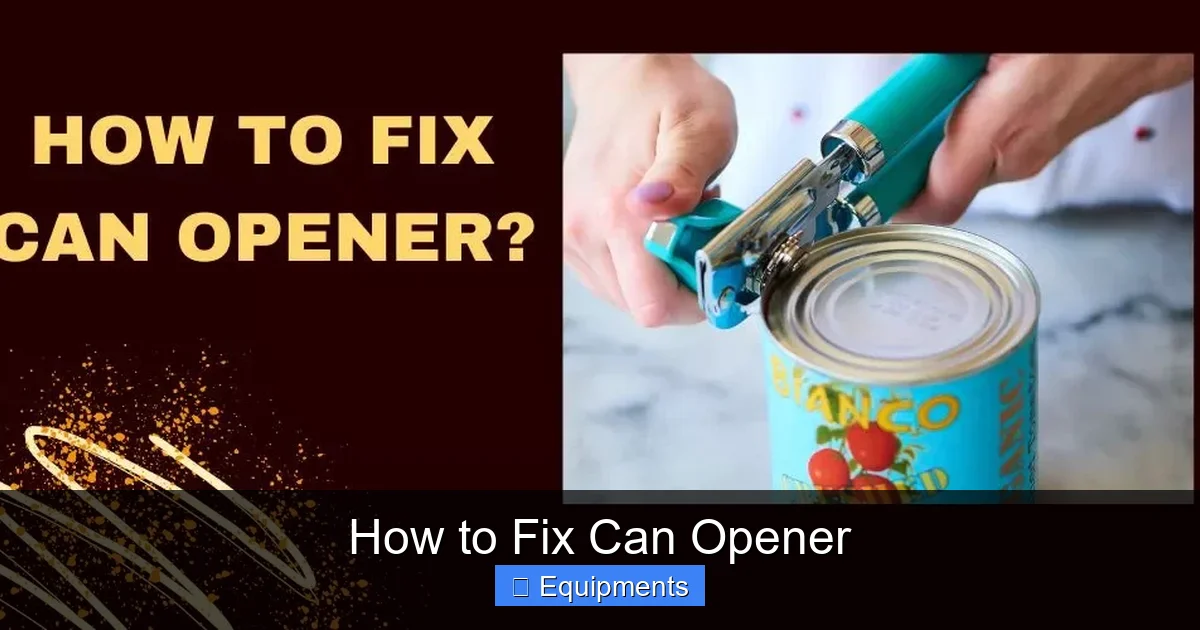
Visual guide about How to Fix Can Opener
Image source: housereimagined.com
1.1 Common Symptoms
- Blade won’t cut through metal: Usually dull or bent.
- Handle feels loose or wobbly: Screws may have loosened.
- Gear grinding noise: Teeth are worn or misaligned.
- Electric model won’t start: Power cord or motor failure.
- Can slips off the edge: Incorrect alignment of the cutting wheel.
1.2 Quick Visual Inspection
Grab a flashlight and look at the following areas:
- Cutting wheel: Is it sharp? Any rust?
- Gear assembly: Are the teeth clean or broken?
- Screw connections: Tighten any that look loose.
- Motor housing (electric): Check for scorch marks or frayed cords.
1.3 Decide: Repair or Replace?
If the housing is cracked, the motor smells burnt, or the gears are shattered, it’s time to replace. Otherwise, you can likely fix it yourself.
2. Gather Your Tools and Materials
Most repairs need only a handful of everyday tools. Having everything ready before you start keeps the process smooth.
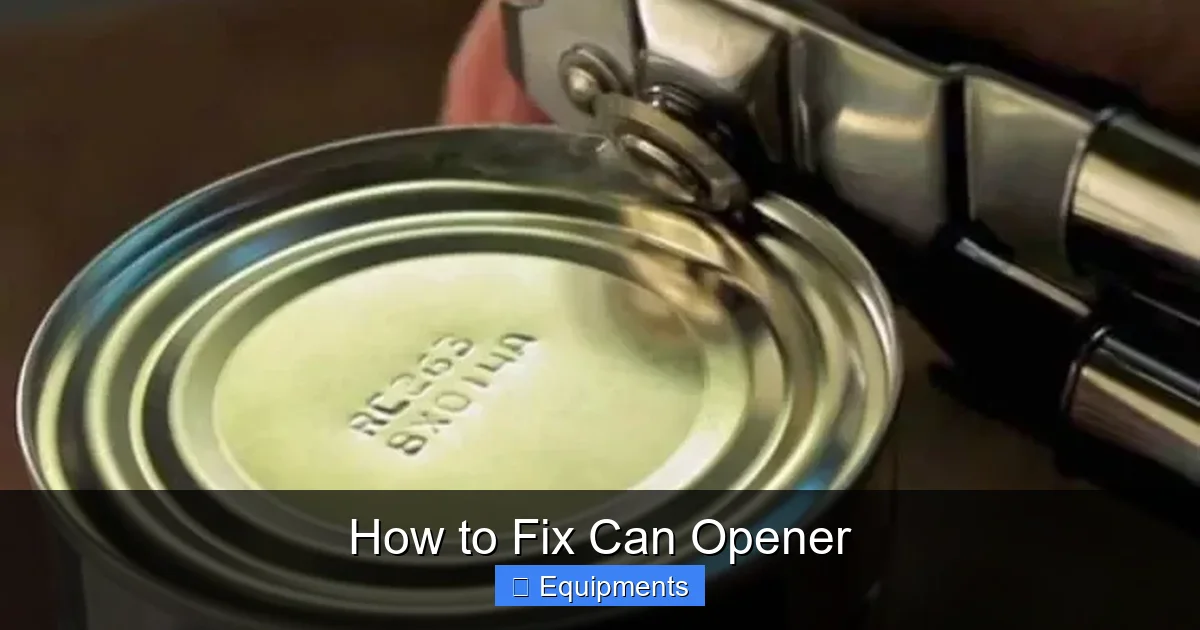
Visual guide about How to Fix Can Opener
Image source: housereimagined.com
2.1 Essential Tools
- Screwdrivers: Phillips and flat‑head (size #2 works for most models).
- Pliers: Needle‑nose for tight spots.
- Adjustable wrench: For larger bolts on some countertop units.
- Small brush: An old toothbrush works great for cleaning.
- Lubricant: Food‑grade silicone oil or light machine oil.
- Safety gloves: Prevent cuts from sharp blades.
2.2 Optional Replacement Parts
- Replacement cutting wheel (often sold as “blade”).
- Gear set (plastic or metal, depending on model).
- Rubber O‑ring for the handle.
- New motor (for electric models, if needed).
3. Fixing a Hand‑Crank Can Opener
Hand‑crank openers are the most common and the easiest to repair. Follow these steps for each typical issue.
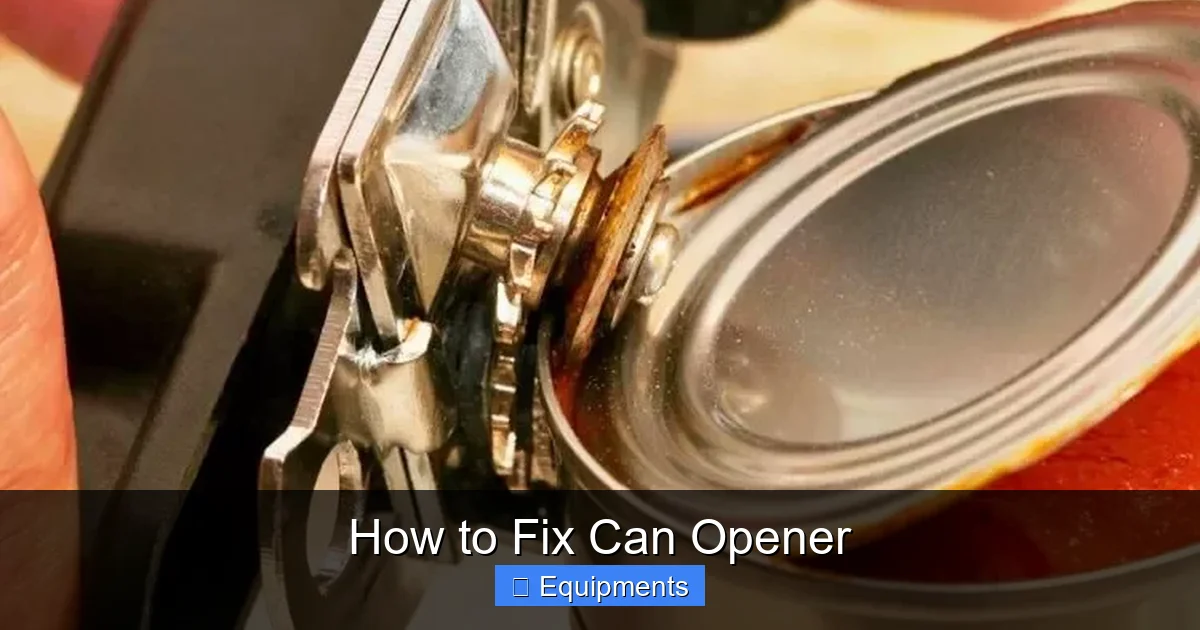
Visual guide about How to Fix Can Opener
Image source: housereimagined.com
3.1 Sharpen or Replace the Cutting Wheel
- Unplug the opener if it’s electric, then lay it flat on a sturdy surface.
- Remove the metal housing screws (usually two).
- Take out the cutting wheel. Inspect for nicks or rust.
- If dull, use a fine‑grit sharpening stone. Hold the wheel at a 45° angle and move it back and forth for 30 seconds.
- For severe damage, replace the wheel with a new one that matches the model number.
- Reassemble the housing, tighten the screws, and test on a can.
3.2 Tighten a Loose Handle
- Locate the screw that secures the handle to the gear shaft.
- Use a Phillips screwdriver to tighten it clockwise until snug.
- Check that the handle rotates smoothly without wobble.
3.3 Repair the Gear Teeth
The gear (often a small plastic cog) engages the cutting wheel. If it’s worn, you’ll hear a grinding sound.
- Remove the housing as described above.
- Pull out the gear. Inspect the teeth for chips.
- If only a few teeth are damaged, you can file them gently with a fine file.
- For extensive wear, replace the gear with a compatible part.
- Re‑install, making sure the gear meshes properly with the wheel.
3.4 Clean and Lubricate
Even a fully functional opener can jam if it’s dirty.
- Brush away food residue from the wheel, gear, and housing.
- Wipe the moving parts with a damp cloth.
- Apply a drop of food‑grade silicone oil to the gear teeth and the pivot points.
- Wipe off excess oil to avoid drips.
4. Repairing an Electric Can Opener
Electric models add a motor and wiring, so safety is paramount. The steps below cover the most frequent problems.
4.1 Check Power Supply
- Unplug the unit.
- Inspect the cord for cuts or frays. If damaged, replace the cord.
- Test the outlet with another appliance to confirm it works.
- Plug the opener back in and see if it powers on.
4.2 Clean the Motor and Blade Assembly
Food particles can jam the motor.
- Remove the rear panel (usually a few screws).
- Use a brush to clear debris from the motor vents.
- Wipe the cutting wheel and feed roller with a damp cloth.
- Apply a thin layer of oil to the motor shaft if the manufacturer recommends it.
4.3 Replace a Burnt Motor Brush
Many small electric openers use carbon brushes that wear out.
- Locate the brush housing (often near the motor shaft).
- Remove the old brush with pliers.
- Insert a new brush of the same size and type.
- Reassemble and test.
4.4 Fix a Misaligned Cutting Wheel
- Unscrew the front panel to expose the wheel assembly.
- Loosen the adjustment screw that holds the wheel’s axle.
- Shift the wheel so the cutting edge aligns with the can’s rim.
- Tighten the screw and run a test can.
4.5 Troubleshoot Motor Failure
If the opener hums but doesn’t turn, the motor may be jammed or burnt.
- Give the motor a gentle tap with a rubber mallet – sometimes the brushes are stuck.
- If the hum persists, use a multimeter to check for continuity in the motor windings.
- Replace the motor if there’s no continuity; this is the most expensive repair but still cheaper than a brand‑new unit.
5. Preventive Maintenance: Keep Your Opener Running Smoothly
Fixing a can opener is only half the battle. Regular care stops problems before they start.
5.1 After‑Each‑Use Cleaning
- Wipe the cutting wheel and feed roller with a damp cloth.
- Remove any food bits that may have lodged in the gears.
- Dry the opener thoroughly to avoid rust.
5.2 Monthly Lubrication
Apply a drop of food‑grade silicone oil to the moving parts once a month. This keeps the gears quiet and extends their life.
5.3 Store Properly
Keep the opener in a dry cabinet, away from steam and direct sunlight. For electric models, coil the cord loosely to avoid kinks.
5.4 Replace Worn Parts Promptly
Even with care, blades dull and gears wear. Replace the cutting wheel after 1–2 years of heavy use, or whenever you notice a decline in cutting performance.
Conclusion: You’ve Got This!
Now you know exactly how to fix a can opener—from a dull blade to a motor that won’t spin. With just a screwdriver, a bit of oil, and a little patience, you can bring most models back to life and avoid the cost of a new purchase. Remember to diagnose first, follow the safety steps, and keep up with regular maintenance. Your kitchen will thank you, and you’ll never be left staring at a stubborn can again.
Frequently Asked Questions
Why won’t my hand‑crank can opener cut the lid?
The cutting wheel is probably dull or misaligned. Sharpen the wheel or adjust its position, and clean any food buildup that may be blocking it.
My electric can opener hums but doesn’t turn. What’s wrong?
A humming sound usually means the motor is receiving power but the drive gear is stuck. Try tapping the motor gently, check for jammed gears, or test the motor’s continuity with a multimeter.
Can I use regular household oil on my can opener?
Use food‑grade silicone oil or a light machine oil. Regular motor oil can leave residue that isn’t safe for food contact.
How often should I replace the cutting wheel?
For frequent users, replace the wheel every 12‑18 months. If you notice ragged edges or the opener struggles with a single turn, it’s time for a new wheel.
Is it safe to repair a cracked housing on an electric opener?
No. A cracked housing can expose electrical components and create a shock hazard. Replace the unit if the housing is damaged.
What should I do if the handle on my hand‑crank opener feels loose?
Locate the screw that secures the handle to the gear shaft and tighten it with a Phillips screwdriver. If the screw thread is stripped, you may need to replace the screw or the handle assembly.