Discover the simplest way to get the most out of your Emerald Air Fryer. From setup to seasoning, this guide walks you through every step, shares tasty recipe ideas, and reveals cleaning shortcuts so you can enjoy crispy, healthy meals without hassle. Read on and become an air‑fryer pro in no time!
Key Takeaways
- Quick setup: Unbox, plug in, and pre‑heat in under 3 minutes.
- Optimal cooking: Use the right temperature, time, and shake intervals for perfect crispness.
- Versatile recipes: From fries to desserts, the Emerald Air Fryer handles a wide range of dishes.
- Easy cleaning: Non‑stick basket and dishwasher‑safe parts keep maintenance painless.
- Safety first: Follow built‑in safety features and placement guidelines to avoid accidents.
- Energy‑saving tips: Maximize batch cooking and use pre‑heat wisely to cut electricity use.
- Troubleshooting: Simple fixes for common issues like uneven browning or error codes.
📑 Table of Contents
Introduction: Why the Emerald Air Fryer Is a Kitchen Game‑Changer
If you’ve ever dreamed of enjoying fried foods without the guilt‑laden oil splash, the Emerald Air Fryer is the answer. This sleek appliance uses rapid hot‑air circulation to give you that golden crunch you love, while keeping calories low and cleanup easy. Unlike traditional deep fryers, it doesn’t require gallons of oil, and unlike a convection oven, it cooks faster and uses a fraction of the space.
In this guide we’ll walk you through everything you need to know to become an Emerald Air Fryer expert. Whether you’re a total beginner or you already own a different brand, you’ll learn how to set up, program, cook, and maintain the device so you can serve up everything from crispy chicken wings to fluffy churros with confidence.
1. Unboxing and First‑Time Setup
What’s Inside the Box?
When you first open the Emerald Air Fryer package, you’ll find:
Visual guide about How to Use Emerald Air Fryer
Image source: thekitchenix.com
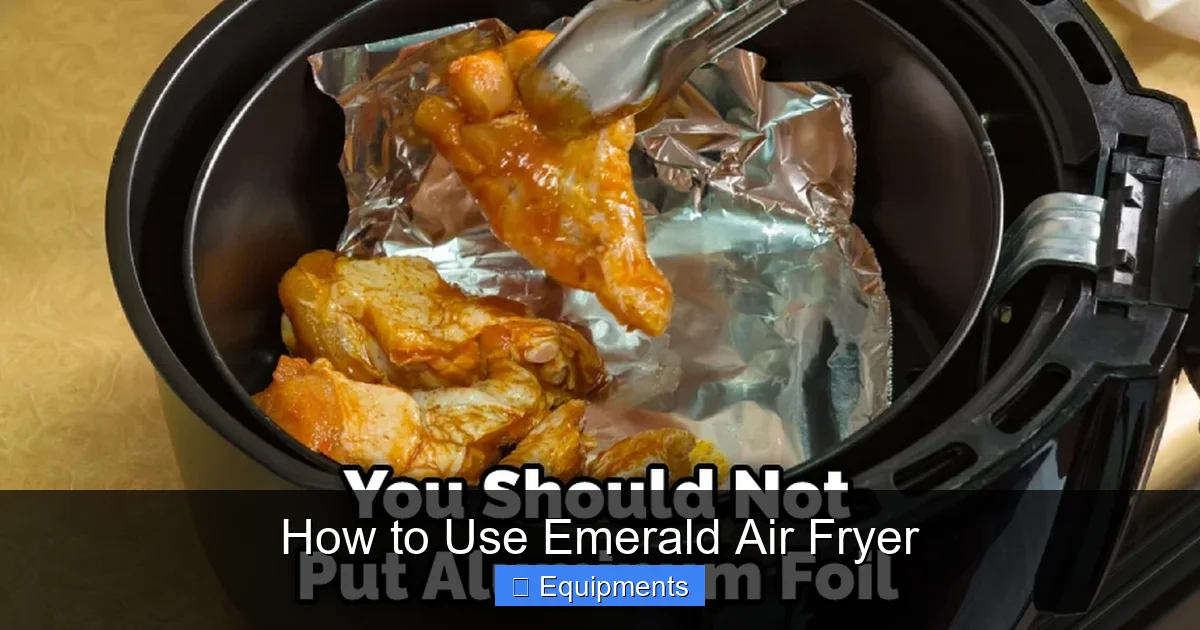
- The main unit with a digital touch panel.
- A non‑stick basket with a removable crisper tray.
- A cooking guide booklet.
- A safety warranty card.
All parts are made of BPA‑free plastic and stainless‑steel components, ensuring durability and food‑grade safety.
Step‑by‑Step Assembly
Step 1: Place the unit on a flat, heat‑resistant surface. Keep at least 12 inches of clearance on all sides for proper ventilation.
Step 2: Insert the basket into the main chamber. It should click into place; you’ll feel a slight resistance when it’s seated correctly.
Step 3: Plug the power cord into a grounded outlet. The digital display will light up, showing “00:00” and a blinking power icon.
Step 4: Press the “Power” button for two seconds. The unit will beep and the pre‑heat indicator will appear.
That’s it—your Emerald Air Fryer is ready for its first test run.
First Pre‑Heat Test
Set the temperature to 180°C (350°F) and the timer to 2 minutes. Press “Start.” The fan will whir, and you’ll hear a gentle airflow sound. This short pre‑heat cycle clears any residual manufacturing dust and calibrates the sensor.
2. Understanding the Control Panel
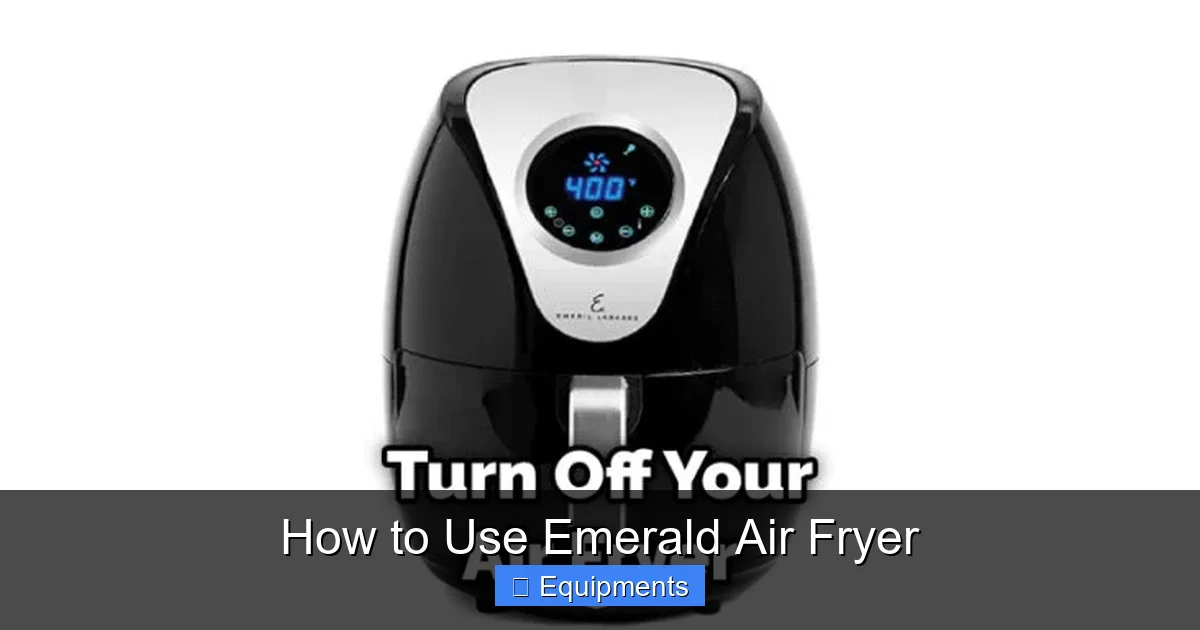
Key Buttons and What They Do
- Power: Turns the unit on/off.
- Temp (+/–): Adjusts temperature from 80°C to 200°C (176°F‑392°F).
- Time (+/–): Sets cooking duration up to 60 minutes.
- Pre‑Heat: Rapidly brings the chamber to the selected temperature.
- Shake/Flip Reminder: Emits a beep at preset intervals.
- Keep Warm: Holds food at a safe serving temperature for up to 15 minutes.
- Cancel/Reset: Stops the cycle and clears settings.
Using Preset Programs
The Emerald Air Fryer comes with five built‑in presets: French Fries, Chicken, Fish, Vegetables, and Desserts. To activate a preset, simply press the corresponding icon. The unit automatically selects optimal temperature and time, then flashes “Start.” You can still adjust the settings if you prefer a different crisp level.
Visual guide about How to Use Emerald Air Fryer
Image source: thekitchenix.com
Manual Mode for Creative Cooking
If you want more control, switch to manual mode by pressing “Menu” and selecting “Custom.” Here you can set any temperature and time within the device’s range. This is perfect for experimenting with new recipes or cooking items not covered by the presets.
3. Mastering the Cooking Process
Preparing Food for the Air Fryer
Success starts with preparation. Follow these simple rules:
Visual guide about How to Use Emerald Air Fryer
Image source: thekitchenix.com
- Dry the surface: Pat foods with a paper towel to remove excess moisture. This helps the hot air create a crisp crust.
- Lightly oil (optional): A teaspoon of high‑smoke‑point oil (such as avocado or canola) tossed with seasonings gives extra crunch without drowning the dish.
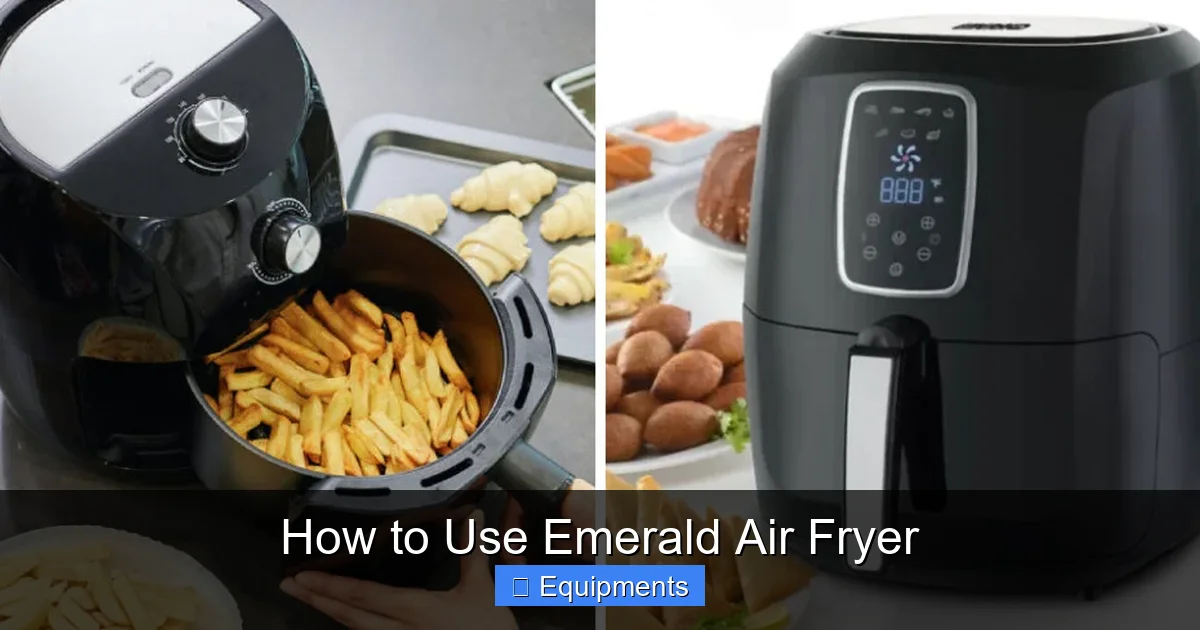
- Don’t overcrowd: Arrange food in a single layer, leaving space between pieces. Overcrowding blocks airflow and leads to soggy spots.
Cooking Techniques for Different Foods
1. French Fries: Cut potatoes into 1‑cm sticks, soak for 10 minutes, dry, then toss with 1 tsp oil and salt. Set 200°C (392°F) for 15‑18 minutes, shaking halfway.
2. Chicken Wings: Pat dry, coat with a dry rub, and arrange in the basket. Cook at 190°C (374°F) for 22‑25 minutes, shaking every 7 minutes.
3. Vegetables: Toss broccoli florets with a drizzle of oil and garlic powder. Cook at 180°C (356°F) for 8‑10 minutes, shaking once.
4. Frozen Snacks: No thaw needed. Set temperature 200°C (392°F) and increase time by 2‑3 minutes compared to fresh versions.
5. Desserts (e.g., churros): Pipe dough onto parchment inside the basket, spray lightly with oil, and fry at 180°C (356°F) for 10‑12 minutes.
Using the Shake/Flip Reminder Effectively
The built‑in reminder beeps at intervals you set (default is every 5 minutes). For items like fries or chicken nuggets, give the basket a quick shake or use tongs to flip. This ensures even browning and eliminates the need to open the door repeatedly, which would otherwise drop the temperature.
Keeping Food Warm Without Overcooking
When the cycle ends, switch to “Keep Warm” if you’re not ready to serve. The temperature drops to a gentle 70°C (158°F), preserving crispness while preventing the food from becoming dry.
4. Cleaning and Maintenance
Daily Cleaning Routine
After each use, follow these steps:
- Unplug the unit and let it cool for 5 minutes.
- Remove the basket and crisper tray.
- Rinse both parts under warm water. Use a soft sponge and a mild dish soap. Avoid abrasive pads that could scratch the non‑stick coating.
- Wipe the main chamber with a damp cloth. Never submerge the main unit.
- Dry all components thoroughly before reassembly.
All removable parts are dishwasher‑safe (top rack only), which makes a quick clean‑up even easier.
Deep Cleaning (Weekly)
Once a week, remove the heating element cover (refer to the manual) and gently brush away any food particles that may have settled. Use a soft brush or a cotton swab dipped in a mixture of equal parts water and white vinegar to eliminate lingering odors.
Maintaining the Non‑Stick Surface
To prolong the life of the non‑stick coating:
- Avoid metal utensils; opt for silicone or wooden tools.
- Never spray oil directly onto the basket; instead, use a spray bottle or a brush.
- Season the basket lightly with a thin oil coat every few weeks; this helps fill microscopic pores.
Storage Tips
If you plan to store the fryer for an extended period, clean it thoroughly, dry all parts, and keep the unit in a dry cabinet. Cover the opening with a breathable cloth to prevent dust buildup.
5. Troubleshooting Common Issues
Problem: Food Is Not Crispy Enough
Check that the basket isn’t overcrowded and that you’ve pre‑heated the unit. Increase the temperature by 10‑15°C and add a short extra cooking burst (2‑3 minutes) if needed.
Problem: Uneven Browning
Make sure you’re using the shake/flip reminder or manually shaking halfway through. Also, cut food into uniform sizes to ensure even heat exposure.
Problem: Error Code “E1” Appears
This indicates a temperature sensor fault. Turn the unit off, unplug it for 5 minutes, then restart. If the code persists, contact Emerald customer support.
Problem: Smoke or Burning Smell
Usually caused by leftover oil residue. Clean the basket and heating element thoroughly. Also, avoid using excessive oil on foods.
Problem: The Fan Isn’t Running
Check that the unit is properly plugged in and that the door is fully closed. If the fan still doesn’t spin, the motor may need professional service.
Conclusion: Your New Favorite Kitchen Companion
The Emerald Air Fryer combines convenience, health, and versatility in a compact design that fits any countertop. By following the simple steps outlined in this guide—proper setup, understanding the controls, mastering cooking techniques, and keeping the unit clean—you’ll unlock the full potential of this appliance. From quick weeknight snacks to impressive dinner parties, the Emerald Air Fryer makes it easy to serve up delicious, crispy meals without the mess of deep frying.
Take the plunge, experiment with flavors, and enjoy the satisfaction of creating restaurant‑quality dishes at home. Happy frying!
Frequently Asked Questions
How do I pre‑heat the Emerald Air Fryer?
Press the “Pre‑Heat” button after setting your desired temperature. The unit will beep when it reaches the set temperature, usually in 2‑3 minutes.
Can I cook frozen foods directly in the air fryer?
Yes. No need to thaw. Just add a couple of extra minutes to the cooking time and follow the preset or manual settings.
Is the basket dishwasher safe?
Absolutely. The basket and crisper tray are top‑rack dishwasher safe. Hand‑wash the main unit with a damp cloth.
What’s the best oil to use for extra crispness?
Use a high‑smoke‑point oil like avocado, canola, or grapeseed. A light spray or a teaspoon tossed with the food is enough.
How many servings can I make at once?
The Emerald Air Fryer’s 5‑liter capacity holds about 2‑3 servings of fries or 1‑2 pounds of chicken. For larger families, cook in batches and keep finished pieces warm.
Does the air fryer require special maintenance for the heating element?
Just a monthly gentle brush to remove any food particles. Avoid harsh chemicals; a damp cloth is sufficient.