Want your Ninja blender to slice like new? Follow this friendly guide on how to sharpen Ninja blender blades, keep them razor‑sharp, and extend the life of your machine. Simple tools, clear steps, and pro tips make blade maintenance a breeze.
Key Takeaways
- Safety first: Always unplug and protect your hands before handling blades.
- Right tools matter: A fine‑grit sharpening stone or a dedicated blade sharpener works best.
- Angle is key: Maintaining the original 20‑30° bevel ensures optimal cutting power.
- Clean before you sharpen: Removing residue prevents damage and gives a true edge.
- Test the edge: A simple paper test confirms sharpness after every sharpening session.
- Regular maintenance: Light honing after each use keeps blades sharp longer.
- When to replace: If blades are chipped or bent, replacement is safer than sharpening.
📑 Table of Contents
Introduction: Why Blade Sharpness Matters
Imagine making a smoothie and ending up with a chunky, uneven blend. The culprit is often dull or damaged blades. Ninja blenders are praised for their power, but even the strongest motor can’t compensate for a blunt cutting edge. Sharpening the blades restores that smooth, creamy texture you expect from a high‑performance kitchen appliance.
In this guide we’ll walk you through how to sharpen Ninja blender blades safely, efficiently, and without spending a fortune on professional services. Whether you own a Ninja Professional 72‑oz, a Nutri Bullet, or a newer Ninja Foodi system, the principles stay the same. By the end, you’ll feel confident handling the blades, know the best tools for the job, and have a maintenance routine that keeps your blender humming for years.
Understanding Your Ninja Blade Design
Blade Types and Their Functions
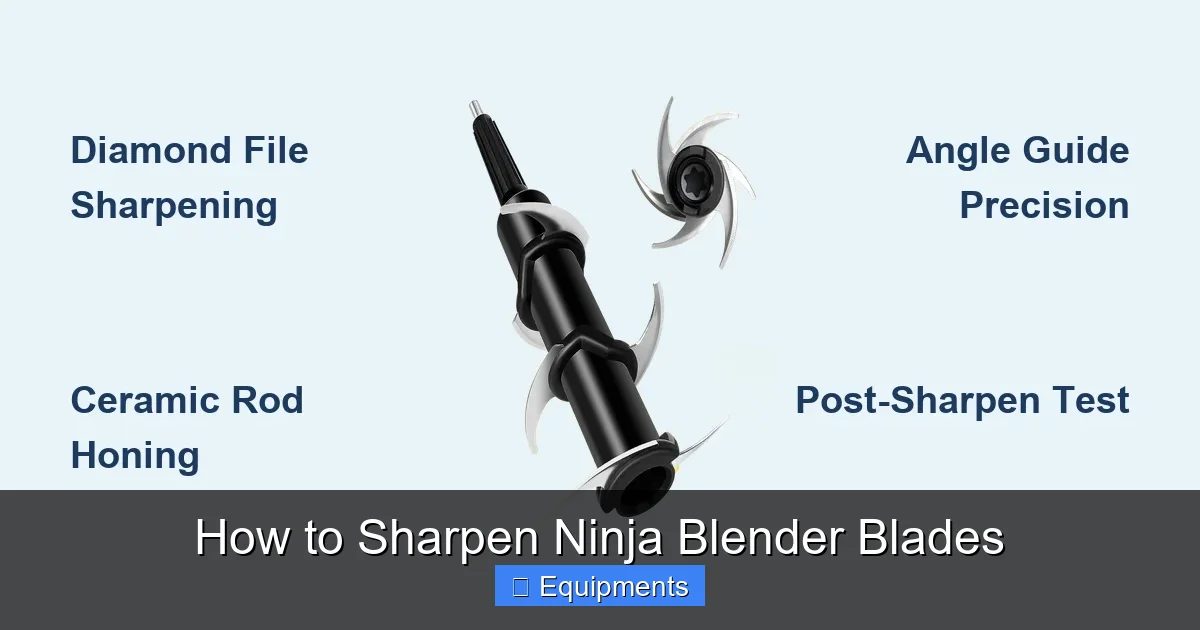
Ninja blends typically use one of two designs:
Visual guide about How to Sharpen Ninja Blender Blades
Image source: ninjachoice.blog
- Cross‑cut (or “X‑blade”) design: Two or more blades intersect to create a chopping motion. Ideal for crushing ice and fibrous vegetables.
- Flat‑edge (or “sword”) design: Long, straight blades that slice and puree. Common in food processor attachments.
Both designs rely on a precise bevel angle—usually between 20° and 30°—to slice through food cleanly. When that angle dulls, the blade pushes rather than cuts, leading to uneven textures and extra strain on the motor.
Materials and Hardness
Most Ninja blades are made from stainless steel (often 304 or 420 grade). They are corrosion‑resistant but not as hard as high‑carbon steel. This means they can be sharpened at home, but you must avoid excessive heat, which can temper the steel and reduce durability.
Preparing for Sharpening
Gather Your Tools
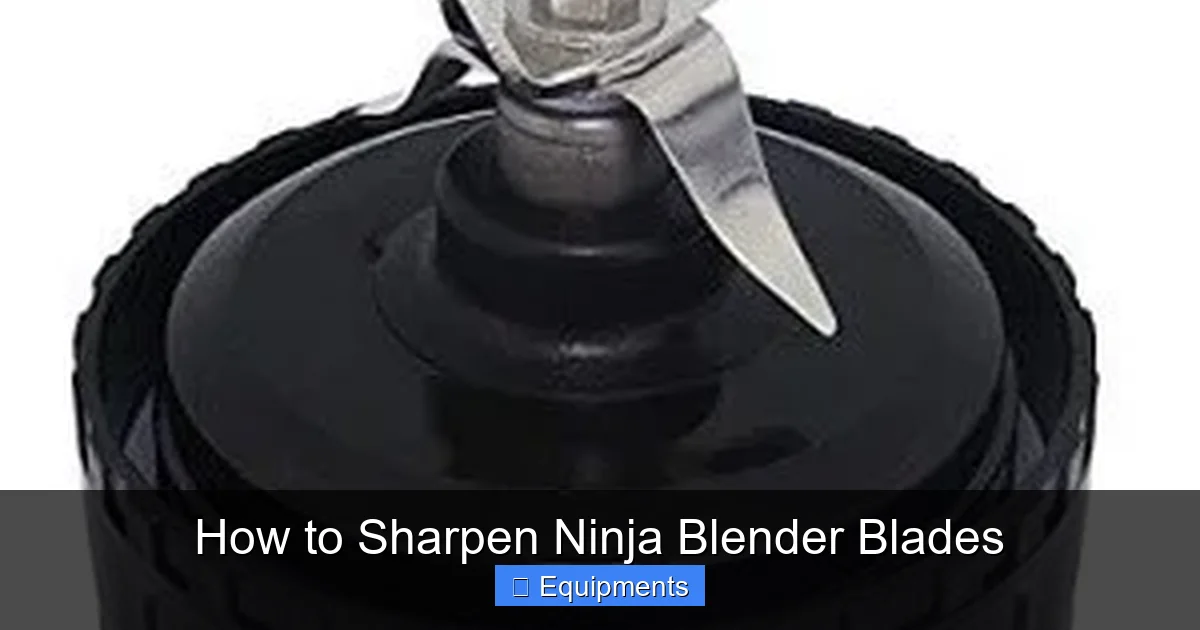
Here’s a minimal toolkit that works for every Ninja model:
Visual guide about How to Sharpen Ninja Blender Blades
Image source: kitchenhabit.com
- Fine‑grit sharpening stone (800–1000 grit): Provides a smooth edge without grinding away too much metal.
- Dremel rotary tool with a sharpening attachment (optional): Speeds up the process for experienced users.
- Protective gloves: Cut‑resistant nitrile or leather gloves keep your hands safe.
- Small screwdriver set: Needed to remove the blade assembly on many Ninja jars.
- Soft cloth and mild dish soap: For cleaning the blades before sharpening.
Safety Checklist
Before you start, run through this quick safety list:
- Unplug the blender and remove the power cord.
- Detach the jar from the base and empty any contents.
- Wear cut‑resistant gloves and safety glasses.
- Work on a stable, well‑lit surface.
- Keep a small container of water nearby to rinse the stone.
Disassembling the Blade Assembly
Most Ninja jars have a removable blade assembly:
- Turn the jar upside down and locate the screw or latch holding the blade housing.
- Using the appropriate screwdriver, loosen the fastener. Some models have a twist‑lock; simply turn counter‑clockwise.
- Gently lift the blade assembly out. It may be a single piece or a two‑part set (blade + gasket).
- Place the blades on a clean towel, blade side up, to avoid accidental cuts.
Step‑by‑Step Sharpening Process
1. Clean the Blades Thoroughly
Residue can mask dull spots and cause uneven sharpening. Fill a bowl with warm, soapy water, submerge the blades, and use a soft brush to scrub away food particles. Rinse well and dry completely with a lint‑free cloth.
Visual guide about How to Sharpen Ninja Blender Blades
Image source: kitchenhabit.com
2. Inspect for Damage
Look for nicks, cracks, or bent sections. If you spot any of these, sharpening alone won’t restore performance; you’ll need a replacement blade set. Minor dullness is fine—proceed to the next step.
3. Set the Correct Angle
The secret to a razor‑sharp edge is maintaining the original bevel angle. For Ninja blades, aim for a 20°–30° angle. Here’s a quick trick:
- Place the blade on a flat surface with the cutting edge facing up.
- Hold the sharpening stone against the edge and tilt it until you feel a slight resistance—that’s roughly the right angle.
- Use a small angle guide (available at hardware stores) if you want extra precision.
4. Sharpen Using a Stone
Follow these motions:
- Lubricate the stone with a few drops of water or honing oil.
- Place the blade edge on the stone, maintaining the angle.
- Push the blade away from you (edge leading) while applying light, even pressure. Imagine you are trying to shave a thin slice off the stone.
- After 5–7 strokes, flip the blade and repeat on the opposite side. This keeps the edge symmetrical.
- Continue alternating sides until you feel a consistent “bite” when you run your thumb lightly across the edge (be careful not to cut yourself).
Tip: If you’re using a Dremel, set it to a low speed (around 5,000 RPM) and run the tip along the edge for short bursts—no more than a few seconds per pass.
5. Hone the Edge
After the coarse sharpening, switch to a finer stone (2000–3000 grit) or a leather strop. This removes the microscopic burrs left from the first pass and polishes the edge.
6. Test Sharpness
Two quick tests:
- Paper Test: Hold a piece of newspaper or printer paper vertically. Gently slide the blade edge across; a sharp blade will slice cleanly without tearing.
- Food Test: Blend a small amount of soft fruit (like banana). If the texture is smooth within seconds, the blade is ready.
7. Reassemble and Store
Place the blade assembly back into the jar, secure the fastener, and ensure it’s tight but not over‑torqued. Store the blender with the jar upside down to keep the blades from contacting hard surfaces.
Maintaining Sharpness Between Sharpenings
Daily Care Tips
- Rinse blades immediately after each use to prevent food buildup.
- Run a quick “clean cycle” with warm water and a drop of dish soap, then rinse.
- Avoid crushing hard items (like ice) without enough liquid; this stresses the edge.
Light Honing Routine
Every 2–3 weeks, give the blades a light honing on a fine stone (1500 grit) for just 5 strokes per side. This maintains the edge and reduces the need for full sharpening.
When to Replace Blades
Even with proper care, blades will eventually wear out. Replace them if you notice:
- Consistent dullness after multiple sharpening attempts.
- Visible cracks or chips.
- Bent blades that no longer sit flat in the housing.
Replacement sets are often sold as “Ninja Blade Pack” and are relatively inexpensive compared to a new blender.
Common Mistakes & How to Avoid Them
Over‑Sharpening
Grinding away too much metal thins the blade, making it fragile. Stick to the recommended number of strokes and check sharpness frequently.
Wrong Angle
Sharpening at a steeper angle (over 35°) creates a blunt edge that looks shiny but performs poorly. Use the angle guide or practice on a cheap kitchen knife first.
Skipping Safety Gear
Even a momentary lapse can lead to a nasty cut. Always wear gloves and keep the blades pointed away from your body.
Using the Wrong Stone
Coarse stones (under 400 grit) remove metal too quickly and can create deep grooves. Stick to 800–1000 grit for the initial edge, then move to finer grits for polishing.
Conclusion: Keep Your Ninja Blending Like New
Sharpening Ninja blender blades isn’t rocket science—it’s a straightforward process that anyone can master with a little patience and the right tools. By following this guide on how to sharpen Ninja blender blades, you’ll enjoy smoother smoothies, finer purees, and a motor that works less hard. Regular cleaning, light honing, and timely replacement keep your blender performing at peak efficiency and extend its lifespan.
Remember, safety always comes first, and a sharp blade is a safe blade. So next time your Ninja starts to sound a bit “gritty,” you now have the know‑how to bring it back to razor‑sharp glory—without a trip to the repair shop.
Frequently Asked Questions
How often should I sharpen my Ninja blender blades?
For regular home use, sharpen the blades every 6–12 months, or sooner if you notice reduced blending performance. Light honing every few weeks helps maintain sharpness.
Can I use a regular kitchen knife sharpener on blender blades?
No. Kitchen knife sharpeners are designed for different angles and blade thicknesses. Use a fine‑grit sharpening stone or a dedicated blender blade sharpener for best results.
Is it safe to sharpen the blades while they are still attached to the jar?
Never. Always remove the blade assembly, unplug the unit, and work with the blades free of the jar to avoid accidental injury.
What if my blades are bent after dropping the jar?
Bent blades should be replaced, not sharpened. A bent edge can cause uneven blending and may damage the motor.
Do I need to oil the blades after sharpening?
After sharpening, wipe the blades clean and lightly coat them with food‑grade mineral oil if you store the blender for an extended period. This prevents rust.
Can I sharpen the blades with an electric drill?
Yes, but only with a low‑speed setting and a proper sharpening attachment. High speeds generate heat that can temper the steel, so proceed with caution.