Burnt sugar creates a stubborn, adhesive mess, but you can conquer it without harsh chemicals or scratching. The key is to rehydrate and gently lift the caramelized sugar using heat and a liquid—water, baking soda paste, or vinegar are your best allies. Always match your method to your pan’s material (stainless steel, non-stick, enamel) to prevent damage. With patience and the right technique, even the most baked-on sugar residue can be removed, restoring your pan to a usable state.
That sweet, caramel smell turning into a sharp, acrid scent? You know exactly what it means—you’ve just made a batch of burnt sugar. One moment you’re crafting a delicate crème brûlée topping or a rich caramel sauce, and the next, you’re staring at a pan that looks like it’s been welded to the stovetop. The sugar has carbonized, fused to the metal in a rock-hard, sticky-black shell. The instinct is to grab a steel wool pad and attack it, but that often just scratches your pan and makes the problem worse. Don’t panic, and definitely don’t throw the pan away. Removing burnt sugar is a classic kitchen challenge, but it’s one you can solve with science, patience, and common pantry staples. This guide will walk you through exactly how to remove burnt sugar from pan, restoring it to its former glory without a single scratch.
Key Takeaways
- Rehydration is the first step: Burnt sugar hardens because moisture is driven out. Adding liquid and heat reverses this process, softening the residue for removal.
- Method depends on pan material: Stainless steel is durable, but non-stick and enamel require gentle, non-abrasive approaches to avoid ruining the surface.
- Baking soda is a gentle powerhouse: Its mild alkalinity and abrasive texture make it ideal for scrubbing without scratching most surfaces when used as a paste.
- Vinegar dissolves mineral bonds: The acetic acid in vinegar helps break down the hardened sugar matrix, especially effective when combined with heat.
- Prevention is easier than removal: Using lower heat, constant stirring, and adding a little water to sugary syrups can prevent most burnt sugar incidents.
- Patience prevents damage: Never use extreme force or metal utensils on a hot, burnt pan. Let it cool slightly and use soaking methods first.
- Dish soap alone won’t work: Soap is ineffective on polymerized sugar. You need an acidic or alkaline agent plus heat to break the chemical bonds.
📑 Table of Contents
- Understanding Your Enemy: What Is Burnt Sugar?
- Method 1: The Power of Simmering Water (The Gentle Start)
- Method 2: The Baking Soda Paste (The Gentle Abrasive)
- Method 3: The Vinegar and Heat Combo (Acidic Attack)
- Method 4: The Salt Scrub (For Cast Iron & Uncoated Metal)
- Method 5: The Last Resort: Commercial Cleaners and Boiling Techniques
- Prevention: How to Never Deal with Burnt Sugar Again
- Conclusion: Patience and the Right Tool for the Job
Understanding Your Enemy: What Is Burnt Sugar?
Before we grab the cleaning supplies, it helps to understand what we’re dealing with. Sugar, when heated, goes through a fascinating process. It first melts into a clear syrup. As you continue to heat it, it undergoes a Maillard reaction and caramelization, turning golden and developing complex flavors. This is the delicious stage. However, if heat is applied for too long or too intensely, the sugar molecules break down completely. They carbonize, releasing bitter compounds and water vapor, leaving behind a rigid, brittle lattice of carbon. This is burnt sugar. It’s not just stuck on; it’s chemically bonded to the pan’s surface through a process called polymerization. That’s why a simple scrub with soap and water fails. We need to break those bonds.
The Role of Your Pan’s Material
Your strategy hinges on what your pan is made of. Aggressive methods that might save a bare stainless steel skillet can destroy a non-stick coating or enamel finish in seconds.
- Stainless Steel: Your toughest ally. It can handle abrasives (like baking soda paste or dedicated stainless steel cleaners), high heat, and acidic solutions (vinegar) without issue. This is the most forgiving material.
- Non-Stick (Teflon, Ceramic): Requires extreme gentleness. Any metal utensil or abrasive scrubber will scratch the coating, releasing it into your food and ruining the pan’s non-stick properties. Stick to soaking with hot, soapy water, and use only non-scratch sponges or soft cloths. Avoid vinegar unless highly diluted, as prolonged acid exposure can degrade some coatings.
- Enamel (like Dutch ovens): The enamel coating is glass-like. It’s durable against heat and acid but is vulnerable to abrasion and thermal shock. Do not use steel wool or harsh powders. Soaking and gentle simmering with baking soda or a specialized enamel-safe cleaner is best. Never take an extremely hot enameled pan and plunge it into cold water.
- Cast Iron (plain or seasoned): The seasoning is a polymerized oil layer. You must protect it. Avoid soap if possible (a little is fine for burnt sugar cleanup), and never use vinegar or acid, as it will strip the seasoning. Use coarse salt as an abrasive with a little oil or water, and re-season the pan thoroughly after cleaning.
- Aluminum: Can react with acidic cleaners like vinegar, causing discoloration. Baking soda is safer. Use gentle methods to avoid scratching the soft surface.
Method 1: The Power of Simmering Water (The Gentle Start)
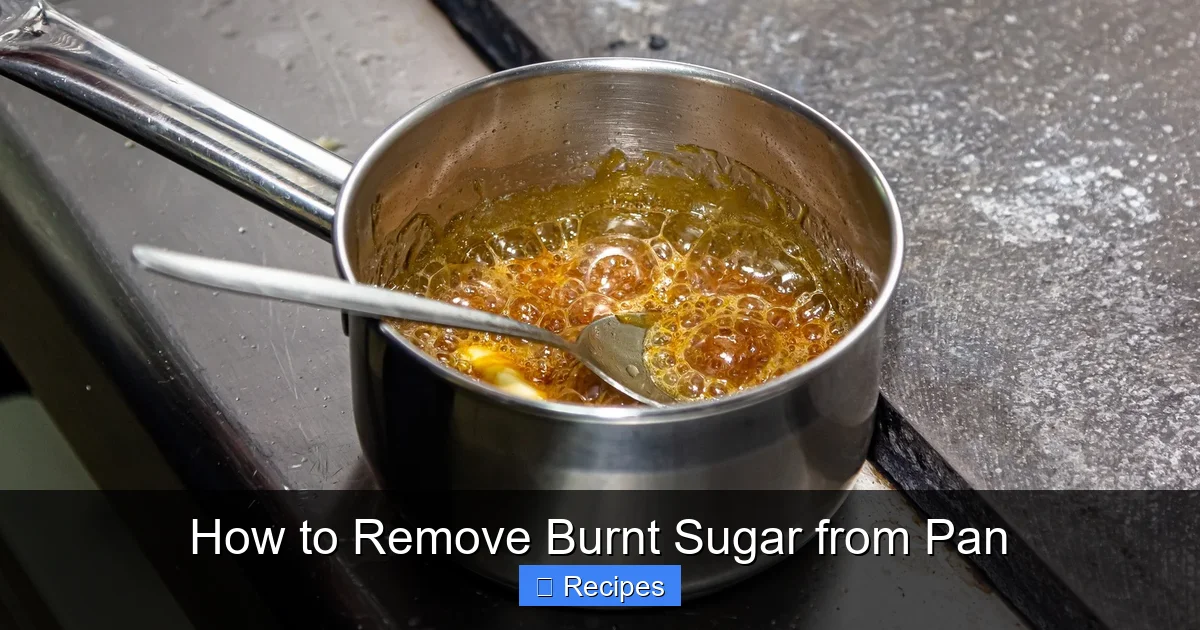
This is your universal first step for how to remove burnt sugar from pan. It’s safe for every pan type and works by simply rehydrating the carbonized sugar. The heat and steam loosen the bond.
Visual guide about How to Remove Burnt Sugar from Pan
Image source: thedailymeal.com
Step-by-Step for the Simmering Water Soak
1. Cool Slightly: Let the pan cool until it’s safe to handle but still warm. Do not attempt to add water to a scorching hot pan, as the sudden temperature change can warp metal or crack enamel.
2. Fill the Pan: Place the pan on the stovetop or a heat-safe surface. Fill it with enough warm tap water to completely cover the burnt area. For very high-sided pans, you only need enough to submerge the residue.
3. Add a Squirt of Dish Soap: A few drops of regular dish soap will help emulsify any remaining oils and grease that may have mixed with the sugar.
4. Bring to a Simmer: Turn the heat to medium-low. Bring the water to a gentle simmer—you should see small bubbles rising, not a rolling boil. Let it simmer for 10-15 minutes. This prolonged heat and moisture is the key. You’ll see the burnt sugar start to soften and possibly flake off at the edges.
5. Let it Soak: Turn off the heat. For mild to moderate burns, you can often let the pan sit in the warm, soapy water for 30 minutes to an hour. The longer soak continues the softening process.
6. Scrape Gently: After soaking, use a wooden spoon, silicone spatula, or a plastic pan scraper to gently lift the edges of the softened residue. It should flake away relatively easily. Never use metal utensils at this stage if you can help it. The goal is to let the water do the work.
7. Final Scrub: Once the large chunks are gone, use a non-abrasive sponge (like a Scotch-Brite™ Non-Scratch) with a bit of baking soda or more soapy water to clean the remaining film. Rinse thoroughly.
Why This Works: Simmering water penetrates the porous, carbonized layer, rehydrating it and causing it to expand and weaken its grip on the metal. It’s the least invasive, safest method and should always be your first attempt.
Method 2: The Baking Soda Paste (The Gentle Abrasive)
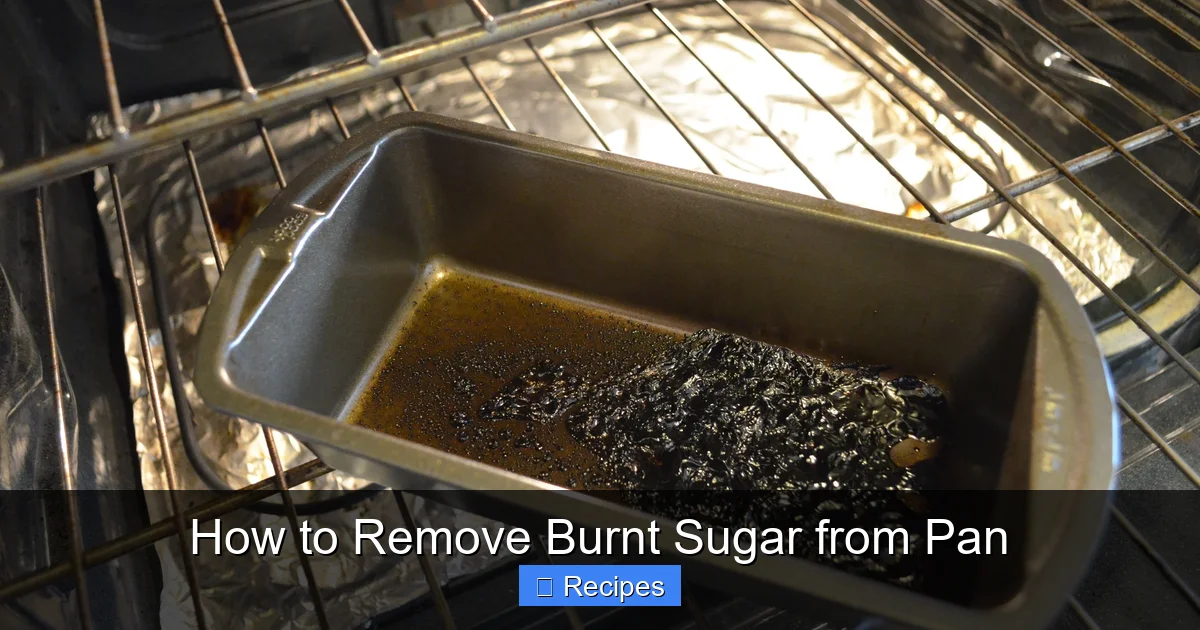
When simmering water isn’t quite enough, baking soda (sodium bicarbonate) is your next best friend. It’s a mild alkali that can help break down acidic components in the burnt sugar and its fine crystals act as a gentle, non-scratching abrasive on stainless steel and other durable surfaces.
Visual guide about How to Remove Burnt Sugar from Pan
Image source: i.pinimg.com
Creating and Applying the Perfect Paste
1. Make a Thick Paste: In a small bowl, mix baking soda with just enough cold water to form a thick, spreadable paste, similar to toothpaste consistency. You want it to stay on the vertical surface of the pan without dripping.
2. Apply Liberally: Spread the baking soda paste over the entire burnt area, ensuring full coverage. For extra power, you can sprinkle dry baking soda over the wet paste or vice-versa to create a grittier layer.
3. Let it Rest: This is crucial. Let the paste sit on the burnt sugar for at least 30 minutes, but for best results, let it sit for 1-2 hours, or even overnight. This gives the baking soda time to work its chemical magic and draw out moisture.
4. Scrub in Circles: Using a non-scratch scrub sponge, a soft cloth, or even a soft-bristled toothbrush for small areas, scrub the paste in small, circular motions. Apply moderate pressure. The mild abrasive action should lift the residue. You’ll see the black paste turn gray as it lifts the burnt particles.
5. Rinse and Repeat: Rinse the pan with warm water. If residue remains, reapply a fresh baking soda paste and scrub again. This method often requires 2-3 applications for severe burns.
Pro-Tip for Stubborn Spots: After applying the baking soda paste, you can cover the area with a paper towel soaked in white vinegar. The fizzing reaction between the baking soda and vinegar can provide extra lifting power. Let it sit for 15 minutes before scrubbing.
Material Caution: Baking soda is generally safe for stainless steel, glass-ceramic (e.g., Pyroceram), and porcelain. Use a very light touch on non-stick and enamel. Avoid on cast iron unless you plan to re-season immediately, as it can be slightly abrasive to the seasoning layer.
Method 3: The Vinegar and Heat Combo (Acidic Attack)
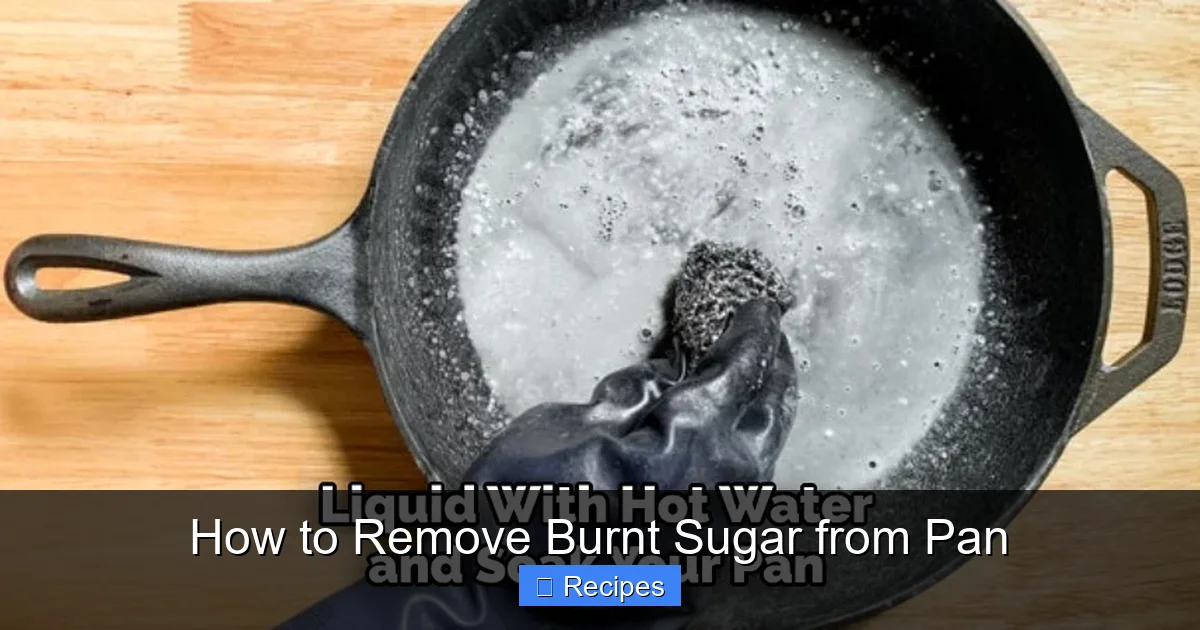
White distilled vinegar is a champion in the kitchen for its mild acetic acid, which can dissolve mineral deposits and break down organic bonds. When combined with heat, it becomes a potent tool against burnt sugar.
Visual guide about How to Remove Burnt Sugar from Pan
Image source: thekitchenix.com
Two Approaches: Simmering or Soaking
Approach A: Simmering Vinegar (Best for Stainless Steel)
- After a preliminary simmering water soak (Method 1), pour out the water.
- Fill the pan with a 50/50 mixture of white vinegar and water, enough to cover the burnt area.
- Bring to a gentle simmer on the stove for 5-10 minutes. Turn off the heat and let it soak until completely cool (1-2 hours).
- The acid will have worked to weaken the carbon bonds. Use a wooden or silicone utensil to scrape. The residue should now come off in sheets or flakes. Finish with a baking soda scrub to neutralize the vinegar smell and clean any remaining film.
Approach B: Vinegar-Soaked Cloth (For Hard-to-Reach Areas)
- Heat about 1 cup of undiluted white vinegar in a small saucepan until hot (not boiling).
- Soak a clean cloth or paper towel in the hot vinegar.
- Wring out slightly and drape the cloth over the burnt area in your pan.
- Let it sit for 30-60 minutes. The heat from the cloth and the vinegar will penetrate and soften the sugar.
- Remove the cloth and try scraping with a plastic tool.
Important Warning: Do not use vinegar on bare cast iron (it strips seasoning) or on worn/damaged non-stick coatings. Use with caution on aluminum, as prolonged exposure can cause pitting or discoloration. For enameled pans, a diluted vinegar soak (1 part vinegar to 3 parts water) for a short time (15-20 minutes) is usually safe, but always test in an inconspicuous spot first.
Method 4: The Salt Scrub (For Cast Iron & Uncoated Metal)
For your rugged, uncoated pans—cast iron, carbon steel, and well-seasoned stainless steel—coarse kosher salt is a fantastic, non-chemical abrasive. It provides the scrubbing power without being as harsh as steel wool, which can leave behind metal fragments that rust.
How to Salt-Scour Correctly
1. Ensure the pan is cool or only slightly warm. Never add salt to a very hot, dry pan, as it can cause thermal shock.
2. Pour a generous layer of coarse kosher salt (not fine table salt, which is too fine and can become a paste) onto the burnt area.
3. Add a small amount of a neutral oil (like vegetable or canola oil) or just a few drops of water to moisten the salt slightly. You want a gritty, paste-like consistency.
4. Using a folded paper towel, a scrub brush with plastic bristles, or even half a potato cut side-down, scrub the salted area firmly in circular motions. The salt crystals will act as a disposable abrasive, lifting the burnt sugar.
5. Periodically wipe away the dirty salt slurry with a paper towel and add fresh salt and oil/water as needed.
6. Once the residue is gone, wash the pan normally with hot water and a brush. If it’s cast iron, you must re-season it immediately after cleaning: dry it thoroughly on a warm stove, rub with a thin layer of oil, and bake upside-down in a 450°F oven for 1 hour.
Why This Works: Salt is hard but friable—it crushes under pressure rather than scratching the pan. The oil or water creates a slurry that suspends the carbon particles, preventing them from just grinding into the surface.
Method 5: The Last Resort: Commercial Cleaners and Boiling Techniques
For pans that have survived a true kitchen disaster—left on the burner overnight, for instance—you may need heavier artillery. Always start with the gentlest method and work your way up.
Specialized Cleaners for Specific Surfaces
- Bar Keepers Friend (Powder or Liquid): The oxalic acid in this product is excellent for burnt-on food on stainless steel and porcelain. Do not use on non-stick or cast iron. Make a paste with a little water, apply to the cool pan, let sit for 5-10 minutes, then scrub with a non-scratch pad. Rinse extremely well.
- Rust-Off or Evapo-Rust: These are designed for rust but can also work on carbonized sugar on bare metal. Follow product instructions carefully. Requires thorough rinsing and re-seasoning for cast iron.
- Enamel-Specific Cleaners (like Easy-Off for Ovens): Some are formulated for baked-on grime in enameled Dutch ovens. Use extreme caution and read the label. Many contain caustic chemicals that can damage the enamel if left on too long. Apply, let sit for the minimum time specified (often 5-10 minutes), and scrub immediately with a non-abrasive pad. Rinse multiple times.
The “Boiling Dry” Method (For Bare Stainless Steel Only)
This sounds counterintuitive but works on resilient, uncoated pans. This will ruin non-stick, enamel, and most other coatings.
- Place the burnt pan on the stove.
- Add about 1/4 inch of water to the bottom.
- Turn the heat to high and bring the water to a full, rolling boil. Let it boil vigorously for 5 minutes. The steam and boiling action can sometimes lift the burnt layer.
- Remove from heat (be careful of steam!) and immediately try scraping with a sturdy plastic or wood utensil. The sudden change from boiling to cooling can sometimes cause the burnt sugar to contract and crack.
- If it doesn’t work, repeat. Once the residue is loose, finish with a baking soda scrub.
Prevention: How to Never Deal with Burnt Sugar Again
An ounce of prevention is worth a pound of scrubbing. Here are the golden rules for cooking with sugar:
- Use Low to Medium Heat: Sugar burns easily. Start with medium-low heat and be patient. High heat is the primary cause of burnt sugar.
- Stir Constantly: Once sugar begins to melt, do not walk away. Stir with a heat-resistant silicone or wooden spoon to ensure even heating and prevent hot spots.
- Add a Splash of Water: For candy-making or caramel, adding just a tablespoon of water to the sugar at the start can help it dissolve more evenly and reduce the risk of crystallization and burning. For sauces, a little water in the pan can create a buffer.
- Use a Heavy-Bottomed Pan: Thick, heavy pans (like good stainless steel or enameled cast iron) distribute heat evenly, eliminating hot spots that cause localized burning.
- Remove from Heat Early: Sugar continues to cook from residual heat (carryover cooking). Take your pan off the burner just before it reaches your desired color, as it will darken slightly in the few moments it takes to pour it out.
- Don’t Let it Sit: Once you’re done with a sugary syrup, immediately pour it into a heat-proof bowl or jar. Letting it cool in the pan guarantees it will fuse to the surface.
Conclusion: Patience and the Right Tool for the Job
Learning how to remove burnt sugar from pan is less about brute force and more about understanding the problem. You’re not fighting dirt; you’re reversing a chemical reaction. You need to reintroduce moisture, use a gentle chemical agent (base from baking soda, acid from vinegar), and apply patient, consistent effort. Always start with the safest method for your pan—the simmering water soak—and escalate only as needed. Remember to protect your pan’s surface by never using metal on non-stick or enamel, and by avoiding extreme temperature shocks. With these techniques in your culinary toolkit, a burnt sugar incident becomes a minor inconvenience, not a pan-ending catastrophe. Your favorite skillet or Dutch oven will be back in service, ready to help you create something sweet and delicious, without the fear of a permanent, blackened scar.
Frequently Asked Questions
Can I use steel wool or a metal scrubber on burnt sugar?
No, you should almost always avoid metal abrasives. They will permanently scratch stainless steel, destroy non-stick and enamel coatings, and can leave behind metal particles that rust. Stick to plastic, silicone, wood, or dedicated non-scratch scrubbers.
What’s the fastest way to remove a small amount of burnt sugar?
For a minor burn, fill the pan with hot, soapy water and let it soak for 30-60 minutes. Then, use a plastic scraper or the flat side of a wooden spoon to lift the residue. A baking soda paste applied directly to the spot and scrubbed with a soft sponge is also very quick for light cases.
Will baking soda and vinegar damage my pan if used together?
The fizzing reaction is a normal chemical reaction (acid + base) and is not harmful to stainless steel, glass, or ceramic. However, the mixture is less effective at cleaning than using them sequentially (baking soda paste first, then a vinegar rinse). The main risk is if you leave the fizzy mixture sitting for a very long time on sensitive surfaces like aluminum or non-stick.
My pan is non-stick and I’ve burnt sugar on it. What should I do?
Fill the pan with hot, soapy water and let it soak for several hours or overnight. Use only a soft sponge or cloth to wipe it. You can try gently warming the soapy water on low heat (do not simmer vigorously) to help soften the sugar. If it persists, a paste of baking soda and water applied gently with a soft cloth may work. Avoid any scrubbing that requires pressure.
Is it safe to use a self-cleaning oven cycle on a burnt pan?
This is generally a terrible idea. The extreme heat (often over 800°F) of a self-cleaning cycle can warp thin stainless steel pans, ruin non-stick coatings, and potentially crack enameled finishes. The burnt sugar will likely bake on even harder. Do not use your oven to clean cookware.
How can I prevent sugar from sticking to the pan in the first place?
Always use low to medium heat when melting sugar. Stir constantly with a silicone or wooden spoon. Adding a small amount of water (1-2 tbsp) to the sugar at the start can promote even melting. Use a heavy-bottomed pan for even heat distribution. And most importantly, never let a sugar syrup sit in the pan to cool—pour it out immediately into your prepared dish or a heat-proof container.