Converting a natural gas stove to propane is a precise process that involves swapping out specific components to handle the higher pressure of propane. It is absolutely critical to use your stove’s manufacturer-specific conversion kit and follow their instructions exactly, as propane and natural gas have different pressure and combustion characteristics. Never attempt this without the correct kit and a solid understanding of gas safety; when in doubt, hire a licensed professional to ensure your stove operates safely and efficiently.
Key Takeaways
- Never Guess: You must use the exact conversion kit designed for your specific stove make and model. Universal kits do not exist for this purpose.
- Pressure is Key: Propane operates at a much higher pressure (10-14″ WC) than natural gas (5-7″ WC). The conversion changes orifices and regulator settings to compensate.
- Safety First: Always shut off the gas supply at the wall valve before starting. Check for leaks with a soapy water solution after every connection.
- Orifices are Not Interchangeable: The small nozzle tips (orifices) for burners and the oven burner are different sizes. Mixing them up will cause dangerous, sooty flames or no flame at all.
- Regulator Adjustment: Many modern stoves have a two-pressure regulator that simply needs a plug rotated or removed. Older models may require a full regulator swap.
- Documentation is Law: Your stove’s manual and the conversion kit instructions are your primary guides. Deviating from them voids warranties and risks safety.
- Call a Pro If Unsure: If you lack the tools, confidence, or correct parts, hiring a certified appliance technician is the only safe and responsible choice.
📑 Table of Contents
- Introduction: Why Convert Your Stove?
- Understanding the Core Differences: Natural Gas vs. Propane
- Essential Tools and The Mandatory Conversion Kit
- Step-by-Step Conversion Process: Surface Burners and Oven
- Reassembly, Initial Testing, and Leak Check
- Safety Protocols and Troubleshooting Common Issues
- When to Call a Professional: The Smart Choice
- Conclusion: Confidence Through Correctness
Introduction: Why Convert Your Stove?
You’ve moved into a new home, or maybe you’re switching your entire household from a municipal natural gas line to a propane tank. Your beautiful, functional gas stove is designed for natural gas. Now what? The immediate question is: can you change a natural gas stove to propane? The answer is yes, but with one non-negotiable caveat: it must be done correctly, using the manufacturer’s specific conversion kit and instructions. This isn’t a simple “switch the hose” job. It’s a precise mechanical adjustment that accounts for the fundamental differences between the two fuels.
Natural gas is lighter than air and delivered at lower pressure. Propane is heavier than air, stored as a liquid under pressure in a tank, and delivered to appliances at a higher pressure. If you try to burn propane through natural gas orifices, you’ll get a huge, roaring, dangerous flame. If you try to burn natural gas through propane orifices, the flame will be tiny, lazy, and likely to go out, filling your kitchen with unburned gas. The conversion process systematically changes these components to ensure a safe, blue, efficient flame. This guide will walk you through the entire process, emphasizing safety and precision at every step.
Understanding the Core Differences: Natural Gas vs. Propane
Before touching a wrench, you must understand why the conversion is necessary. The two gases behave differently, and your stove is engineered for one specific set of parameters.
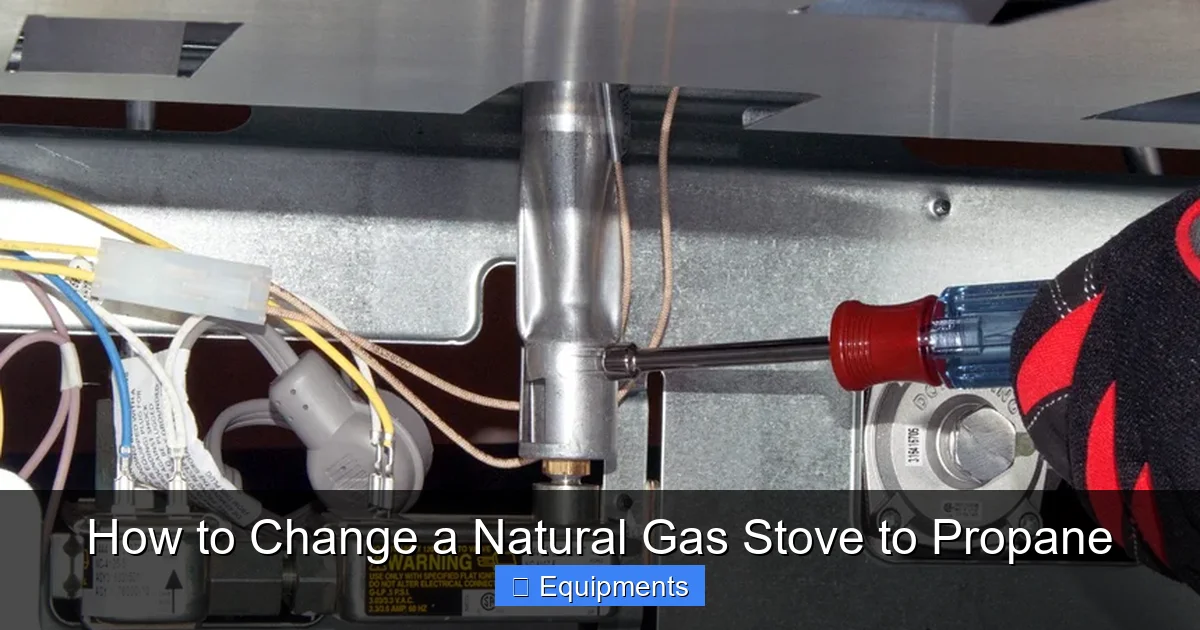
Visual guide about How to Change a Natural Gas Stove to Propane
Image source: propaneva.com
Pressure and Energy Content
The single most important difference is pressure. Natural gas from a utility line typically enters your stove at about 5-7 inches of water column (WC). Propane from a tank, after being regulated down, enters at 10-14 inches WC. This is nearly double the pressure. Consequently, propane has a higher energy content per cubic foot. To get the same heating output (BTU) from propane, you need less gas flow. This is why propane orifices have a smaller hole—to restrict the greater volume/pressure of propane to the correct flow rate.
Gas Density and Venting
Natural gas is lighter than air and will rise and dissipate if leaked. Propane is about 1.5 times heavier than air; it will sink and pool in low areas like basements or floor level. This makes leak detection and proper ventilation even more critical with propane. Your stove’s ventilation and pilot light placement are designed with natural gas in mind, but the conversion does not change these physical aspects—it only adjusts the fuel delivery.
Essential Tools and The Mandatory Conversion Kit
Gathering the right tools is the first practical step. But before that, you must obtain the one thing that makes this project possible: the official conversion kit.
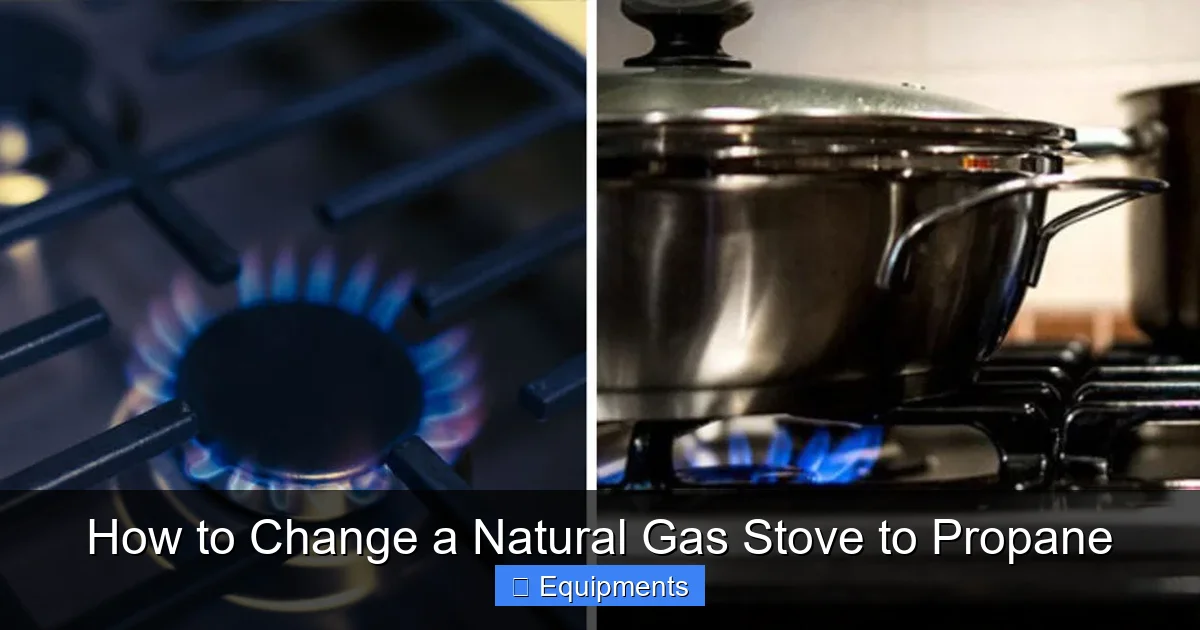
Visual guide about How to Change a Natural Gas Stove to Propane
Image source: thekitchenix.com
Finding Your Manufacturer’s Kit
This is the most crucial phase. You cannot use a generic kit. You need the kit designed for your exact stove make, model, and often, serial number. Start by locating your stove’s model number, usually on a metal tag inside the oven door, on the back, or under the cooktop. Then:
- Contact the Manufacturer: Call the customer service line of brands like GE, Whirlpool, Samsung, etc. Provide your model number and ask for the “natural gas to propane conversion kit.”
- Use Appliance Parts Suppliers: Websites like AppliancePartsPros, RepairClinic, or PartSelect are excellent resources. Enter your model number, and they will list the official conversion kit, often with part numbers like “NG to LP Conversion Kit.”
- Check the Manual: Your stove’s installation manual almost always lists the required kit part number in the “Conversions” or “Specifications” section.
What’s in the Kit? Typically, it includes a set of small brass orifices (different sizes for bake and broil burners, and sometimes for each surface burner), a new pilot orifice (for older stoves with standing pilots), and possibly a new gas pressure regulator or a conversion plug for a dual-pressure regulator. It will also contain detailed, model-specific instructions. Do not proceed without this kit and its instructions.
Tool Checklist
- Adjustable wrenches (1/2″ and 3/4″ are common)
- Screwdrivers (flathead and Phillips)
- Socket set and ratchet
- Nut drivers or hex bits (for removing burner caps and grates)
- Pliers (needle-nose are helpful)
- Soft cloth and mild cleaner (to clean burner ports)
- Compressed air or a soft brush (for cleaning)
- Leak detection solution (or make your own with dish soap and water)
- Flashlight
- Gloves and safety glasses
Step-by-Step Conversion Process: Surface Burners and Oven
With the correct kit and tools in hand, and the gas supply shut off at the wall valve or tank, you can begin. Work methodically and take photos at each stage to aid reassembly.
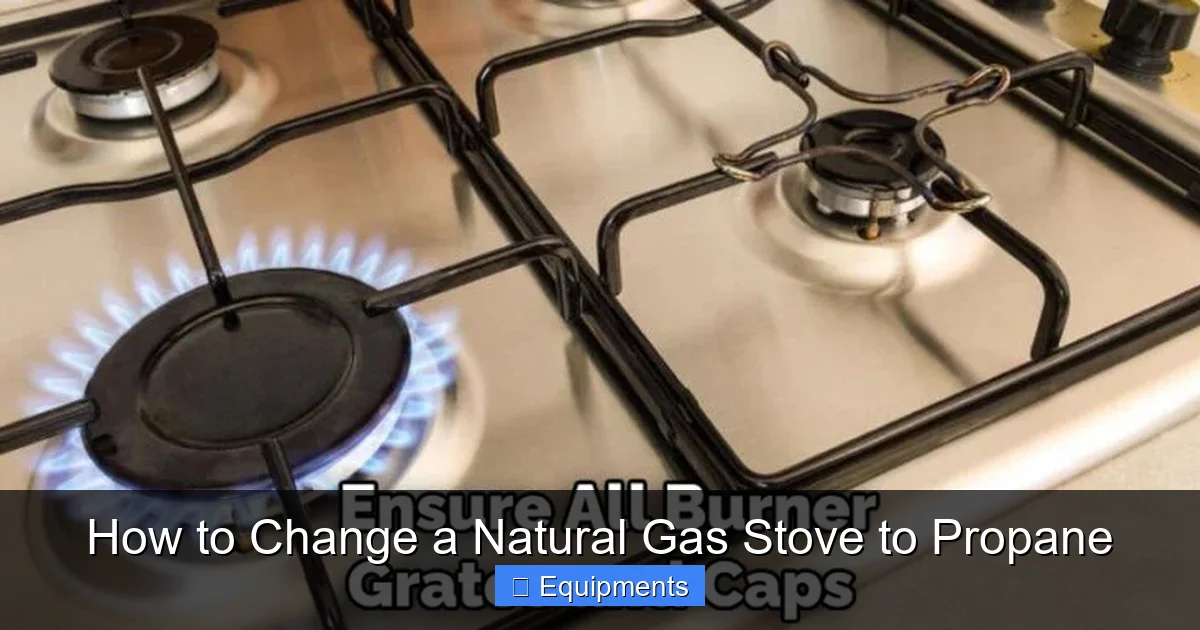
Visual guide about How to Change a Natural Gas Stove to Propane
Image source: thekitchenix.com
Phase 1: Accessing and Changing the Burner Orifices
Start with the cooktop surface burners.
- Remove Grates and Burner Caps: Lift off the metal grates and the burner caps (the ring-shaped pieces that sit over the ports).
- Locate the Orifice: Under each burner head, you’ll see a small brass fitting with a tiny hole. This is the orifice. It’s attached to the gas manifold tube that runs under the cooktop.
- Remove the Old Orifice: Using the correct size wrench or socket (often 1/2″), carefully unscrew the orifice. It may be tight. Hold the manifold tube steady with another wrench to avoid twisting it.
- Identify the New Propane Orifice: The kit will have orifices marked for “LP” or “Propane.” They will have a smaller numbered hole (e.g., a #47 for propane vs. a #52 for natural gas—sizes vary by model). Consult your kit’s chart to match each burner’s required orifice size.
- Install the New Orifice: Screw the new propane orifice in by hand first, then tighten with the wrench. Do not overtighten; snug is sufficient. Ensure it sits straight.
- Clean Burner Ports: While everything is apart, use a small wire or compressed air to gently clear any debris from the burner head ports. A clogged port causes uneven flames.
Phase 2: Converting the Oven Burner
- Access the Oven Burner: This is usually at the back of the oven cavity, behind a shield. Remove the oven racks. Unscrew the shield (often held by 1/4″ screws).
- Locate the Oven Orifice: You’ll see the gas tube leading to the burner. The orifice is at the end, screwed into the manifold. It may be inside a bracket.
- Swap the Orifice: Remove the natural gas orifice and replace it with the designated propane oven orifice from your kit. The size is almost always different from the surface burners.
- Check the Pilot (If Applicable): For older stoves with a standing pilot light, the kit will include a new, smaller pilot orifice. Access the pilot assembly (usually under the oven bottom or behind a panel) and replace the tiny orifice.
Phase 3: The Gas Pressure Regulator
This is the heart of the conversion. Modern stoves (last 20-30 years) almost always have a dual-pressure regulator with a simple conversion plug.
- Locate the Regulator: It’s a round, bell-shaped or cylindrical device attached to the gas manifold where the supply line connects.
- Identify the Conversion Plug: There will be a small metal plug (often square or hexagonal) on the side or top of the regulator, marked “NAT” and “LP” or “PROP.”
- Perform the Switch: According to your instructions, you will either:
- Rotate the Plug: Use pliers to turn it 180 degrees so the “LP” side faces out.
- Remove and Flip the Plug: Some plugs are removed, flipped, and reinserted.
- Replace a Plastic Cap: Some regulators have a plastic cap that is swapped for a metal one.
- Older Regulators: If your stove has an older, single-pressure regulator, the kit may include a whole new regulator that must be unscrewed and replaced. This is more involved.
Reassembly, Initial Testing, and Leak Check
With all orifices swapped and the regulator converted, it’s time to put things back together and test.
Reassembly
Carefully reinstall the oven burner shield, racks, and the cooktop burner heads and caps. Ensure everything is seated properly. No tools should be left inside the oven or on the cooktop.
The Initial “Sniff” Test and Leak Check
Do not turn the gas on yet. Mix a soapy water solution (a few drops of dish soap in a cup of water). With the gas supply still off, coat every connection you made (orifice threads, regulator connections, manifold joints) with the solution. Then, slowly turn on the gas supply at the wall or tank. You should see a steady flow of gas. Watch the soapy connections for any bubbles. Bubbling indicates a leak. If you see bubbles:
- Tighten the connection slightly.
- Re-coat with soap and re-test.
- If the leak persists, shut off gas, disassemble, apply gas-rated thread sealant (yellow pipe dope) to the threads, and reassemble.
Never use an open flame to check for leaks.
Lighting and Flame Adjustment
- Light the Oven: Follow your manual’s procedure to light the oven. It may have an electronic ignition or a pilot. The flame should be mostly blue with a possibly slight yellow tip. It should be steady and shaped correctly, hugging the burner.
- Light the Surface Burners: Light each burner individually. The flame should be blue, stable, and with a well-defined inner cone. It should not lift off the burner or be predominantly yellow/orange.
- Adjust Air Shutters (If Needed): Most modern burners are sealed and don’t need adjustment. If you have an older stove with an adjustable air shutter (a sliding collar at the base of the burner), you may need to tweak it for a blue flame. Too much air (flame blows out) = close it slightly. Too little air (yellow, sooty flame) = open it slightly. The ideal is a crisp blue flame with minimal yellow at the tip.
Safety Protocols and Troubleshooting Common Issues
Even with perfect execution, issues can arise. Here’s how to handle them safely.
Non-Negotiable Safety Rules
- Work in a well-ventilated area. Open windows and doors.
- No smoking, open flames, or sparks in the vicinity.
- Have a fire extinguisher rated for gas fires (Class B) nearby.
- If you smell gas after reassembly, shut off the supply immediately, ventilate the area, and do not operate any electrical switches. Call your gas company or a technician from a safe location.
- If you experience a “flashback” (flame coming out of the orifice or into the manifold), shut off the gas immediately. This indicates the wrong orifice size or a severe air/gas mix issue.
Troubleshooting Yellow or Sooty Flames
A yellow, noisy, or soot-producing flame means incomplete combustion. Causes:
- Wrong orifice size: Double-check you installed the correct propane orifice for that specific burner.
- Dirty burner ports: Clean all ports thoroughly with a stiff brush or compressed air.
- Incorrect air mixture:
- High gas pressure:
Adjust the air shutter (if present) to allow more air.
This points to a regulator issue. Ensure the conversion plug is correctly installed.
Troubleshooting Low Flame or Flame-Out
A small, blue flame that struggles or goes out indicates insufficient gas flow.
- Orifice is too small or clogged: Verify you used the correct propane orifice and that it’s not blocked.
- Regulator not converted: The most common error. Re-check the regulator conversion plug position meticulously.
- Supply issue: Ensure your propane tank has fuel and the valve is fully open.
When to Call a Professional: The Smart Choice
While this guide is comprehensive, a natural gas to propane conversion is not for every DIYer. It is a task that carries inherent risks. You should strongly consider hiring a certified appliance technician or a licensed plumber/gas fitter if:
- You cannot locate or obtain the correct manufacturer-specific conversion kit.
- Your stove is very old and has a single-pressure regulator that needs full replacement.
- You are uncomfortable working with gas lines, orifices, and pressure systems.
- After following all steps, the flames are not blue and stable, or you continue to smell gas.
- Your local codes require a permit and inspection for gas appliance modifications (many do).
- The stove is under warranty—unauthorized conversion will void it.
The cost of a professional service call (often $100-$200 plus parts) is a small price to pay for the guarantee of a safe, code-compliant, and fully functional stove. A mistake can lead to carbon monoxide poisoning, fire, or explosion. There is no shame in calling an expert; it’s the most responsible decision.
Conclusion: Confidence Through Correctness
Changing a natural gas stove to propane is a definitive “yes, but” scenario. Yes, it can be done successfully by a competent DIYer, but only with the absolute commitment to using the correct, model-specific parts and following the manufacturer’s instructions to the letter. The process hinges on understanding the core difference—pressure—and methodically addressing it by swapping orifices and adjusting the regulator. Safety is the unwavering thread through every step: shutting off gas, checking for leaks with soapy water, ensuring blue flames, and never ignoring the smell of gas. If at any point the path feels uncertain, the tools are insufficient, or the results are not perfect, stop. The investment in a professional technician is an investment in your home’s safety and your peace of mind. A properly converted propane stove will perform just as well as it did on natural gas, providing reliable heat for cooking for years to come.
Frequently Asked Questions
Can I convert any natural gas stove to propane?
Not all stoves are convertible. You must check your stove’s manual or contact the manufacturer to confirm it is “convertible” and to obtain the specific, required conversion kit. Many modern stoves are designed for a single fuel type only.
What happens if I use the wrong orifice size?
Using a natural gas orifice for propane will cause an extremely large, dangerous, yellow, sooty flame that can damage cookware and create a fire hazard. Using a propane orifice for natural gas will result in a tiny, weak flame that will likely go out, allowing unburned gas to accumulate. Both are serious safety risks.
How much does a conversion kit cost?
A manufacturer-specific conversion kit typically costs between $25 and $75, depending on the brand and model. This is far less than the cost of a service call from a technician, but only if you install it correctly.
Do I need a permit to convert my stove?
Many municipalities require a permit and final inspection for any gas appliance modification. You must check with your local building department or gas utility. A professional technician will usually handle permitting as part of their service.
My stove has an electronic ignition. Is the process different?
The core process is the same: change the burner and oven orifices and convert the regulator. However, there is no pilot orifice to change. The electronic igniter will spark the same. The conversion kit for these models will not include a pilot orifice.
Can I just adjust the regulator screw without changing orifices?
Absolutely not. Some old stoves have an adjustable regulator screw, but this is for fine-tuning pressure, not for a fundamental fuel conversion. You must change the orifices to the correct size for propane. Adjusting the regulator alone with the wrong orifices is extremely dangerous and will not produce a safe flame.