Measuring coffee correctly is the non-negotiable first step to a fantastic cup. It’s not about guesswork; it’s a simple science of coffee-to-water ratios. Using a kitchen scale by weight is the gold standard for accuracy and consistency, regardless of your brew method. Whether using a drip machine, French press, or pour-over, understanding the “golden ratio” and how your specific equipment works will transform your daily brew from mediocre to magnificent.
Key Takeaways
- Weight Over Volume: Measuring coffee by weight (grams) using a digital scale is infinitely more accurate than using volume (tablespoons/scoops), as bean density varies.
- The Golden Ratio: The standard starting point is 1:15 to 1:18 coffee-to-water ratio (e.g., 20g coffee to 300g water). Adjust to taste.
- Grind Size is Part of Measurement: Your grind size must match your brew method. A coarse grind for French press extracts differently than a fine grind for espresso, affecting the effective ratio.
- Your Maker Dictates the Method: Drip coffee makers often use markings, but you must still measure the coffee separately. Immersion methods (French press) require full saturation.
- Consistency is King: Once you find your perfect ratio and grind, repeat it exactly. Small, consistent changes are the key to replicating a great cup.
- Freshness Matters: Always measure whole beans just before grinding. Pre-ground coffee stales faster and its volume measurement becomes even less reliable.
📑 Table of Contents
- The Sacred First Step: Why Measuring Your Coffee Isn’t Optional
- The Golden Ratio: Your Starting Point for Any Brew
- Tools of the Trade: From Basic to Brilliant
- Step-by-Step Guides for Your Specific Coffee Maker
- Troubleshooting: When Your Coffee Tastes “Off”
- Going Beyond the Basics: Advanced Nuances
- Conclusion: Your Recipe for Perfect Coffee
The Sacred First Step: Why Measuring Your Coffee Isn’t Optional
You’ve invested in a decent coffee maker, bought what looked like good beans, and followed the basic instructions. Yet, your morning cup still tastes like a guessing game—sometimes bitter and strong, other times weak and watery. The culprit is almost always the same: inconsistent coffee measurement. Think of it like baking. You wouldn’t just eyeball flour and sugar for a cake, would you? Coffee is equally a recipe. The relationship between the mass of coffee grounds and the mass of water is the fundamental equation that determines extraction—the process of pulling flavor, acidity, sweetness, and body from the bean into your cup. Get this ratio wrong, and you’re simply brewing a flawed solution. Measuring coffee correctly isn’t about being a perfectionist; it’s about respecting the bean and taking control of your daily ritual. It’s the single most impactful change you can make to upgrade your coffee, regardless of your equipment’s price tag.
The Science of Extraction in a Nutshell
When hot water meets coffee grounds, it dissolves soluble compounds. Under-extraction (too little coffee or too much water, or too short a brew time) leaves you with sour, salty, and hollow-tasting coffee because only the acidic, salty compounds have been pulled out. Over-extraction (too much coffee or too little water, or too long a brew time) draws out bitter, dry, and harsh compounds from the bean’s cell structure. The “sweet spot” in the middle—where balanced acidity, sweetness, and bitterness coexist—is what we’re after. That sweet spot is found primarily through the coffee-to-water ratio, which is why precise measurement is our primary tool to find it.
The Golden Ratio: Your Starting Point for Any Brew
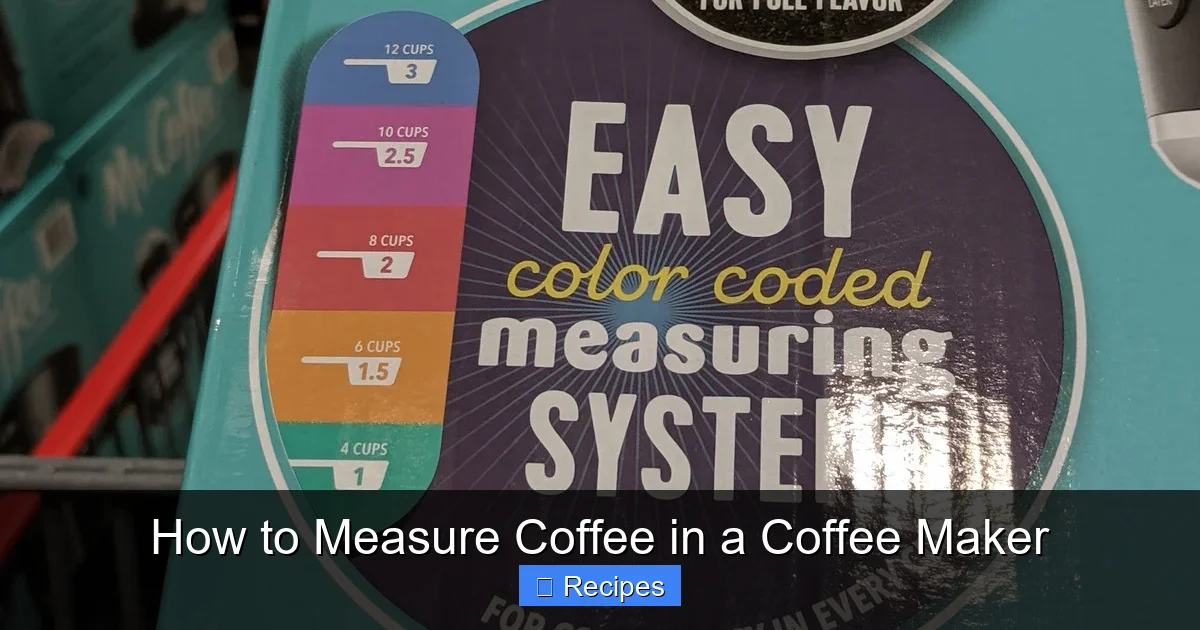
So, what’s the magic number? There isn’t one single answer, as personal taste varies. However, the specialty coffee industry widely accepts a “golden ratio” range as the perfect launchpad. This ratio is expressed as 1:15 to 1:18. This means 1 part coffee to 15-18 parts water by weight. For example, if you want to brew a 12-ounce (340g) cup of coffee:
Visual guide about How to Measure Coffee in a Coffee Maker
Image source: costcocouple.com
- At a 1:15 ratio: 340g water / 15 = ~23 grams of coffee.
- At a 1:18 ratio: 340g water / 18 = ~19 grams of coffee.
That’s a significant difference! Start in the middle, say 1:16.5 (about 21g for 340g water), and adjust from there. If your coffee tastes sour, thin, or overly acidic, you are likely under-extracting. Your first adjustment should be to use more coffee (move toward a 1:15 ratio), not a coarser grind or longer brew time. If it’s bitter, ashy, or dry, you are likely over-extracting. First, try using less coffee (move toward a 1:18 ratio). This ratio-focused approach simplifies troubleshooting immensely.
How to Calculate Your Ratio on the Fly
Don’t want to do math before your morning caffeine fix? Here’s a simple cheat sheet for common batch sizes, assuming a 1:16 ratio:
- 1 Cup (8 oz / 225g water): ~14g coffee (about 3 tablespoons *if using a standard tablespoon, but weight is better).
- 4 Cups (32 oz / 900g water): ~56g coffee.
- Standard 12-Cup Carafe (60 oz / 1.7L / 1700g water): ~106g coffee.
Pro Tip: If your coffee maker’s carafe has markings (e.g., “cups” up to 12), understand these are usually fluid ounces of water, not final brewed coffee volume. A “12-cup” maker typically holds 60 oz of water. Always measure the water you put in, not the carafe markings, for the most accurate ratio.
Tools of the Trade: From Basic to Brilliant
You have three primary tools for measuring coffee, each with its own place. Let’s rank them from most to least recommended.
Visual guide about How to Measure Coffee in a Coffee Maker
Image source: fluentincoffee.com
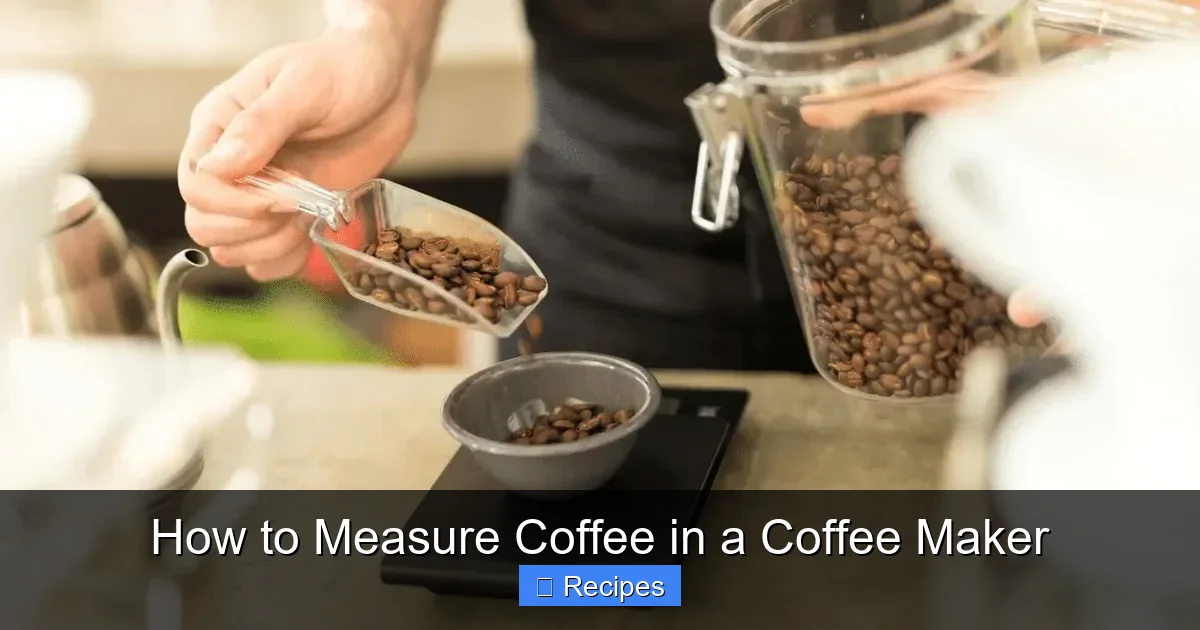
1. The Digital Kitchen Scale (The Champion)
This is the undisputed winner. A simple, $15-$25 digital scale that measures in grams is the most important tool for coffee consistency. Why?
- Accuracy: Beans and grounds vary in density. A “level tablespoon” of a light roast can weigh 6g, while a dark roast of the same volume might weigh 7g. That 1g difference per tablespoon adds up to a 15-20% variance in your entire batch. A scale removes this guesswork.
- Speed & Cleanliness: Tare your container (put your measuring vessel on the scale, hit “zero”), add beans, and you’re done. No sticky spoons, no leveling.
- Versatility: It measures water too. For the most precise control, weigh your water. 1ml of water = 1 gram. This is the ultimate method for immersion brews like the AeroPress or pour-over.
How to use it: Place your small cup or dripper on the scale. Press “Tare” to zero it out. Add whole beans and grind directly into the vessel, or weigh pre-ground coffee. Then, tare again with the vessel + coffee, and slowly pour hot water while watching the weight until you hit your target water weight.
2. The Coffee Scoop (The Convenient Compromise)
Many coffee makers come with a plastic scoop. If you use one, you must standardize it. Weigh your scoop 10 times with your specific coffee to find its average weight. A “standard” scoop is often designed to hold ~2 tablespoons, which for many beans is ~10g. But verify! Once you know your scoop’s weight (e.g., “My scoop = 9.5g”), you can use it reliably. The downside is it’s still less accurate than a scale and can vary if the grind is fluffy or packed.
3. The Tablespoon (The Last Resort)
Using a standard kitchen tablespoon is the least accurate method due to the density issues mentioned. If you must use this:
- Use a level, not heaping, spoon.
- Stir the grounds in the bag first to break up clumps.
- Know that a level tablespoon of medium roast coffee typically holds between 5-7 grams. Assume 6g as a rough average. For our 1:16 ratio example (14g for 1 cup), you’d need about 2.5 level tablespoons.
This method is fraught with error but better than no measurement at all.
Step-by-Step Guides for Your Specific Coffee Maker
Now, let’s apply the ratio to your specific machine. The principle is the same, but the execution differs.
Visual guide about How to Measure Coffee in a Coffee Maker
Image source: hamiltonbeach.com
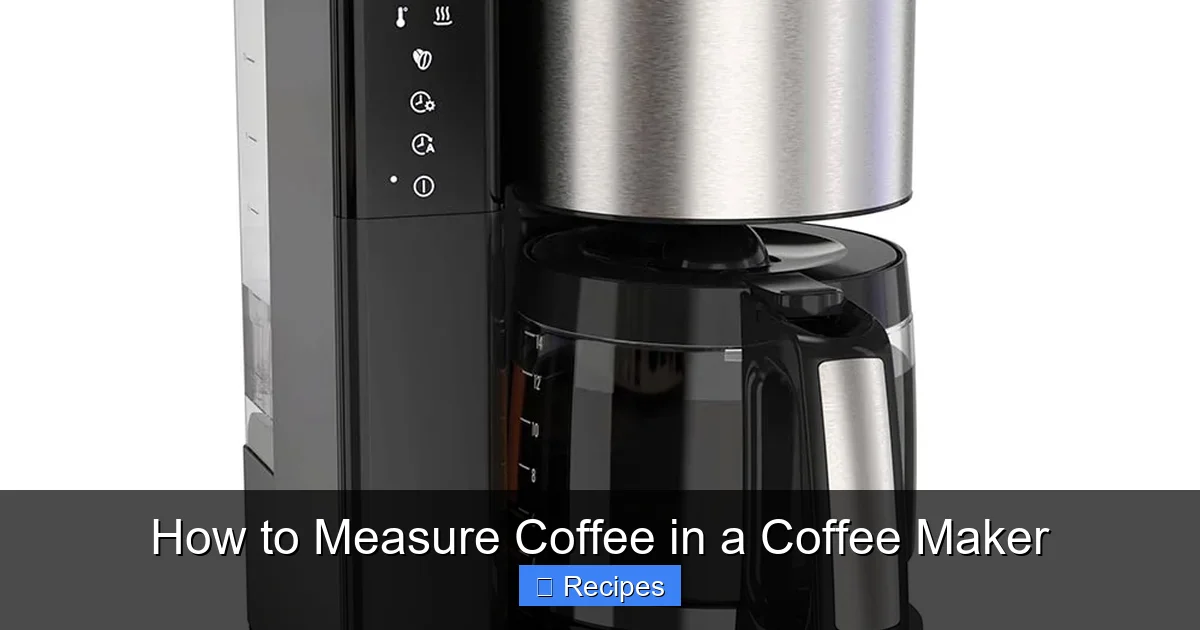
Automatic Drip Coffee Maker
This is the most common machine and where most people go wrong by relying on the machine’s “scoop” and carafe markings.
The Correct Method:
- Decide your batch size. How much brewed coffee do you actually want? Check your carafe’s markings or use a measuring cup to see the water reservoir capacity you’ll fill.
- Calculate your coffee. Use your target water weight (in grams) and your desired ratio (e.g., 1:16). Weigh out that many grams of coffee.
- Grind & Brew. Grind your beans to a medium-coarse consistency (like sea salt). Add the measured grounds to the paper or metal filter. Pour the measured water into the reservoir. Start the brew.
Example: For a full 12-cup carafe (60 oz / ~1700g water) at a 1:16 ratio, you need ~106g of coffee. That’s about 18 level tablespoons, or better yet, weigh it.
French Press (Immersion Brewing)
The French press is wonderfully forgiving but still benefits hugely from precise measurement. The key here is ensuring all grounds are saturated.
The Correct Method:
- Heat water to just below boiling (200-205°F / 93-96°C).
- Weigh coffee. A standard ratio is 1:15. For a 34-oz (1L) press, use ~67g of coffee.
- Add grounds to the dry press. Pour a small amount of water (just enough to wet all grounds) and stir vigorously. This is the “bloom” that releases CO2 and ensures even saturation.
- Add remaining water, place the lid on top with the plunger pulled up, and set a timer for 4 minutes.
- Press slowly and steadily. Pour all coffee into cups immediately to avoid over-extraction from sitting on the grounds.
Pour-Over (V60, Kalita Wave, Chemex)
Pour-over is where the scale truly shines. You control both the coffee weight and the water weight and timing.
The Correct Method (for a V60, ~2-cup serving):
- Rinse filter with hot water to remove paper taste and pre-heat the vessel. Discard this water.
- Add 22g of medium-fine ground coffee to the filter. Place the V60 on your scale and tare it.
- Start timer and pour ~44g of water (twice the coffee weight) in a slow, circular motion to saturate all grounds. Let it “bloom” for 30 seconds—you’ll see bubbles as CO2 escapes.
- Continue pouring slowly in concentric circles, maintaining the water level, until your total water weight hits ~352g (for a 1:16 ratio). The total brew time (including bloom) should be about 2:30-3:30.
- Remove the brewer and enjoy.
Troubleshooting: When Your Coffee Tastes “Off”
Even with precise measurement, taste issues can arise. Use your ratio as the first diagnostic tool.
“It’s too bitter/strong/harsh!”
Likely Cause: Over-extraction. Your first adjustment should be to decrease your coffee dose (use less coffee for the same amount of water, moving toward a 1:18 ratio). If that doesn’t fix it after a few brews, your grind may be too fine, or your brew time too long.
“It’s too sour/weak/watery!”
Likely Cause: Under-extraction. Your first adjustment should be to increase your coffee dose (use more coffee for the same amount of water, moving toward a 1:15 ratio). If that fails, your grind may be too coarse, or your brew time too short, or your water not hot enough.
“It’s inconsistent from day to day!”
This is the classic sign of volume-based measurement. One day your scoop packs down, the next it’s airy. The solution is unequivocally a digital scale. Weighing eliminates this variable entirely. Also, ensure your grind is consistent—a burr grinder is essential for this.
Going Beyond the Basics: Advanced Nuances
Once you’ve mastered the ratio, you can fine-tune with these factors that interact with your measurement.
Grind Size: The Second Most Important Variable
Think of grind size as controlling the speed of extraction. A fine grind has more surface area, extracting faster. A coarse grind has less, extracting slower. Your chosen ratio assumes a correct grind for your method. If you use a French press ratio (coarse grind) with an espresso grind (very fine), you’ll instantly over-extract into a bitter sludge. Always match your grind to your brew method first, then adjust the ratio for taste.
Water Quality and Temperature
Water is 98% of your cup. Use filtered water if your tap water tastes of chlorine or is very hard. The ideal brewing temperature is 195-205°F (90-96°C). Boiling water (212°F/100°C) can scorch delicate flavors, while water below 195°F will under-extract. A simple gooseneck kettle with temperature control is a game-changer for pour-over.
The “Bloom” and Agitation
The initial pour (the bloom) is crucial for pour-over and should be done for any immersion brew. It wets all grounds and allows gases to escape, leading to more even extraction. In immersion methods like the French press, a good stir after the bloom ensures no dry pockets. In drip makers, you can’t control this, which is why a consistent grind and correct ratio are even more critical.
Conclusion: Your Recipe for Perfect Coffee
Measuring coffee is not a chore; it’s the foundation of your coffee craft. It transforms brewing from a game of chance into a repeatable, improvable skill. Start by getting a digital scale—it’s the best $20 you’ll ever spend on coffee. Use the 1:15 to 1:18 golden ratio as your map. Weigh both your coffee and your water. Match your grind to your brew method. Taste, take notes, and adjust the ratio slightly until you find your personal sweet spot. In a world of complex coffee gadgets and exotic beans, this simple, scientific approach to measurement is the true secret weapon. It empowers you to brew a cup that is consistently, reliably, and deliciously yours. Now go measure, brew, and savor the difference.
Frequently Asked Questions
Can I use the scoop that came with my coffee maker?
You can, but you must first determine its exact weight by using a scale. Coffee scoops are not standardized and their volume can hold 5-9 grams depending on the bean and how full you pack it. Without weighing it, you have no idea what your actual ratio is.
Should I measure coffee before or after grinding?
Always measure whole beans by weight before grinding. Grinding increases the volume and exposes more surface area, making volume measurements even more unreliable. Weighing beans ensures you have the exact mass of coffee solids you need, regardless of the grind.
Does the type of coffee (light vs. dark roast) change the ratio?
Slightly. Dark roast beans are less dense and have more internal gas, so by volume they are lighter. By weight, the ratio guidelines (1:15 to 1:18) still apply. You might find you prefer a slightly different ratio within that range for different roasts, but the starting point remains the same. Always measure by weight to account for density differences.
What if I want a stronger cup of coffee? Do I use more coffee or less water?
For a stronger-tasting cup in the same volume, use more coffee (a tighter ratio, e.g., 1:14). Using less water (a shorter brew) will likely lead to under-extraction and sourness, not strength. Strength is primarily controlled by the coffee-to-water ratio.
My coffee maker has “cups” marked on the carafe. How much coffee do I use for a “4-cup” setting?
>First, ignore the “cup” markings as a measure of final coffee. A “4-cup” setting on most machines means it will brew with about 20 oz (590ml / 590g) of water. Use the golden ratio: for 590g water at 1:16, you need about 37g of coffee. Weigh your water in the reservoir for ultimate precision.
Does using a paper filter vs. metal filter change how I measure?
No, the ratio remains the same. However, a paper filter traps more oils and fine particles, which can make the coffee taste slightly cleaner and brighter. A metal filter allows more oils through, creating a fuller-bodied cup. You might find you prefer a marginally different ratio (e.g., 1:16 for paper, 1:17 for metal) to achieve your perfect taste, but start with the same measurement and adjust from there.
Pingback: How Many Cups in a Gallon - kitchenandhouseware.com
Pingback: How Many Ounces in a Gallon - kitchenandhouseware.com
Pingback: How Many Ounces in a Cup - kitchenandhouseware.com
Pingback: How Many Oz in a Gallon - kitchenandhouseware.com
Pingback: How Many Ounces in a Quart Liquid - kitchenandhouseware.com
Pingback: How Many Ounces in a Pint - kitchenandhouseware.com
Pingback: Cups in a Gallon - kitchenandhouseware.com
Pingback: How Many Tsp in a Tbsp - kitchenandhouseware.com
Pingback: How Many Ounces in a Cup of Water - kitchenandhouseware.com
Pingback: How Many Ounces Are in a Cup - kitchenandhouseware.com
Pingback: How Many Ounces Are in a Gallon - kitchenandhouseware.com
Pingback: How Many Ounces in a Pint Liquid - kitchenandhouseware.com
Pingback: How Many Cups in a Pint - kitchenandhouseware.com
Pingback: How Many Ml in a Cup - kitchenandhouseware.com
Pingback: Ounces in a Cup - kitchenandhouseware.com
Pingback: Ounces in a Gallon - kitchenandhouseware.com
Pingback: Oz in a Cup - kitchenandhouseware.com
Pingback: How Many Oz in a Pint - kitchenandhouseware.com
Pingback: How Many Liters in a Gallon - kitchenandhouseware.com
Pingback: Ounces in a Quart - kitchenandhouseware.com
Pingback: How Many Oz Are in a Gallon - kitchenandhouseware.com
Pingback: How Many Grams of Sugar in a Teaspoon - kitchenandhouseware.com
Pingback: Oz in a Gallon - kitchenandhouseware.com
Pingback: How Many Ounces in a Quarter Cup - kitchenandhouseware.com
Pingback: How Many Oz in a Quarter Cup - kitchenandhouseware.com
Pingback: How Many Cups in a Pound - kitchenandhouseware.com
Pingback: How Many Cups Are in a Pint - kitchenandhouseware.com
Pingback: How Many Cups in a Half Gallon - kitchenandhouseware.com
Pingback: Oz in a Cup - kitchenandhouseware.com
Pingback: How Many Oz in a Pint - kitchenandhouseware.com